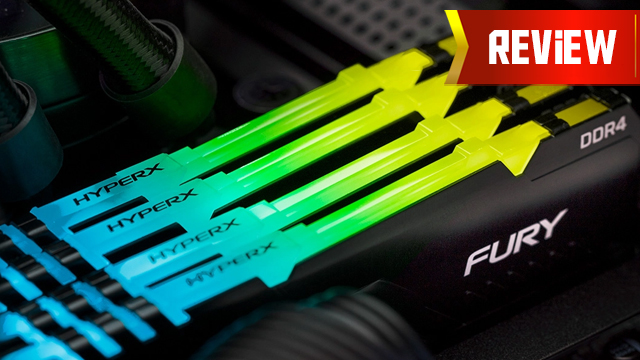
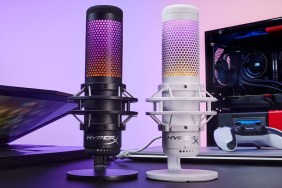
For my HyperX Fury DDR4 RGB review testing, I gave this RAM a special task: to go in a brand new build and be my daily driver for both work and play. If you’re anything like me, you want RAM to be simple and easy, with it doing exactly what it says on the box. In this case, that would be a 3733 MHz overclock and some fantastic RGB. Read on for the results of my testing and full thoughts.
HyperX Fury DDR4 RGB RAM Review | Need for speed
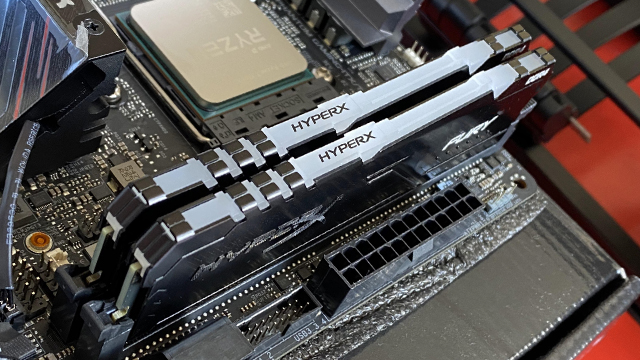
While I love me some CPU and GPU overclocking to squeeze out that extra bit of performance, I like to leave RAM overclocking to the built-in XMP/DOCP profiles. I want to go into my BIOS (UEFI), hit a button, click “accept,” and have the RAM automatically overclocked to a high frequency with low latency.
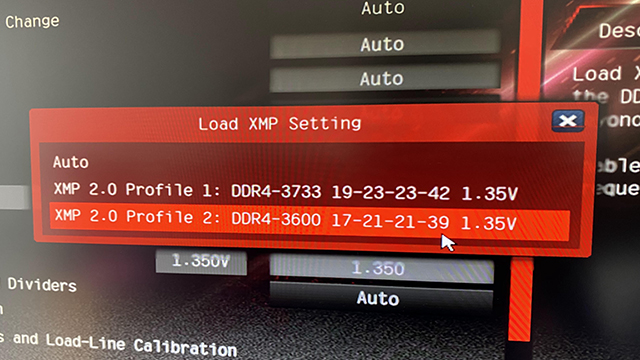
The HyperX Fury DDR4 RGB worked perfectly right out of the box. Paired with my Ryzen 7 3700X and ASRock X570 Phantom Gaming ITX/TB3 motherboard, I booted on the first attempt with XMP Profile 1 taking me to the highest promised clock speed of 3733 MHz.
ALSO: AVerMedia Live Gamer BOLT Review (GC555) | The power of thunder
For those that don’t want to tinker, HyperX’s “Plug N Play” feature will still get the RAM working at the automatic speed allocated by your BIOS (2400 MHz for me). While that’s certainly an option, anyone buying this RAM will likely feel comfortable in making that one time trip to the BIOS and enabling XMP for a quick and easy performance boost.
The XMP profiles offered by the kit I’m using are:
- DDR4-3733 19-23-23-42 at 1.35V
- DDR4-3600 17-21-21-39 at 1.35V
While the higher clocked option may seem like the obvious winner here, as Ryzen loves its frequency and 3733 MHz is certainly impressive, the lower overall latency of the 3600 MHz profile may be preferable. Either way, it’s good to have both options made easily available.
While Intel-based systems can certainly benefit from higher clocked RAM, it’s Ryzen that really likes that high frequency. For anything above a budget build, I usually recommend pairing at least 3600 MHz RAM with a 3XXX Ryzen processor. It’s just too perfect a match when it comes to optimum performance, especially with prices recently dropping (though starting to climb again).
HyperX Fury DDR4 RGB RAM Review | RGB is king
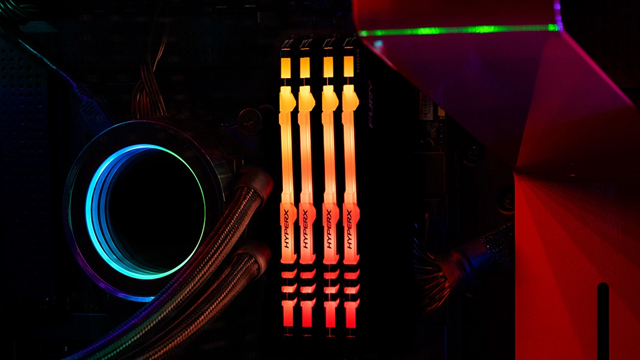
Of course, performance is only one aspect of analyzing RAM in 2020. With RGB lighting becoming all the rage, RAM manufacturers have had to incorporate fancier lighting, while still pushing speeds higher. If aesthetics are a big focus for your existing or upcoming build, then you’ll need to know if the HyperX Fury DDR4 RGB RAM can shine brightly.
Upon booting my system with the shiny new RAM installed, I was met with a vibrant rainbow glow. It was immediately clear that the max brightness setting was higher than my graphics card, with the RAM standing out impressively. Both sticks were perfectly synced, going through the same effect simultaneously, so no issues there. HyperX’s “Infrared Sync Technology” is in charge of keeping those effects in check and fully synchronized.
Buy HyperX Fury DDR4 RGB RAM here
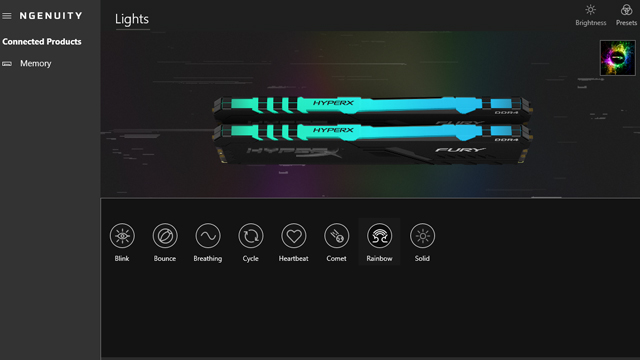
Further customization of the RGB lighting has to be done in HyperX’s NGENUITY software. I’ve used this with mice and keyboards in the past and the lightweight app has been fine. With RAM, the experience is much the same. You can select from a range of effects: Solid, Breathing, Blink, Heartbeat, Comet, Bounce, Cycle, and Rainbow. You can also customize brightness and speed. I think I’m the biggest fan of “Heartbeat,” especially when paired with a red color, though the classic “Rainbow” is great as well. You can also switch off the RGB lighting, which can be useful when watching a movie in the same room, or if you’re going for a more subtle look.
If your motherboard has its own RGB control software, you may be able to use that to customize the RAM lighting and sync it with your other components. This worked for me, with ASRock’s software finding the RAM with no issue, allowing me to sync a blue gradient across my memory, motherboard, and graphics card.
It’s worth noting that the default effect, before any software takes over, is going to be rainbow. So when you first boot up your system and log into Windows, your RAM will be rainbow. Then software will take the reins and it will change to your chosen preset.
HyperX Fury DDR4 RGB RAM Review | Easy does it
Reviewing RGB RAM can either be painful, with overclocking profiles failing or lighting software conflicting and causing a headache; or it can be painless, with XMP profiles working immediately and RGB effects being assigned without issue. I’m happy to say that “painless” is how I’d describe HyperX Fury DDR4 RAM, especially when paired with a modern CPU and capable motherboard.
If you want the exact kit I’m using, which is “HyperX Fury RGB 32GB 3733MHz DDR4 Ram CL19,” it currently costs $210.99. However, there are other kits available, with different rated speeds and overall capacity. What’s more, there’s a lifetime warranty to help offer peace of mind.
Overall, I’m glad to say that HyperX Fury DDR4 RGB RAM is staying in my system as my daily driver, helping to power my games and livestreams, while also keeping things ticking while I work from home.
HyperX Fury DDR4 RGB review unit was provided by HyperX.
When you click on a link from an online retailer on GameRevolution, we might earn a percentage of the value of your purchase. Learn more here.
