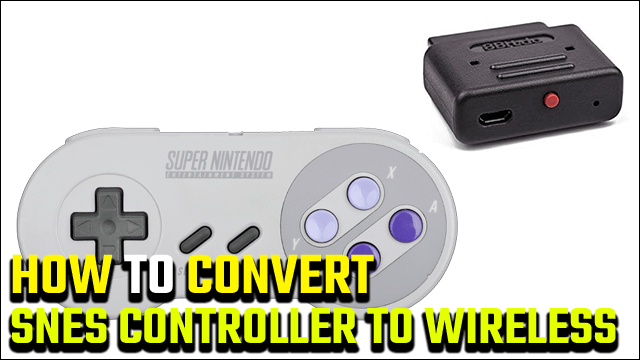
You can convert your original SNES or SNES Classic controller into a wireless gamepad with minimal hassle. As long as you can use a screwdriver, you can swap out the controller’s mainboard and use it wirelessly with a host of devices, including SNES Classic, or even an original SNES.
Converting your Super Nintendo gamepad into a wireless controller is a non-destructive process that gives you that fantastic Nintendo quality with modern convenience. It’s a relatively inexpensive process that we’ll detail below.
ALSO: How to play SNES on HDTV | Play Super Nintendo on HDMI Modern TV
How to convert your SNES or SNES controller to work wirelessly
If you’re like me, you love your retro systems but hate the hassle of playing them using wired controllers. Using a wireless controller with your SNES didn’t use to be an attractive proposition. During the console’s original run, several wireless controllers were offered by third-parties. However, these used IR to transmit button presses used bulky receivers, and the build quality wasn’t the best. You’ll need a DIY conversion kit and a retro receiver, both of which we’ll go into below.
How to purchase and install the SNES Wireless Mod Conversion Kit
Fortunately, 8BitDo, in addition to offering aftermarket Super Nintendo-style controllers, manufactures a kit that allows you to swap the internals of your SNES or SNES controllers for a replacement board that transmits at 2.4 GHz.
Unfortunately, 8BitDo isn’t selling these DIY kits via Amazon, so you’ll have to order them directly from the website. They’re only $20, but they ship from China, so you’ll be waiting a bit to get it. Also, double-check to make sure you’re buying the right DIY kit as the SNES and SNES Classic controllers differ just enough that the kits aren’t interchangeable.
- Buy SNES DIY Wireless Controller Kit at 8BitDo
- Buy SNES Classic DIY Wireless Controller Kit at 8BitDo
The kit is pretty self-explanatory and is incredibly easy to install. It even comes with a little screwdriver in case you don’t have a toolkit.
To install your 8BitDo SNES/SNES Classic DIY Wireless Controller Kit:
- Remove the five Phillips head screws from the rear of the controller.
- Separate the two controller halves.
- Remove the wired circuit board.
- Ensure the rubber buttons and shoulder buttons are placed back into the correct spots in the front half of the controller.
- Drop the wireless replacement board into the front half and ensure the attached boards for the shoulder buttons are placed correctly.
- Ensure the charging port is correctly lined up inside the hole the wire previously exited the controller.
- Replace the rear half of the controller.
- Replace the five screws that hold the controller together.
It’s that easy! The hardest part of owning one of these controllers is keeping track of the small cable used to charge it. The kit uses a proprietary charging port, so you don’t want to lose that cable.
How to buy and use the 8BitDo Retro Receiver
Fortunately, 8BitDo sells its Retro Receivers via Amazon, so you’ll get them a bit quicker. Once the controller is converted, you can use it on a multitude of different platforms, including:
- NES
- NES Classic
- SNES
- SNES Classic
- Genesis
The only catch is that you need a different receiver for each of these platforms.
- Buy NES Retro Receiver Adapter on Amazon
- Buy SNES Retro Receiver Adapter on Amazon
- Buy NES Classic/SNES Classic Retro Receiver Adapter on Amazon
- Buy Genesis Retro Receiver Adapter on Amazon
After you have your controller and retro receiver, you’re almost ready to go. The last step before playing is to update your controller and receiver to the latest firmware. This can be done using the included USB cords. Once you’ve completed the update, simply pair the controller with the receiver by following the instructions provided with the products, and you’re good to go!


