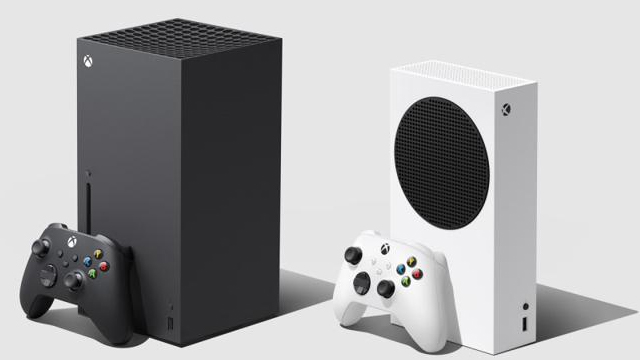
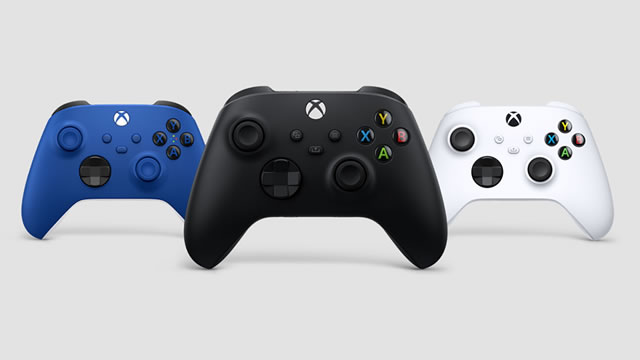
The Xbox Series X and Series S have streamlined the way to capture screenshots and video. The updated controllers feature a new Share button, which has been designed to quickly take images and short clips. The whole process is frankly a breeze, but things have changed when compared to past Microsoft consoles. Here’s how to capture screenshots and save video clips on the Xbox Series X and S.
How to capture screenshots on Xbox Series X|S

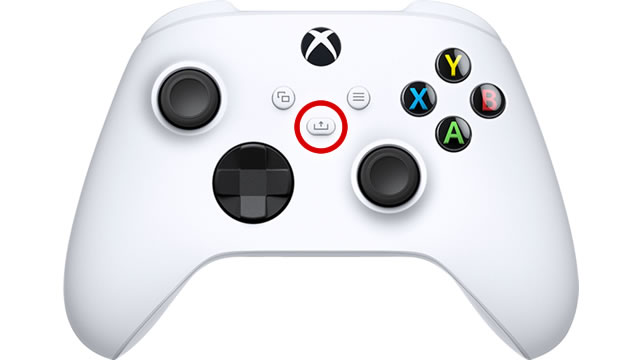
Microsoft has made it easy to capture screenshots on the Xbox Series X and S. While playing a game, all you need to do is single-tap the Share button on the controller. If you’re playing with an Xbox One controller, press the Guide button, then press the Y button. A notification will appear on screen notifying you that your screenshot has been saved.
This process is way more simple than it was on past Xbox consoles. On the Xbox One, users have to press the Xbox button and navigate to the side menu. From there, they have navigate to the entirely separate Capture and Share menu. Not only did this take precious time, it made it way more difficult to capture an in-game moment while the moment was still active.
Thankfully, this is no longer the case. The Series X and S controller’s Share button was designed explicitly to facilitate straightforward image and video capture. Press it once and the job is done.
Once your image has been saved, you can view or share it through the standard Capture and Share menu. To get there, press the Xbox button, select the Capture and Share option, then open the Recent Captures tab. Easy peasy.
How to capture video on Xbox Series X|S

To capture video on the Xbox Series X and S, you need to press and hold the Share button. Doing so will create a clip of the last 30 seconds of gameplay. To begin manual recording, press the Xbox button, scroll over to the Share tab, then select the option to start recording.
As you’re probably expecting, many of these video recording options can be changed. The Capture and Share tab specifically has a function to “Record what happened” with duration options from between 15 seconds and two minutes.
The Capture and Share tab also has a shortcut that can be used to adjust capture settings, including the default duration of past captured video, overall resolution, and capture location. Clip resolution can be adjusted from 720p with SDR all the way up to 4K with HDR on the Xbox Series X.
It’s probably best to set the past capture setting to one minute by default. This will increase the chances of getting a good recording when something exciting happens. For now, it appears you can only select the two minute option manually from the menu when beginning a recording.
If you’re concerned about taking up your console’s limited storage space, you can set clips to save to external drives. This has an added bonus in that you’ll be able to more easily transfer them to a PC for editing or sharing purposes.
Xbox Series X and S | How to share screenshots and video
More than taking screenshots or clips, the Share button is also a quick way to share images and videos. After taking a screenshot, hold the Xbox button down, then choose the option to upload to your activity feed, Twitter, or share through a message. You can also choose “See all sharing options” to share it with a club or upload to your OneDrive account.
The process is virtually identical for video clips. Once a recording has been saved, use the “Share to” menu to send it wherever you like.
Finally, if you’ve set your images and videos to save to an external hard drive, you’ll be able to connect that drive to a PC. From there you can edit it however you please and share it to just about any place imaginable.


