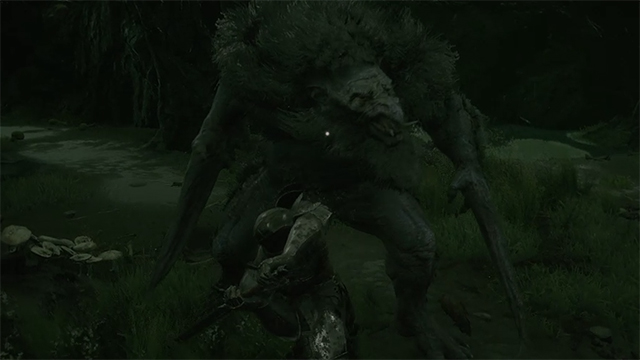
The Mortal Shell Grisha boss can be quite the wake-up call. The game isn’t easy, but this early mini-boss can quickly put you in your place. How do you beat Grisha in Mortal Shell? You can find out in our tutorial below. Also, be aware that you’ll need to do this for the Different Kinds of Grisha trophy or achievement, too.
Mortal Shell Grisha boss tips
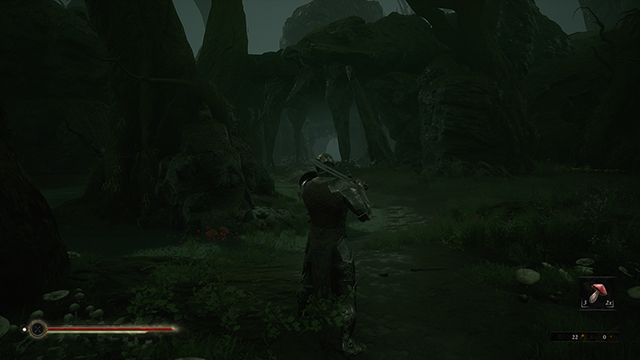
There are multiple types of Grisha bosses in the game and two of them are essentially the same (one is a big boss that’s pretty different). The first one you fight is a sort of mid-tier mini-boss. It is straight in front of the Fallgrim Tower by the Sester and Old Prisoner and has multiple bear traps outside of it. Generally, you will want to play defensively and be patient. Wait for your turn to strike and use Harden to your advantage while also keeping an eye on your stamina. Grisha has a lot of recovery time on its attacks. Getting the parry ability from the Old Prisoner in the tower helps a lot with this fight.
This fight is also a fantastic way to learn the core ins and outs the game. The fight is right by a checkpoint, lowering the risk of learning the basics. Grisha will be easily made if you learn the basics: knowing when to use Harden and how long its cooldown is, getting a feeling of when to dodge, attack, and retreat, and stamina management. All of those are absolutely crucial for success. Maybe don’t use all of your healing items on this one and use it for practice.
Follow the steps below to learn how to beat the Mortal Shell Grisha boss:
- Attack while its back is towards you
- When it tries to attack you with a three-hit swipe, dodge the first two attacks and Harden for the third
- Dodge the attack where it stumbles and swipes
- Dodge after its claw-smash attack, as you’ll take damage when it removes its claw from the ground
- When it glows on your belt, this signifies and unparryable attack — dodge out of the way to avoid huge damage
Mortal Shell Grisha boss guide and tutorial
Here’s a comprehensive look at how to beat the Grisha boss in Mortal Shell.
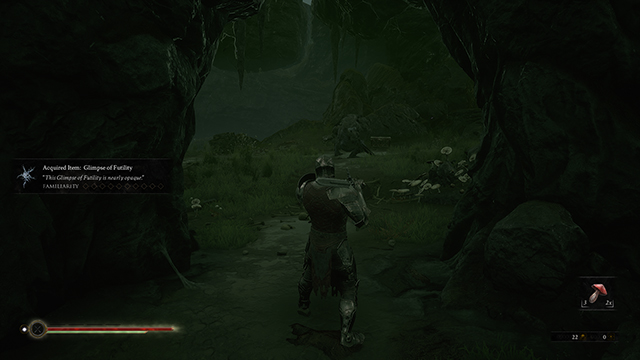
Right off the bat, its back is toward you so you have the advantage. You can get a few licks in before it attacks you with one of its few moves.
One is where it roars and does a three-hit swipe where it delays the third strike. Learn the timing and dodge the first two swipes and Harden for the third (sometimes it will just do two swipes). This will let you quickly counter him. Parrying this attack is also easier since it is telegraphed so well. Parrying it will also stun it and open it up for attacks.
There is also another attack where it stumbles and swipes, which it tends to use if you’re far away. Dodge this one as it is fairly easy to see coming.
The other ranged attack is a little more complicated. It’ll dash up and slam its claw into the ground. That is easy to dodge but you will get damaged when it rips its claw out of the ground. Be aware of that sneaky attack.
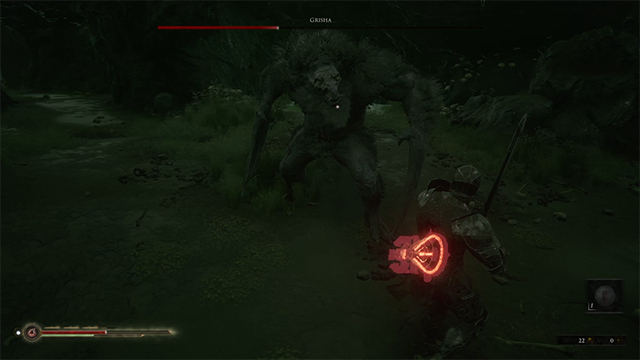
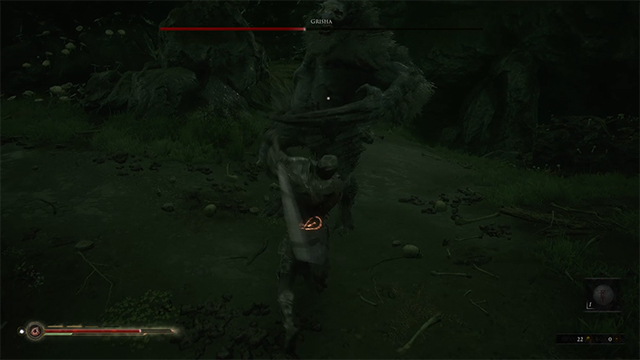
Its final attack is where you’ll need the parry ability even if you don’t use it. When it glows on your belt (like you can see in the picture), this means it is about to do a move you can’t parry. This is its grab attack and is one of the few attacks you can’t Harden through. It will catch you and do a ton of damage. Dodge it, but don’t dodge too early or you might get caught.
Just be patient and once you kill it, you’ll get six glimpses (more on how to get glimpses here), and have easier access to some of the game’s shells (which you can also read more about here) since that room acts as a shortcut room that branches to other areas.
