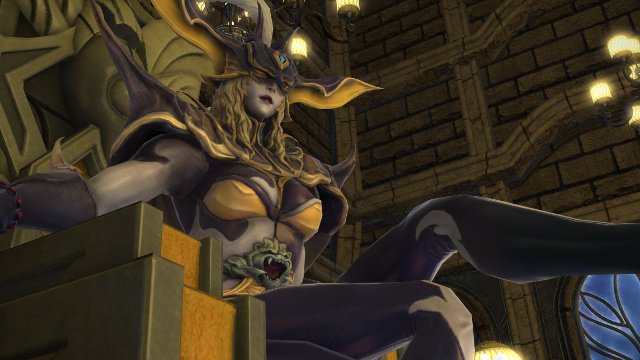
Welcome to our guide for Omega: Deltascape v3.0. In this guide we will go over the important information you need to know to defeat Halicarnassus on your way to gearing up with ilvl 320 items.
Halicarnassus is the first truly challenging encounter in Deltascape. The mechanics are gameboard-esque in nature, requiring careful positioning from your entire party.
As with other Deltascape bosses, several tokens will drop upon defeating Halicanassus. These can be traded to an NPC in Rhalgr’s Reach for ilvl 320 gear.
Let’s get started.
Omega: Deltascape v3.0
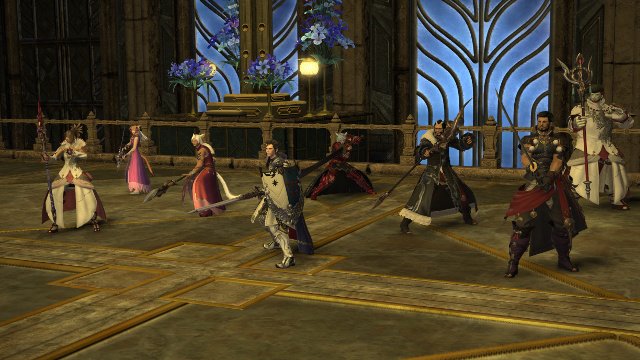
- The main tank should position the boss between the middle and edge of the platform facing outward.
- The boss will regularly cast Ribbit, which is a wide conal AoE that will turn those hit by it into frogs, effectively working as a CC.
- When the boss casts Mindjack, a player will be targeted with arrows. Everyone needs to stack on this player. Upon being hit with Mindjack, all player will run in a certain direction that can be determined by the name of the Mindjack version cast (Left Face, Right Face, etc.)
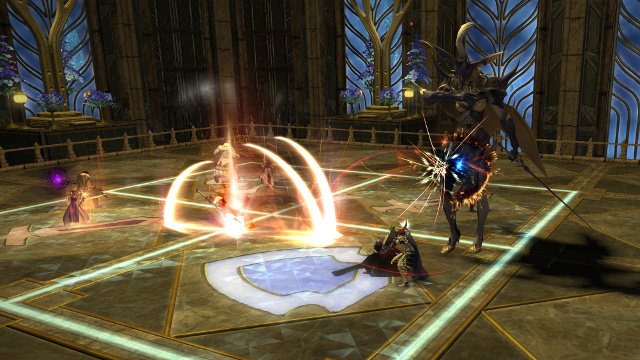
- There are three types of tiles that the boss will add to the battle area throughout the fight, as follows:
- Frog Tiles: When four frog tiles spawn, everyone except the tank needs to be hit by the Ribbit magic she casts soon after. After being transformed into a frog, simply stand on the frog tiles to be cured. Players who aren’t turned into a frog will take AoE damage. Since the tank needs to be able to maintain thread and mitigate damage, they can avoid turning into a frog and simply pop a defensive cooldown to lessen the damage received.
- Rock and Ice Tiles: When the platform transforms to indicate two different tile colors (black and blue), everyone needs to stand on a blue platform. The black platforms will deal damage as jagged rocks erupt upward.
- Role Tiles: When four tiles spawn toward the center, be quick to read the logo at the center of each. Your job is to stand on the tile related to your role (tank, healer, etc.)
- When four enemies spawn toward the corners of the platform, all healers and DPS should stack in one location. Shortly after, the boss will cast The Queen’s Waltz, marking an area in the direction of each party member for AoE damage. At the same time, all four enemies will spin dealing massive AoE damage. This mechanic is a common reason for wipes, and is best conquered by ensuring your group properly stacks and moves to a safe spot immediately as The Queen’s Waltz is cast.
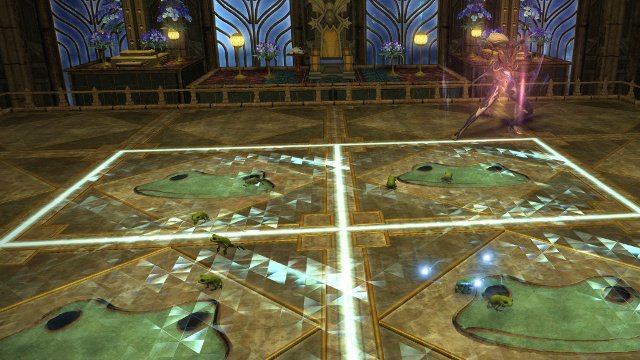
- When the boss disappears and am Aetherial Tear spawns, everyone needs to click on it. Your group will then need to complete a maze as quickly as possible.
- In the maze, there are two types of tiles, one that automatically moves you in the direction that it shows, and regular platforms you can stand on. You need to determine the path that leads to the Aetherial Tear exit. It’s okay to take a few moments to try to read the correct path, but be sure to move soon after.
That’s all there is to it. As long as your group is aware of the various tile types and avoid the damage during The Queen’s Waltz, you should be in good shape to complete this boss.
Good luck!
The Most Popular FFXIV: Stormblood Jobs
-
The Most Popular FFXIV: Stormblood Jobs

-
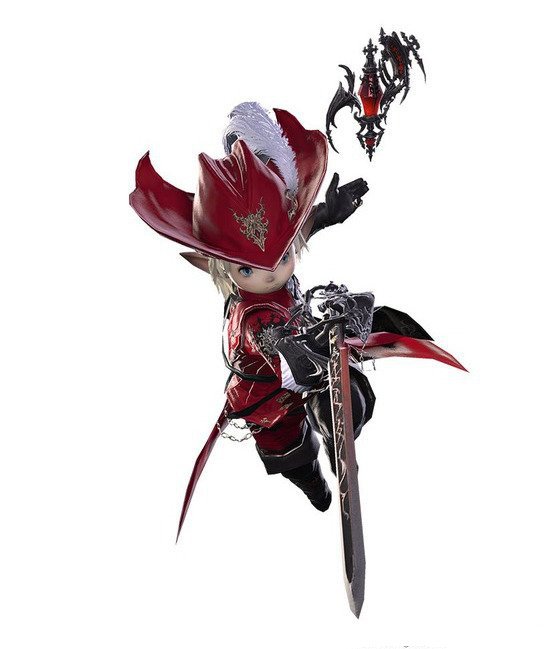
1. Red Mage (15%)
-
2. Samurai (15%)

-
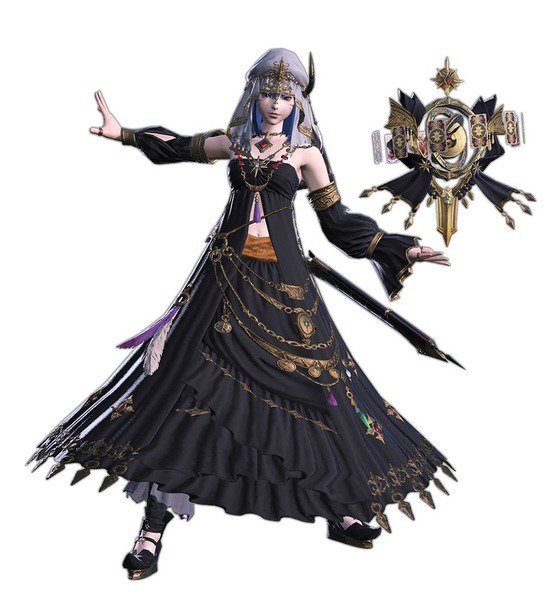
3. Astrologian (8%)
-
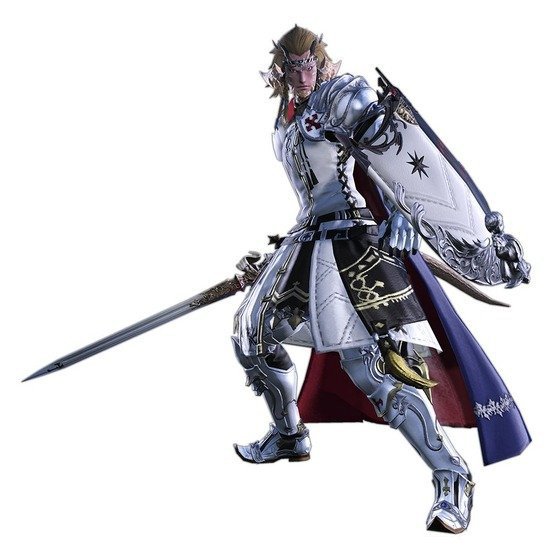
4. Paladin (8%)
-
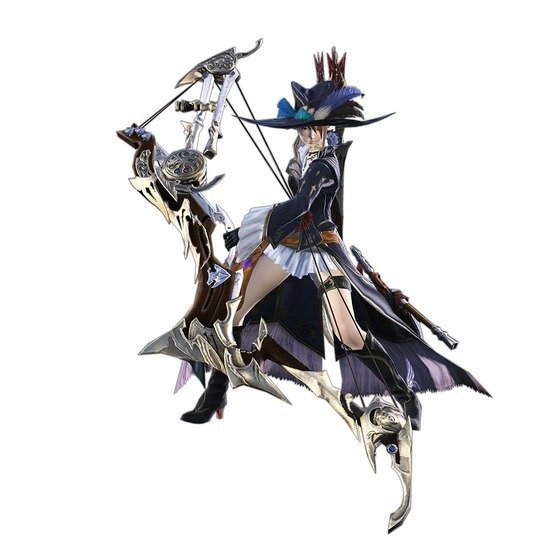
5. Bard (7%)
-
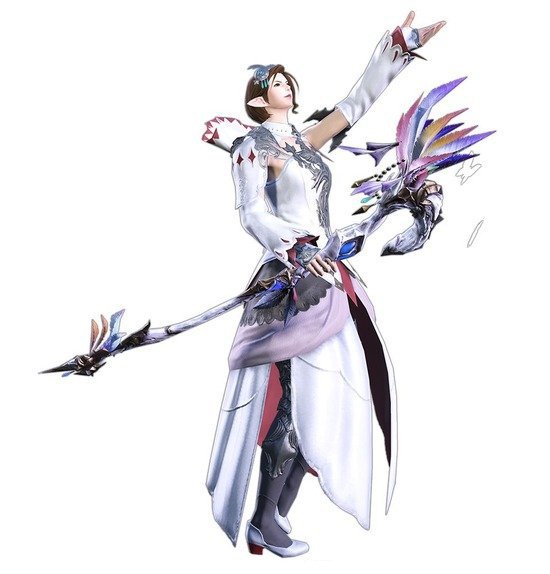
6. White Mage (6%)
-
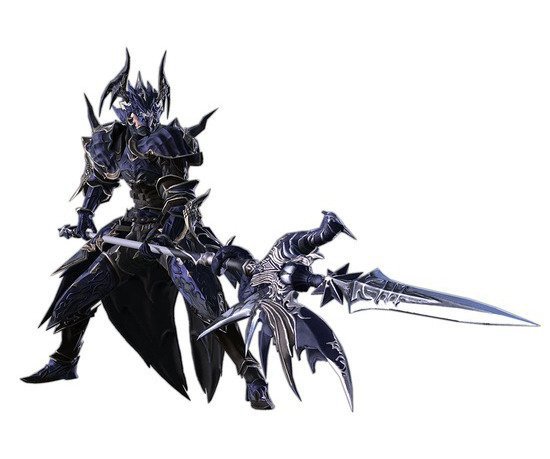
7. Dragoon (5%)
-
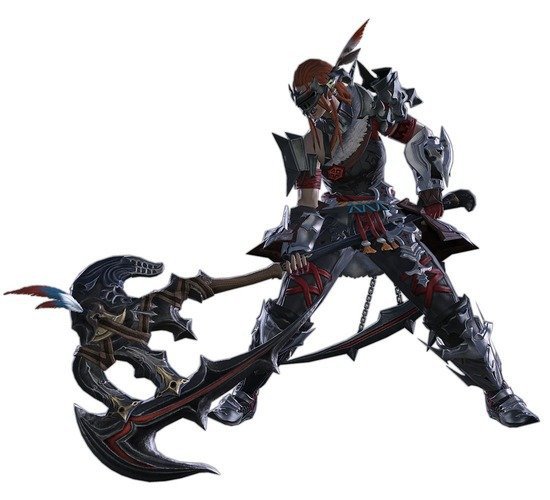
8. Warrior (5%)
-
9. Scholar (5%)

-
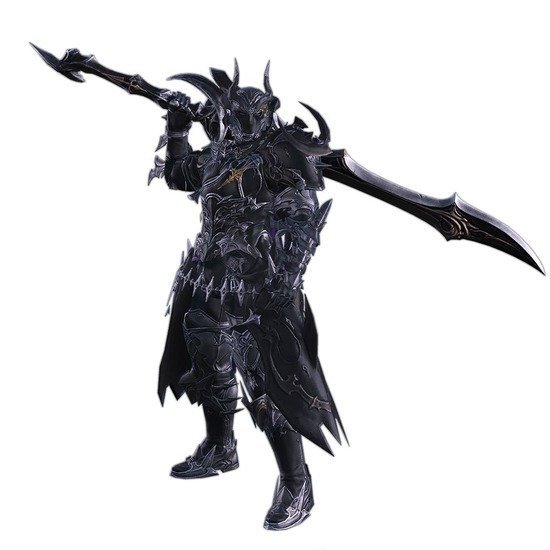
10. Dark Knight (5%)
-
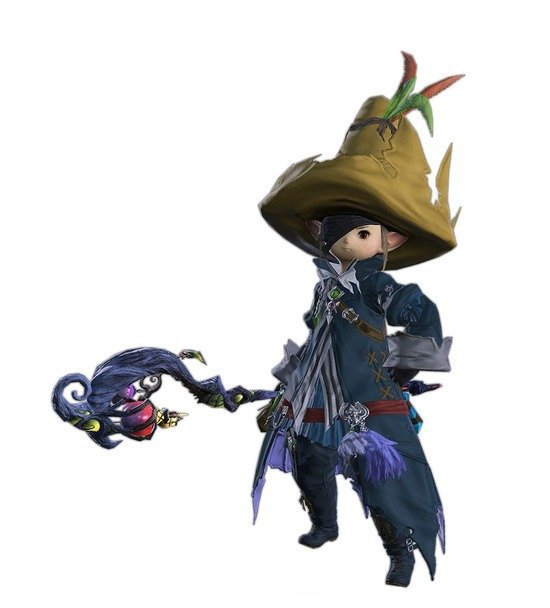
11. Black Mage (5%)
-
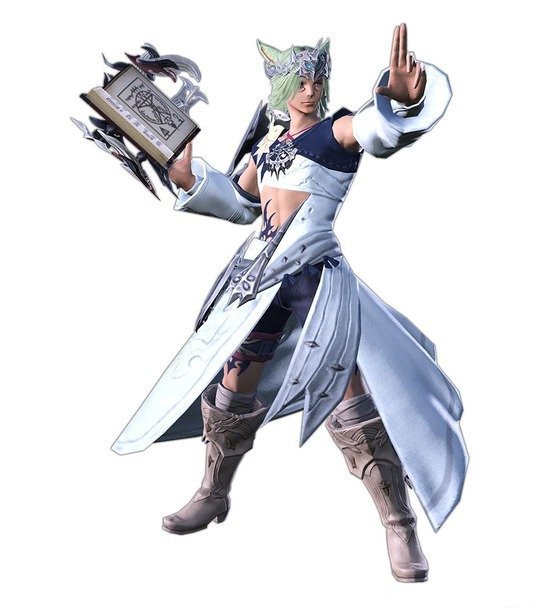
12. Summoner (5%)
-
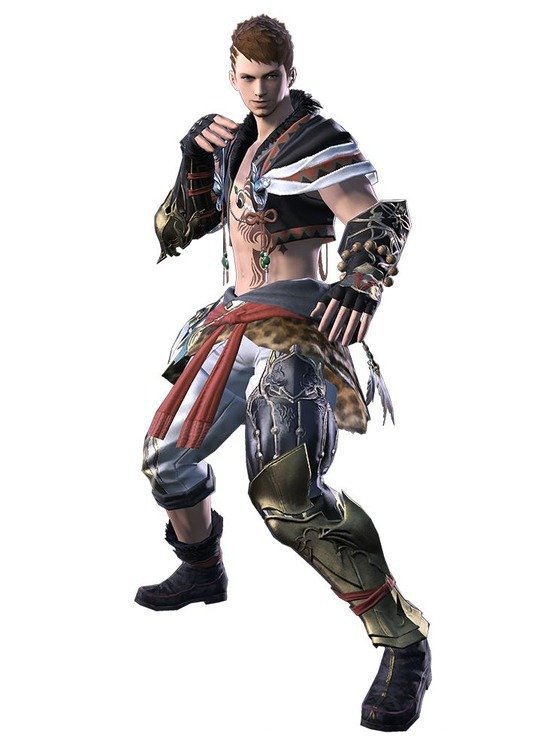
13. Monk (4%)
-
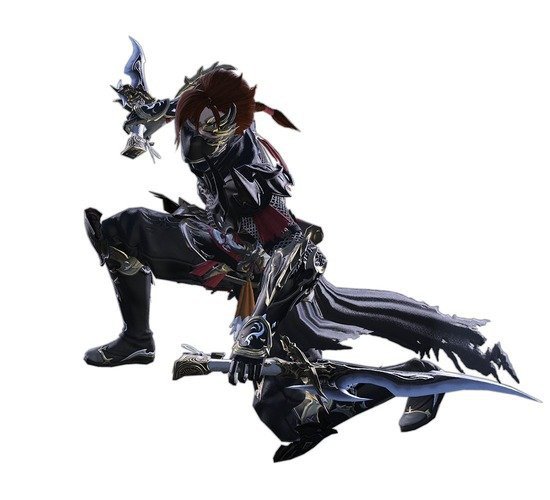
14. Ninja (4%)
-
15. Machinist (3%)
