It’s time for a new Final Fantasy 14 4.4 dungeon. That’s right! The Prelude in Violet update brings a brand new dungeon to the mix, and we’ve put in the work required to bring you this FFXIV The Burn Dungeon guide right in time. Final Fantasy 14 is a global MMORPG, meaning it runs on a central clock for the most part. With the servers going at around lunchtime in Europe, it was bad timing for the North American audience. Whether you’re just getting out of bed, coming home from work, or are otherwise just late to the part, this The Burn Dungeon guide is for you, particularly if you want to defeat Hedetet and Mist Dragon.
FFXIV The Burn Dungeon Guide: Where To Unlock The Burn In Final Fantasy 14 Patch 4.4
You’ll unlock The Burn fairly quickly in the Final Fantasy 14 patch 4.4 main story quests, and you’ll be able to hop in right away so long as you’re rocking an average item level of 340.

FFXIV The Burn Dungeon Guide: New 4.4 Prelude in Violet Dungeon Walkthrough
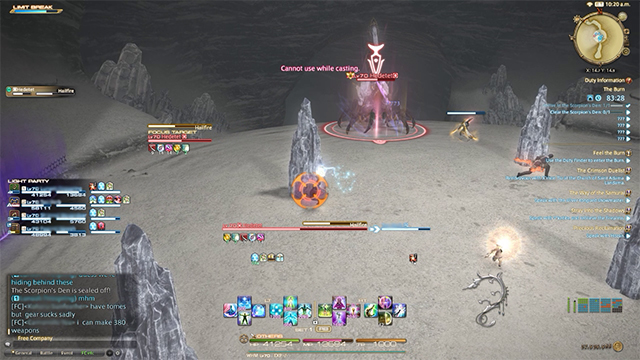
Hedetet

If you thought The Burn looked a little like Snowcloack, the similarities don’t end there. Hedetet, the dungeon’s first boss, is a throwback to Fenrir.
You’ll notice 4 glass-like shards poking out the ground as you enter this fight. You’ll want to keep an eye on them. Like the spikes from Snowcloak, these will explode at certain intervals and be replaced throughout the fight. You’ll want to hide behind them for moves like Hailfire and Shardfall and move out of their firing path once they’re hit as they will explode in a small radius. Not hiding behind a spike for Shardfall will be an instant KO for most party members, so watch out for that one.
Hedetet will rely on a move called Crystal Needle to deal high spike damage to the tank. This is the only tank buster you’ll need to really worry about it. Other than that, just keep attacking and you shouldn’t have too much trouble here.
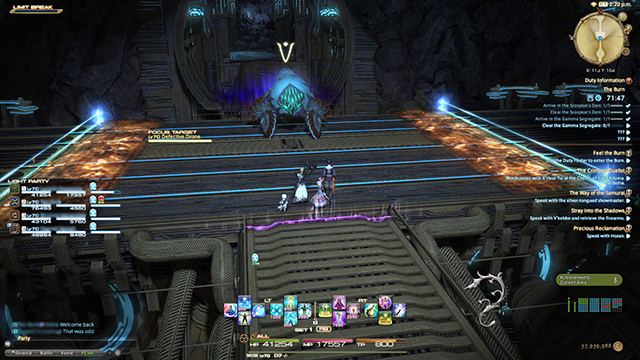
Defective Drone

More of a challenge than the name lets on, this is a rapid-fire fight in a small arena. Defective Drone will start things off with Aetherochemical Flame, a powerful and unavoidable party-wide AOE. Healers will need to keep big heals available for this if it strikes at a bad time, so keep your party topped up. Aetherochemical Coil is a wide tank buster you’ll want to watch out for. Stay behind at all times.
Before long, text will appear alerting you to the appearance of Auxillary Drones. Defective Drone will shoot off to the east or west of the area and come back with a few friends. Each drone will line up to cover the tracks of the arena and countdown before charging to the other side. The trick here is to quickly run over to the one track with a drone not currently counting down. You won’t die by failing this, but it will hurt.
Other than that, you’ll just want to watch for the text signifying the spawn of Rock Biters. These floating buzzsaws will appear periodically throughout the fight and fire forward across the arena after a few seconds. These will appear during an Auxiliary Drone phase, too, so you’ll have to adjust your position to avoid two mechanics simultaneously. Just keep calm, dodge, and kill.
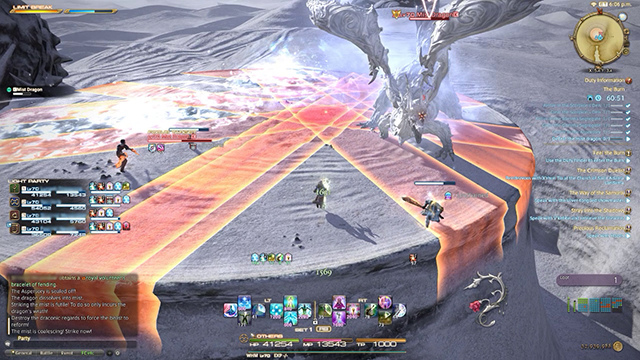
Mist Dragon

A very healer-intensive fight, Mist Dragon is more than just a reskin of a mob we’ve seen plenty of times before.
Rime Wreath is an unavoidable AOE you’ll be seeing a lot of for the next few minutes, so healers will need to keep plenty of mana on reserve for wide heals. Regen and shields will be great tools here.
Fog Plume is a star-like attack dropped on a randomly selected target. Avoid the initial impact and then be ready to step out of the telegraphed attacks that fire outward.
At around 60% HP, Mist Dragon will run to the center of the arena to cast Vaporize, disappearing and spawning three Draconic Regard and one Mist while the dragon slowly builds up a party-wide AOE. Killing the Mist strengthens the attack, so leave it alone and quickly dispatch the three Draconic Regard mobs to cancel the cast. If you miss this, you’ll all be frozen while the Mist Dragon fires a devastating ice blast as a random party member while you sit and watch.
Now everything comes thick and fast. Fog Plume will strike multiple targets, and the next Deep Fog will render the whole arena in a thick fog. Spread out, pop Sprint, and be ready to dodge a wide straight-forward swoop from any direction. Getting caught in the blast will result in a frozen ally that will need to be freed. Mist Dragon will them impact the ground, pushing the team away from (but not off) the arena for proximity-based damage – so run away.
The final phase becomes a series of Rime Wreath AOEs, targeted frost breaths, Fog Plumes, and lingering frost on the ground. Spread apart from each other to avoid stacking damage and prepare to pop any defensive cooldowns you have to make your healer’s life that much easier.


