Removing the Old CPU Cooler
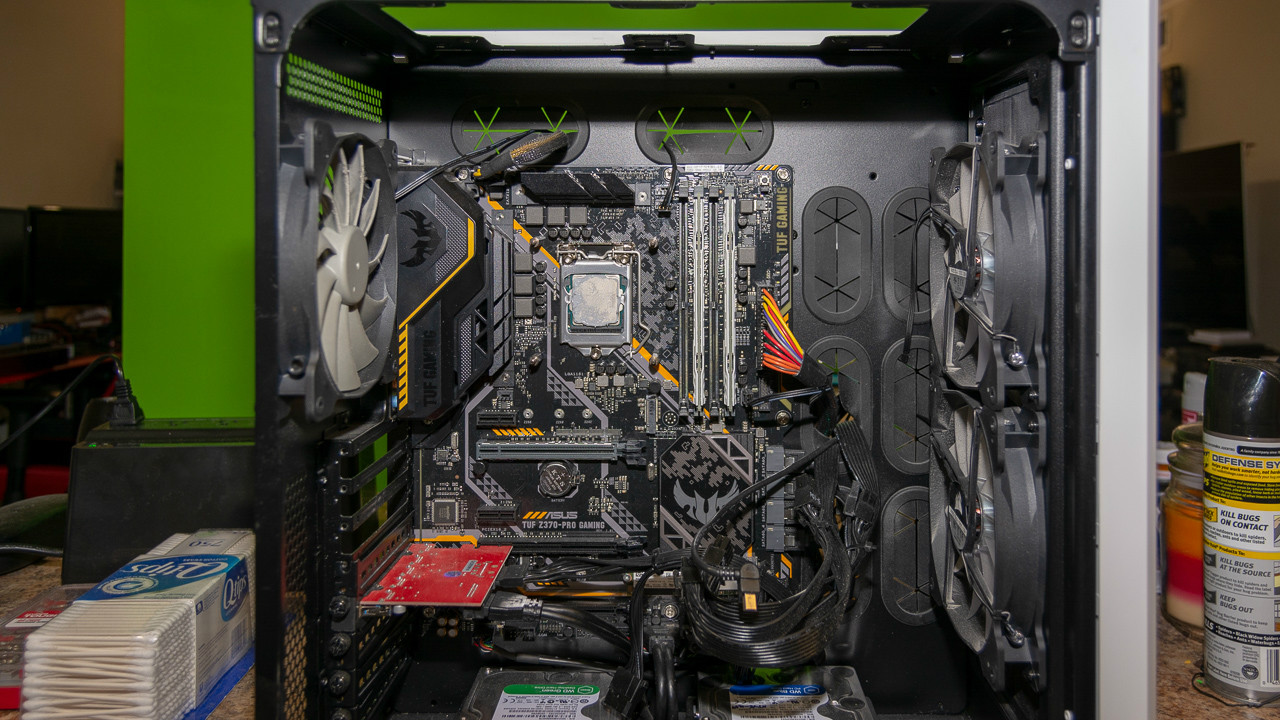
Removing the old cooler is a lot easier than getting it on. I was running a Corsair H100i v2 AIO liquid cooler, which uses a dual fan 280mm radiator. The process of disassembly was quite easy.
The first thing I did was to remove the pump and heat-transfer plate assembly from the CPU socket. Most CPU coolers, be they liquid or air-based, remove similarly. I simply unscrewed the thumb nuts in an X pattern, which allowed me to lift off pump and plate.
I then immediately used a paper towel wetted with alcohol to clean the old thermal paste off the cooling plate. This lets you gently move the pump to the side without worrying about thermal paste getting all over everything.
With the pump set off to the side, you can now take the radiator and fans off. A series of eight screws on the top of the case held the radiator on. One thing to keep in mind is you need to support the radiator with your other hand when unscrewing these; otherwise, you’ll run into issues with the screws binding as the radiator starts to list to one side. As you remove the last screw, get ready to catch the radiator as it comes free.
Once you have the old cooler out, you have a bit more room to move around in your case. This makes taking the old power supply a lot easier since you don’t have to work around it. Also, if the old unit hasn’t failed, make sure to keep all the screws and pieces to your old cooler and put them in a labeled plastic bag or container. This way you can keep it as a spare, use it on a second PC, or give it to a friend.
Removing the Previous Power Supply
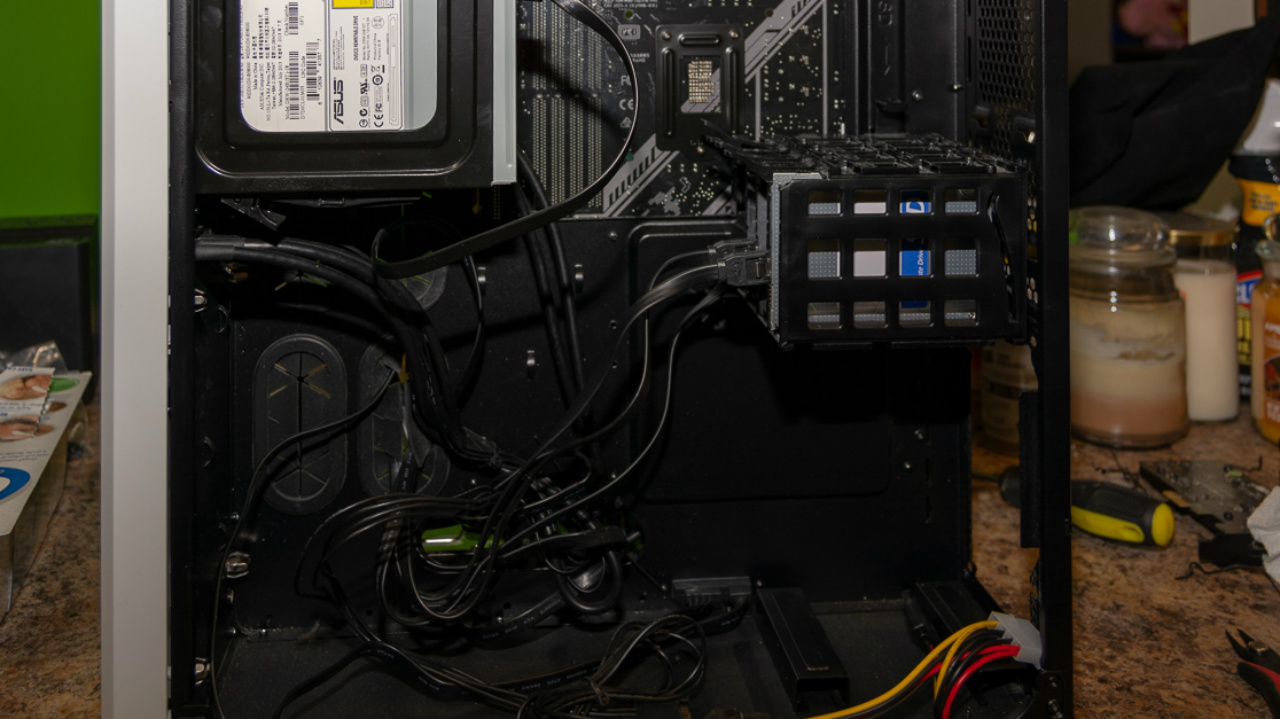
Your difficulty in removing your power supply depends mainly on its design. The one I replaced was a Seagate 650W semi-modular PSU, which didn’t give me too much trouble. The first order of business was to snip all the cable ties holding the cords to be removed in place. My advice is to just cut every tie you have in the rear of your case. It’s likely that you’ll want to rearrange your cable management with the installation of a new power supply anyway. In this case, with the new cords added with the Kraken, there was no sense in trying to preserve any of my previous work.
Removing an existing PSU isn’t tough, but it can take a bit of time. Start by unplugging the 8-pin CPU and 24-pin ATX connections. For this power supply those were the only two cords that weren’t modular, so once they were out of the way, the job got easier. After that, I just disconnected all the modular cables from the PSU and pulled them out one-by-one. Any that were still connected to something were unplugged, and then removed. Once the last one was gone, I could rest assured that the remaining cords in the computer were all fans, SATA, etc.
The Corsair Air 540 has a little foot in front of the PSU you have to remove via two thumbscrews before you can take it out. After taking the foot out, removing two screws from the back freed the power supply, and then all I had to do was lift it out.


