Installing the New Power Supply Upgrade
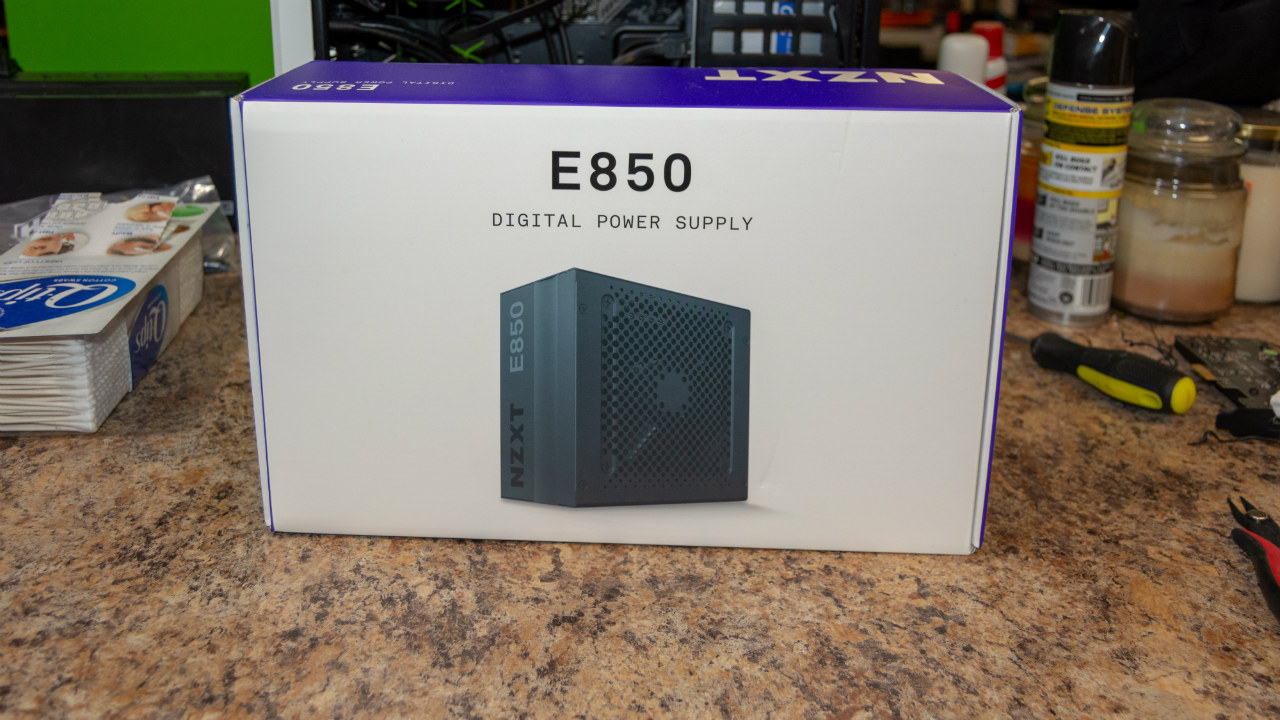
With the old PSU out of the way, it was time to install the NZXT E850. Luckily, the E850 is fully modular, so it was a cinch to get into place. The advantage to upgrading a PC (unless someone else built it or it’s a pre-built) is that you already know where everything needs to go, and you’ve already installed a power supply before.
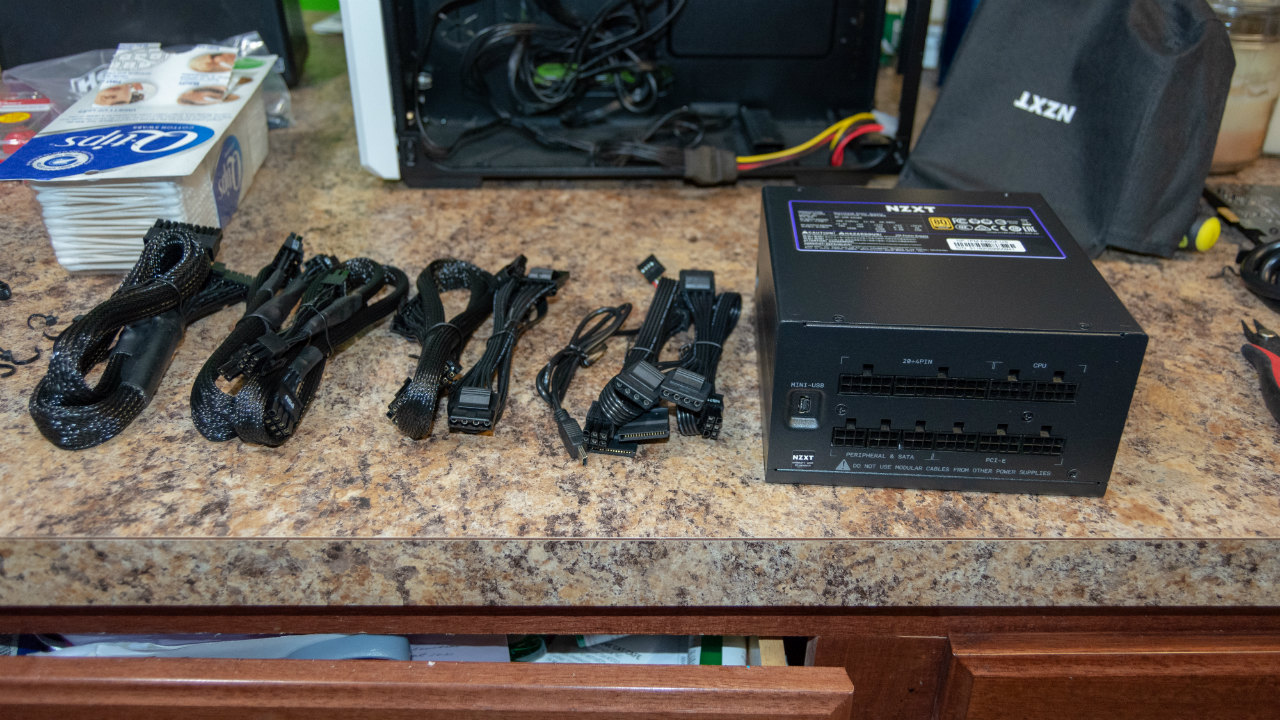
With a modular power supply, you don’t have to worry about installing the unit first, you can just thread the cords where you need them. After that, you just need to make sure the ends have all made it to the area where the power supply will rest in your case. I recommend before bolting it down, though, get the PSU where it will sit and attach all the cords. This way you can pivot the power supply in the direction easiest for you to read the labels and plug the wires in. Once all the connections are made the installation of the new PSU is the reverse of the old one, so you shouldn’t have trouble there.

One thing to note with the E850 is that it requires an empty USB 2.0 header on your motherboard to connect the intelligent features of the PSU. With this connected, you can control and monitor the unit in NZXT’s CAM software. If you don’t have a free header, it will still work as a standard power supply, though, just without adjustable fan curves and all that premium stuff.
The E850 is a hearty supply, so more than likely you’ll have cords left over once you’ve got the ones you need in place. Since power supplies pretty much all have the same form factor, I used the now empty E850 box to store the Seagate, its cords, and the extra cords for the new PSU.
Installing the New CPU Cooler Upgrade
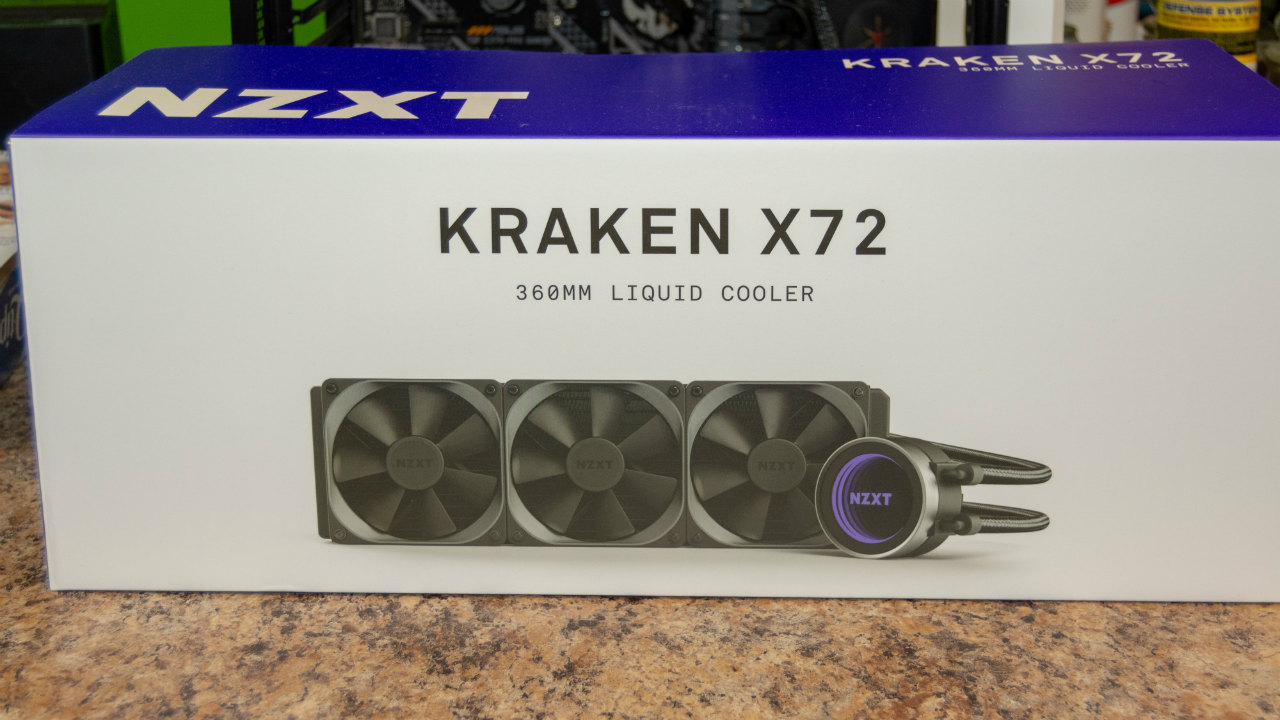
Putting the new NZXT Kraken X72 required a bit more thinking than installing the PSU did. The X72 has a 360mm radiator compared to the 280mm of the one we removed. Since the Corsair Air 540 only supports 360mm radiators mounted in the front of the case, I had to rethink my whole cooling setup.
Since I had to use the front mounts, the two fans had to come off. Their removal was simple, and once gone the case was ready for the Kraken. The instructions for the cooler said to install the pump unit first, though it doesn’t seem like mechanically it would matter if you fit the radiator first. I’m a stickler for following install guides though, so the first thing I did was mount the pump.
Installing the Pump Unit
The Kraken is one of the easier AIO coolers to install I’ve dealt with. I dunno if it’s just because I’ve installed a few of them and am used to it or what. It goes on similarly to the Corsair and other AIO setups. You slip a backplate through the holes on the back of the motherboard after adjusting the pegs according to what kind of socket you have. You then install four standoffs that screw into the backplate.
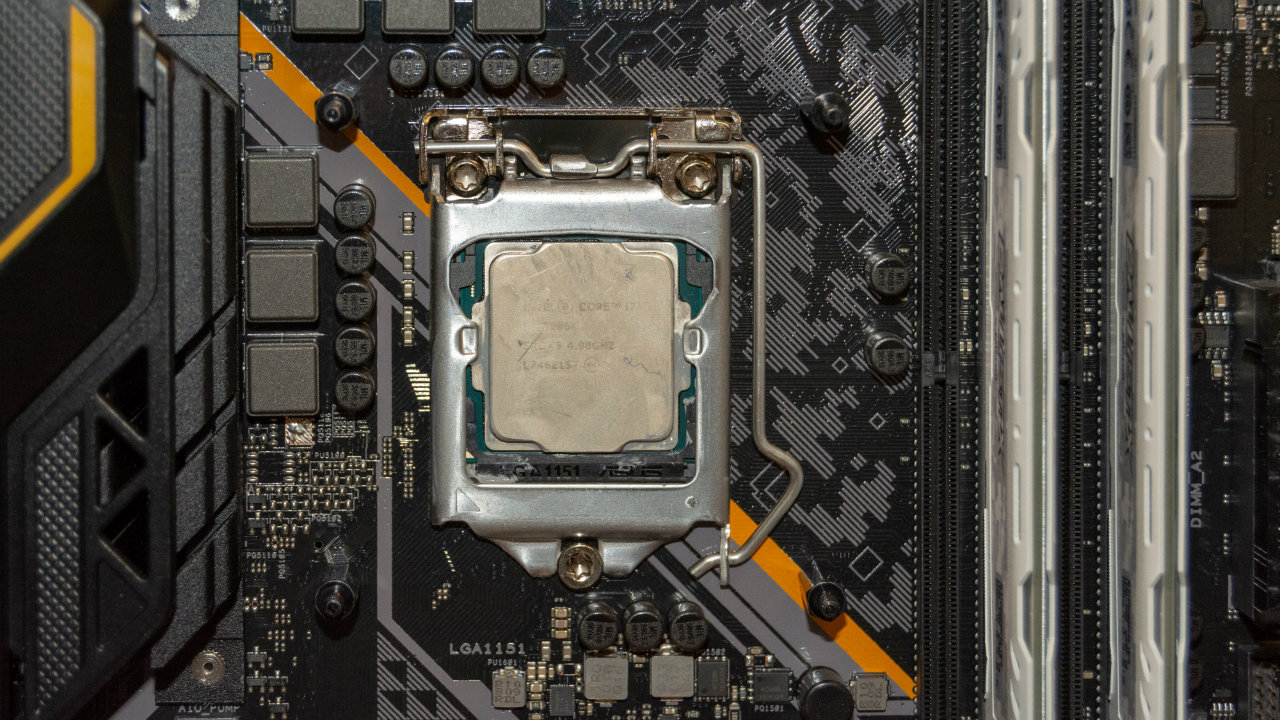
At this point, you’ll need to clean your CPU. We waited until now because we want it to be as clean as possible when we slip the new cooler on. I keep it simple personally. I take a paper towel and wet it with alcohol, then give it a thorough wipe. I repeat this step several times till the paper towel doesn’t show any gray material after wiping. Then I take a Q-Tip and dip it into the alcohol and wipe the little cracks and crevices the towel didn’t reach. After I’m done with the Q-Tips, I give it one last wipe with an alcohol-wetted paper towel, and it’s good to go.
There are other products that you can use to clean your CPU, but I’ve used this method and never had issues with thermals. The primary goal is to get the old thermal interface material off the top of your CPU so the new can get a clean, direct bond. The old thermal paste can prevent this, but as long as you put a little work into it, you’ll get the CPU clean enough.
Once you’re at this point, you need to make a choice. The heat transfer plate comes with thermal paste pre-applied, so you can just remove the plastic cover and install it if you’d like. However, some people like to stick by a particular brand of thermal paste. If you want to use a different thermal paste, you’ll need to clean the old off with alcohol and a paper towel before you add the new.

After that, you just slip the pump’s retaining bracket over the standoffs and tighten them down with thumb nuts. Tighten the nuts down in an X pattern. Once they’re all screwed down, give them one more once-over. They only need to be hand tight, so don’t go overboard. Once these are down, you can move on to the next part of the installation process.
Installing the Radiator

Even though we’re switching up the composition of our cooling system significantly, we’re going to stick with the same principle we used originally. We want fresh air to come in from the front, pass over the radiator, and be expelled from the rear and top of the case. You can install the fans to be either in the front or the back of the radiator, so you want to make sure you pick the configuration that matches your cooling needs.
As we’re mounting the radiator in the front, we want our set up to be: Case Front > Fans > Radiator. This way the fans will blow air across the radiator, drawing heat from it, and this hotter air will be expelled by our top and rear mounted fans which are attached to blow air out of the case. There are two sets of screws that come with the Kraken X72, and because of this configuration, the manual required we use the longer ones.
Before you install the radiator, note the positions you want to install your other fans. Unlike the Corsair H100i, the places where the pipes connect to the pump have a swivel, and the tubes themselves are a bit longer. If you notice in the images, because I was used to the way to H100i installed I mounted the Kraken to where the pipe connections were facing the top of the case. This prevented me from mounting a second fan to the top of the case. Upon examination, it looks like I can swivel the pipes to enable me to fit the radiator to where the tubes are connected at the bottom. Giving me clearance for the second fan. Learn from my mistake and take a long look at how you’re going to install this before you actually pull the trigger.
When installing the Kraken, juggling 3 fans while trying to get it mounted can be a pain. The way I did it was to get the middle fan lined up with the case mounts and the radiator and put a screw and washer in the top left and bottom right holes. I left them a bit loose so I’d have some wiggle room and then did the same with the top and bottom fans. Make sure to unwrap the fan cords and mount the fans so that the wire is facing towards the back of the case. That way to can smoothly run them to the back of the case for cable management. Also, ensure that the fans are all pointed in the right direction, which is to blow into the case. Once you’ve got the fans tenuously mounted, add the rest of the screws and washers and tighten up the others.
At this point you’re almost done, you’ve just got two more steps. The radiator comes with a wiring harness and a mini-USB to USB 2.0 header cord. You’ll need to use the wiring harness to connect the fan cords together and then connect them to the pump through the proprietary connector. This connector only fits into the pump one way, so flip it around if it doesn’t seat for you easily. Finally, you’ll need to connect a SATA power connector to the male SATA plug on the harness. Your last step is to plug the mini-USB into the pump and then plug the header connector into a spare USB 2.0 header on your motherboard.


