Finishing Up Your Upgrade
So, you’ve got the new parts mounted, but you’re still not done yet. Depending on how much of a stickler you are about cable management, the next part could take a bit. You’ll want to zip tie down the cables in the back of your PC and pull the ones in the primary compartment taunt so that you get the maximum air flow. Cable management technique could be an article itself, so I leave it to you to figure out the way you want to do that.
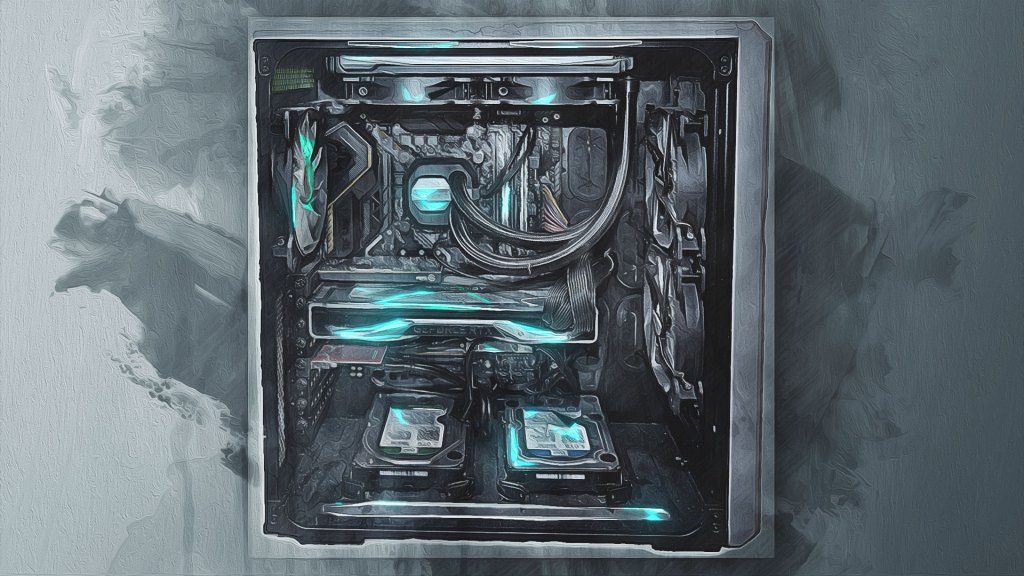
You’ll also need to install your other case fans. Unless you’re replacing the radiator with the Kraken, it’s likely you’ve had to move some fans here or there. Now’s the time to get them in their new home or back in place. Remember that if you’re following this setup we’re drawing in air from the front and expelling it from the top and rear of the case, so make sure you have your fans facing the right now.
Once everything is in place, you’ll want to attempt a power on. I did mine right where I did the build so I could quickly get back in and fix any issues. Fortunately, my PC booted right away, and there were no issues. Once you’ve got a good boot, you’ll want to button up your case and move it to its usual location. I recommend downloading the software (if any) for your new hardware and getting it configured. Then you’ll want to use a program like HWiNFO to watch your thermals. Give your computer some time to warm up and keep checking the temperatures to make sure they’re falling into normal levels. The Kraken runs on the “Silent” setting by default, so if you want to do some major overclocking or stress testing, you’ll want to set it to “Performance” or create a custom fan/pump curve.
Troubleshooting After the Upgrade
If you have issues after adding these parts here are the first steps towards fixing them:
Refusing to Boot
This is going to be a power supply issue. Even if your CPU had no cooler on it at all (DO NOT DO THIS), your system would still boot before overheating and shutting off. If you finish your upgrade and the system doesn’t respond or throws error beeps, make sure all your power cables are firmly plugged into both their respecting receptacles on the motherboard/components and the power supply itself. If you still have issues after that, make sure all your components are seated firmly. It’s possible you could have jostled something out of place. If you continue to have problems after that check, try using some of the extra cords that came with the power supply, it’s possible (but not likely) that you got a dud.
High CPU Temps
If you find you have high CPU temps after installing a new cooler, there could be a few culprits. Before jumping to any conclusions, make sure you give the thermal paste a good amount of time to cure. It can take 24 hours or so of operation before all the microbubbles are worked out of the paste, and the cooler and CPU have a good connection.
If after a day you’re still seeing high temps, try adjusting the fan and pump curves. Every processor has its own designed operating temperature, and sometimes the default settings just aren’t aggressive enough to beat the heat. On the Kraken, as stated above, “Silent” is the default setting. This provides adequate cooling, but especially if you’ve overclocked your CPU, you may need to move to a more active cooling environment.
With continued heat issues you may need to remove the pump and cooler and troubleshoot. Make sure the fans are blowing in the right direction, which is pushing air over the cooler. Also, if you tighten the pump onto the CPU too tightly or too loosely, the thermal paste may not be able to do its job. Check these avenues, and if you have additional problems, you may need to contact the manufacturer for most detailed assistance.


