The launch Battlefield 5 map list contains eight maps, each of which has their own nuances and strategies. This is a Battlefield game, so some of these are expectedly large, but there seems to be a bit more emphasis on infantry tactics, and this results in a few claustrophobic, tight maps, with more narrowly defined corridors. This means you’ll have to be ready to switch up your strategy from game to game and learn the nuances of each area.
Below we’ve got the list of the maps released for Battlefield 5 so far. Eight maps are available at launch with a ninth free DLC map coming soon. With DICE’s service-based approach to BFV, we’ll likely see smaller batches of maps released more frequently, so we’ll make sure to update this list often.
List of Battlefield 5 Maps and Strategies
We’ve included details and strategies for the eight maps that have released for Battlefield 5 so far. We’ll be adding more as new maps are released so check back often. All of the eight maps are available in all the multiplayer modes released so far.
Aerodrome
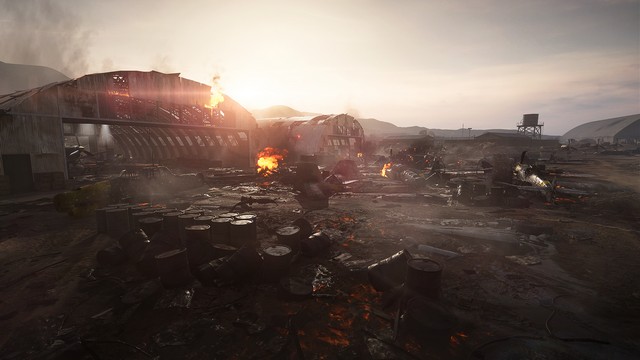
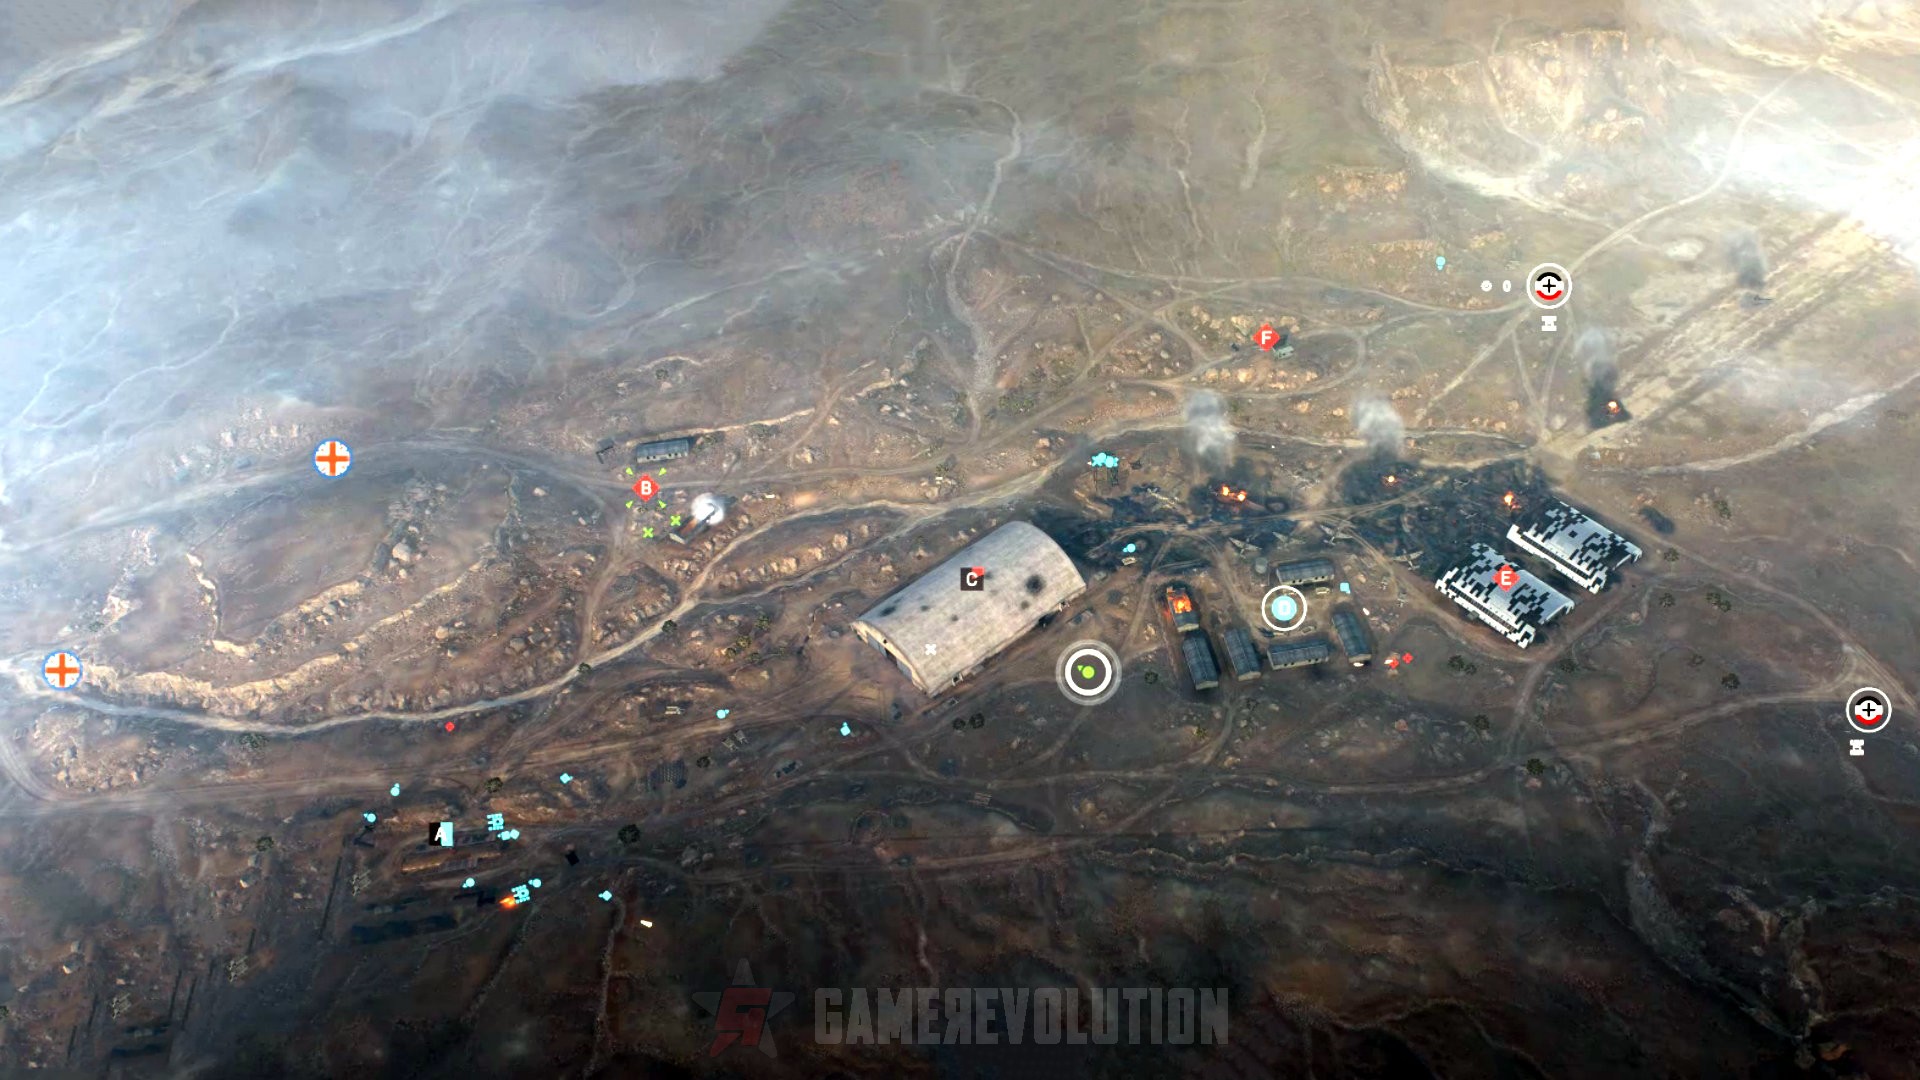
Aerodrome is set in a North African Axis airfield. The primary feature of this map is the large central hangar, which inevitably becomes the scene for large-scale firefights between the two teams. While the smaller vehicle count puts an emphasis on infantry tactics, tank warfare can turn the tide of battle here as there are plenty of opportunities to set up kill boxes for enemy troops.
Aerodrome Strategies
One of the best strategies to use in Aerodrome is to forget the middle hangar. Because of the hangar’s structure, both teams can get mired down in combat here with little result for either. The better choice is to stay to the periphery of the map and capture the five flags surrounding the hangar. If you do this and leave the hangar for the enemy to capture, you’ll be able to surround them and gun them down when they’re trapped in and around the hangar.
Arras
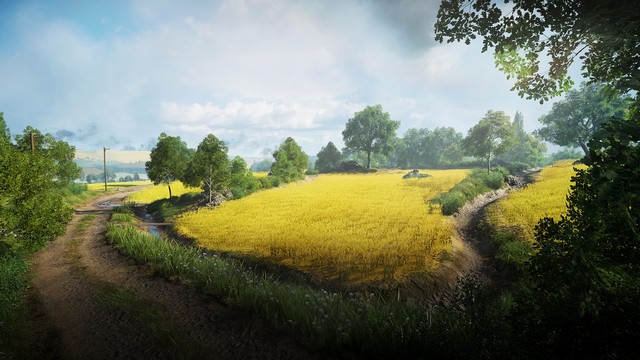
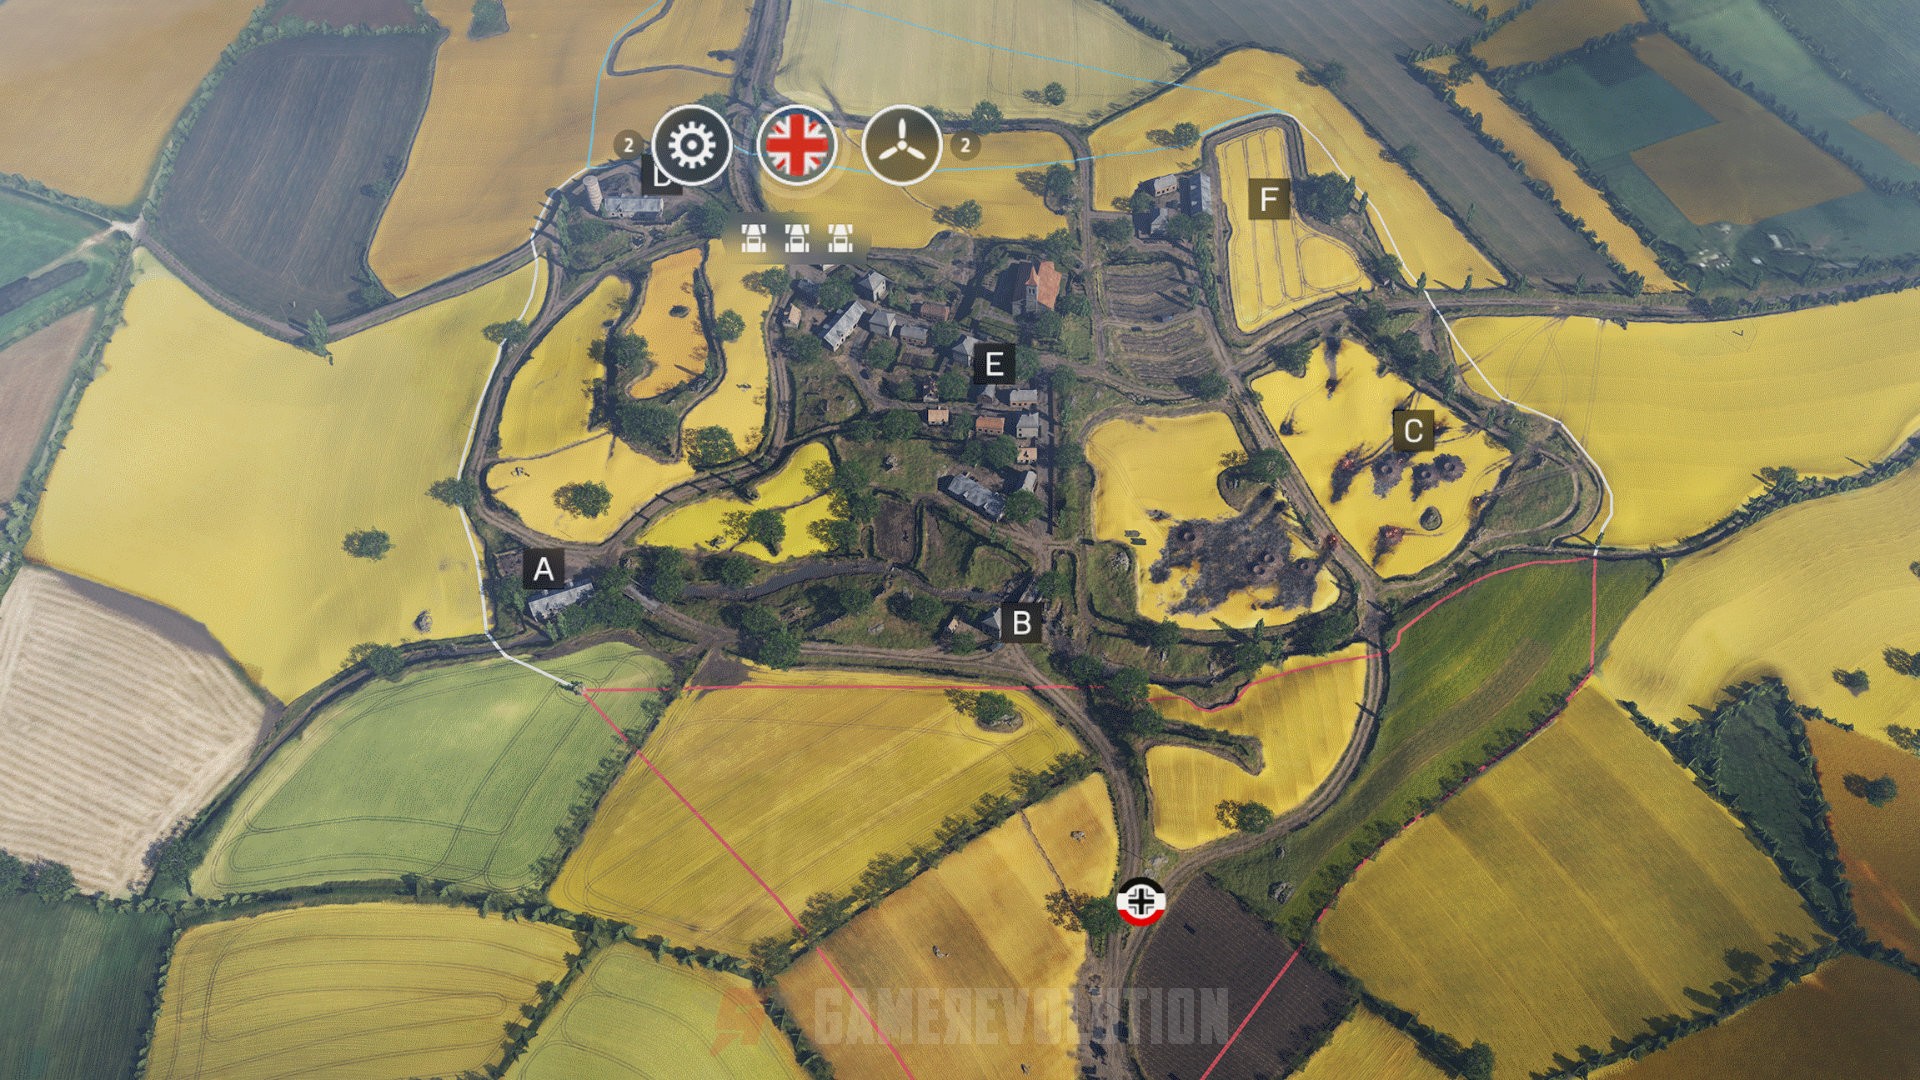
Arras is a more traditional Battlefield map and takes place in the open French countryside. Each side gets two tanks and two aircraft which enables teams who excel in vehicular combat to take the edge. The openness of this map means most action will take place in the small groups of buildings and wreckage found throughout the level.
Arras Strategies
You’ll want to use the patented Battlefield shuffle in Arras. Troop carriers should head towards the nearest flags immediately, and these areas should then be reinforced with fortifications. Your side’s tanks and planes should then concentrate on taking out enemies in the open and destroying the opposing team’s vehicles. Because this map is more open, if you can take out the other team’s vehicles, you can do a lot of damage to infantry with little risk.
Devastation
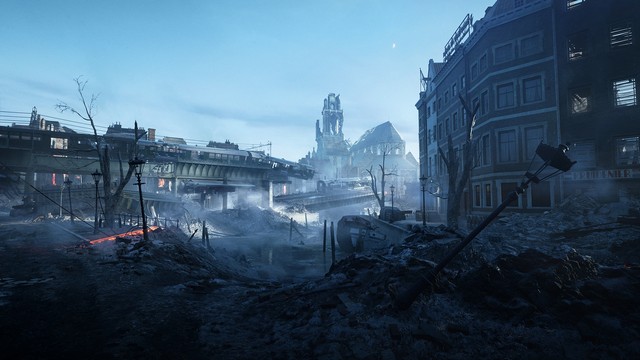
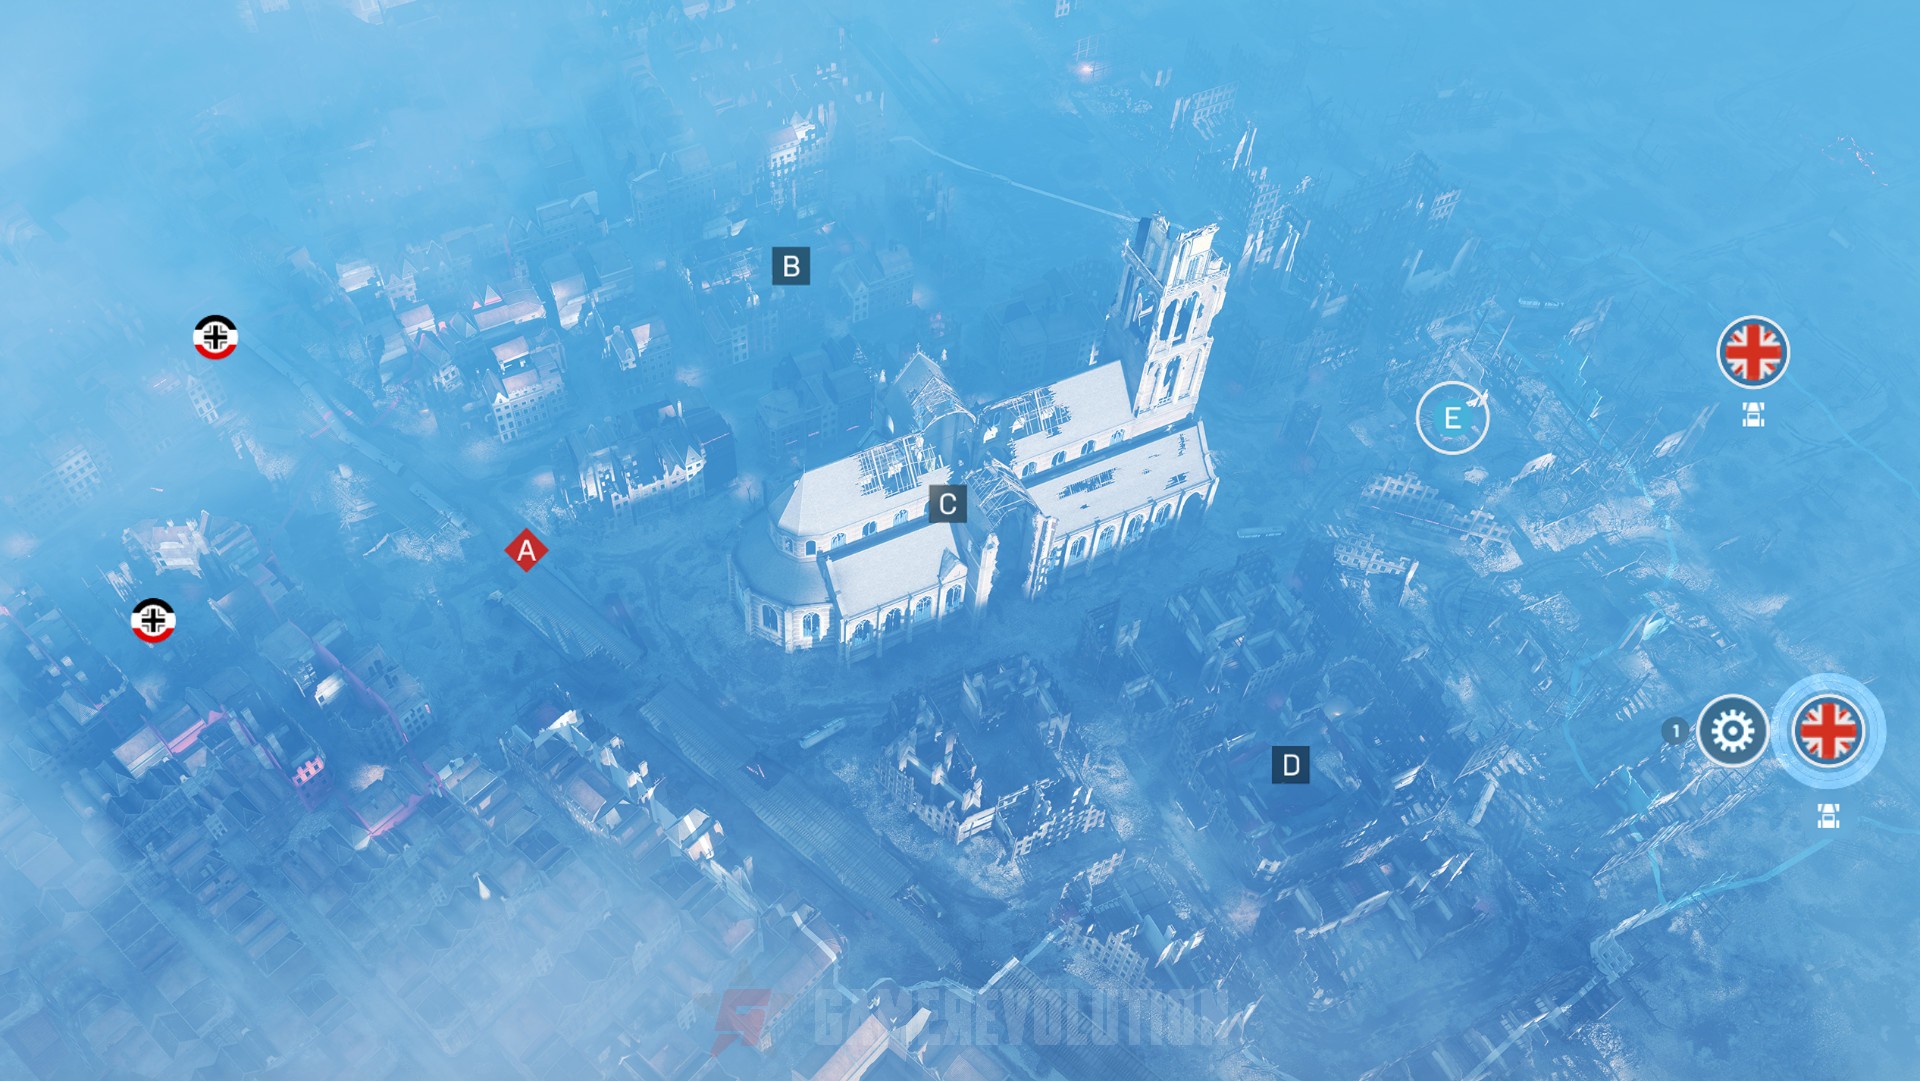
This is a variation on the Rotterdam map, showing the city after the German bombing. With so many structures being leveled, the St. Lawrence Church and the rubble circling it make for an interesting map that pushes players towards large firefights in the center point.
Devastation Strategies
Holding the church is the goal in Devastation. There’s little strategic value in the other points, but if you can gain the church and get enough snipers and machine gunners in the right position, you can hold out for a good part of the game. Tanks are best used on the defense here as the rubble, and tight spaces make it hard to use them good offensively.
Fjell 652
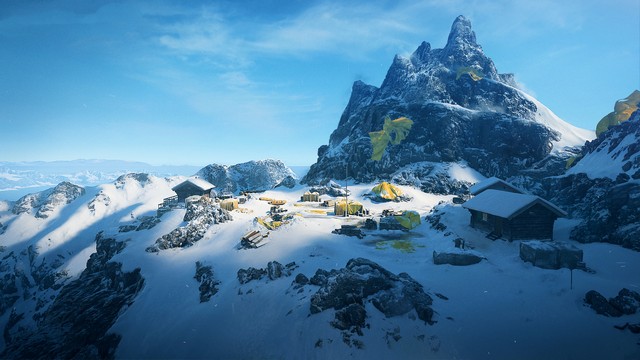
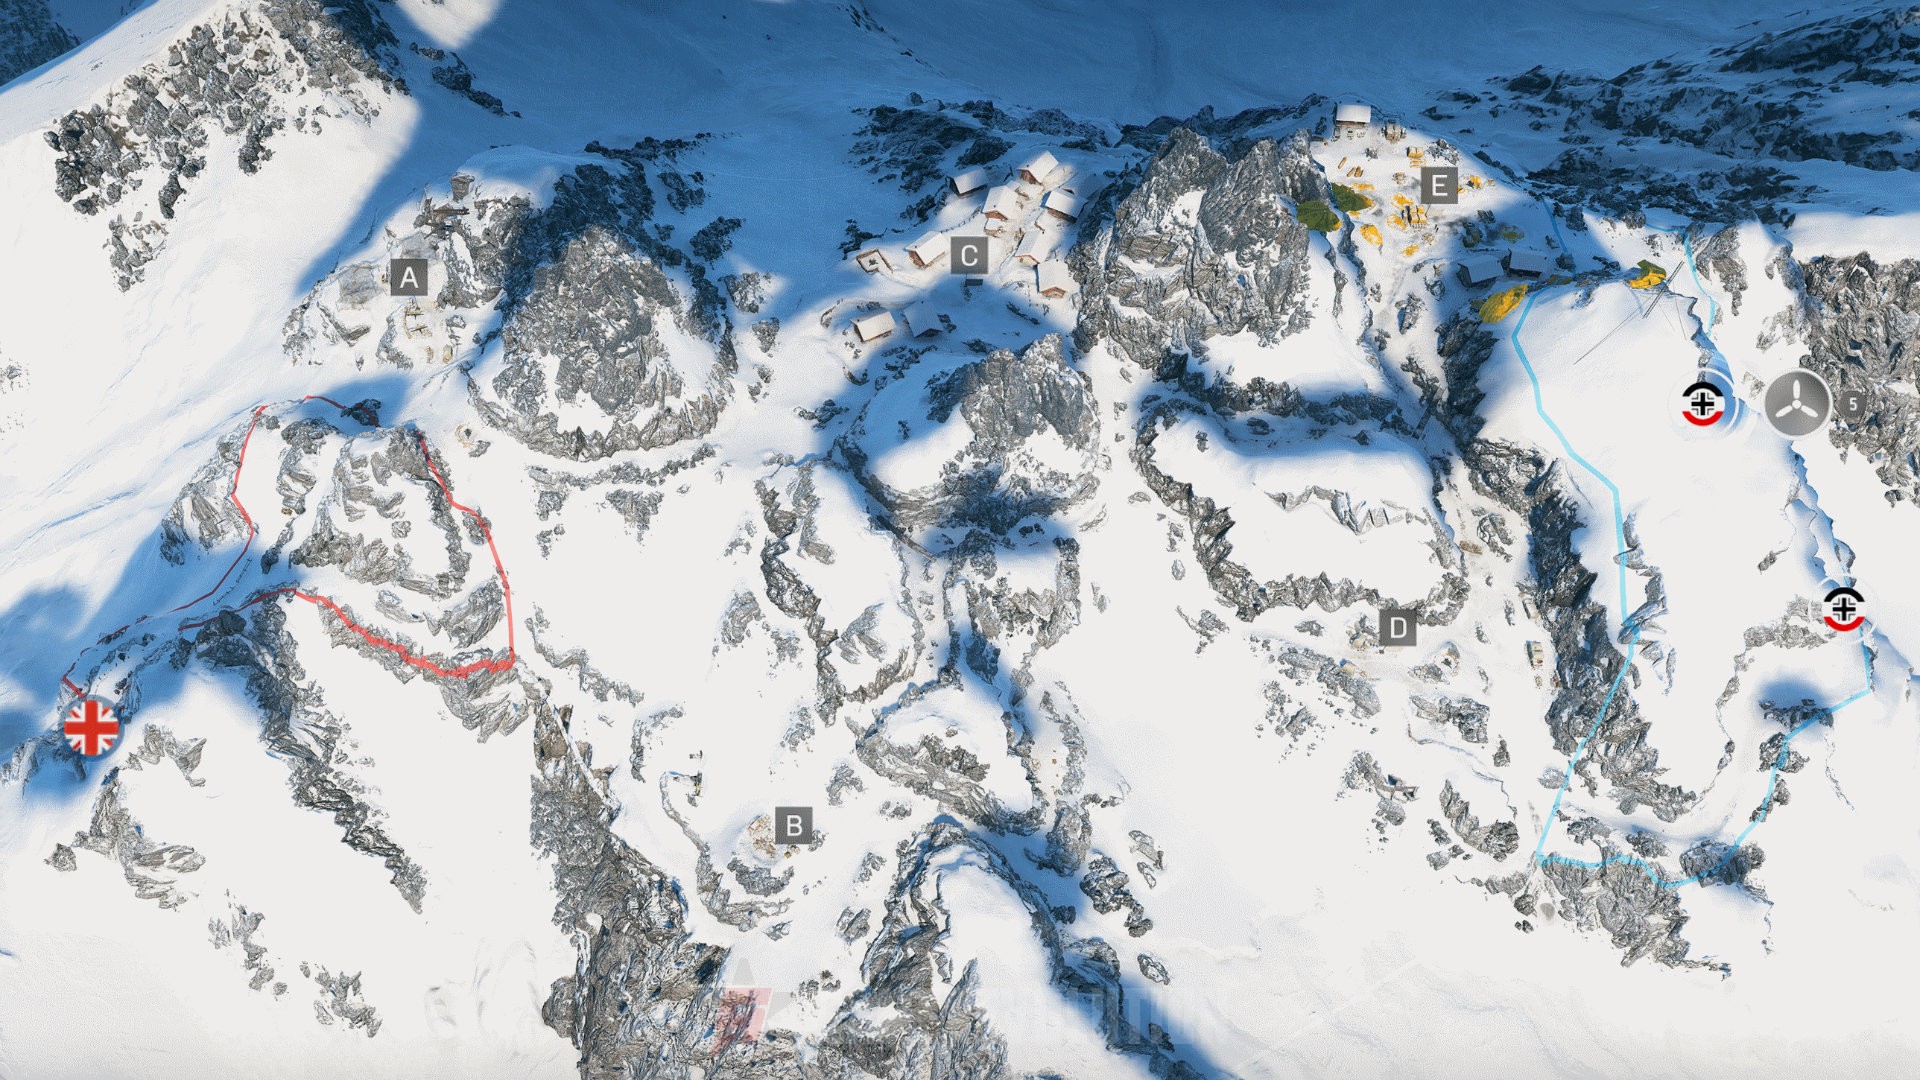
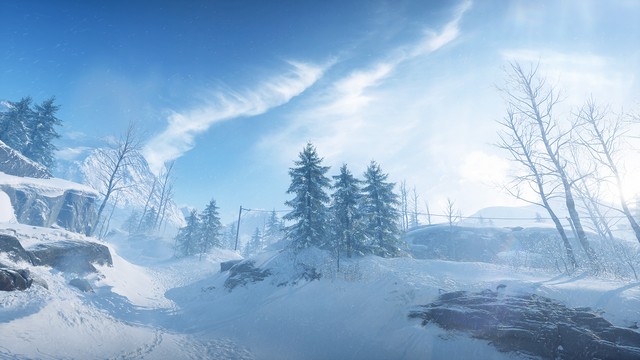
This hulking mountain pass is one of the more claustrophobic Battlefield 5 maps. There are five outposts which are connected by narrow corridors snaking through the canyon. The only vehicles available here are planes, so combat on the ground is infantry-only. The narrow passages make it easier to defend a point once you’ve captured it, but this can just as quickly turn against you when you try and go on the offense.
Fjell 652 Strategies
En masse charges are the best way to take each point in Fjell 652. You’ll do little good by yourself here, and sniping isn’t nearly as viable as you’d think. It’s easy for this map to devolve into ring-around-the-rosy with you capturing a point and moving onto the next just to have the enemy recapture it right behind you.
To avoid this kind of stalemate play, you need to capture points and bolt onto them. Taking A, B, and C if you’re the British or C, D, and E if you’re the Germans and then going on the defense is the best way to win. Machine gunners in defensive positions can take out masses of enemies as they exit the narrow corridors leading into points, and if you can hold onto your flags, it’s just a matter of attrition.
Hamada
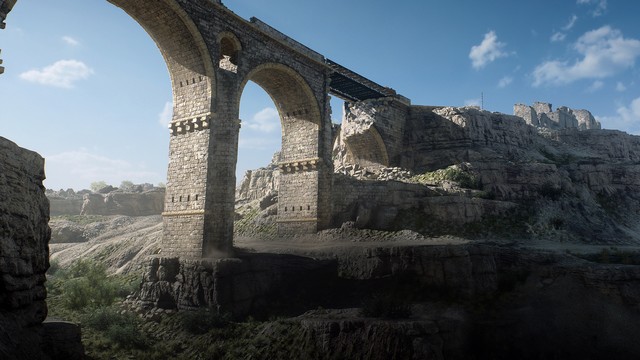
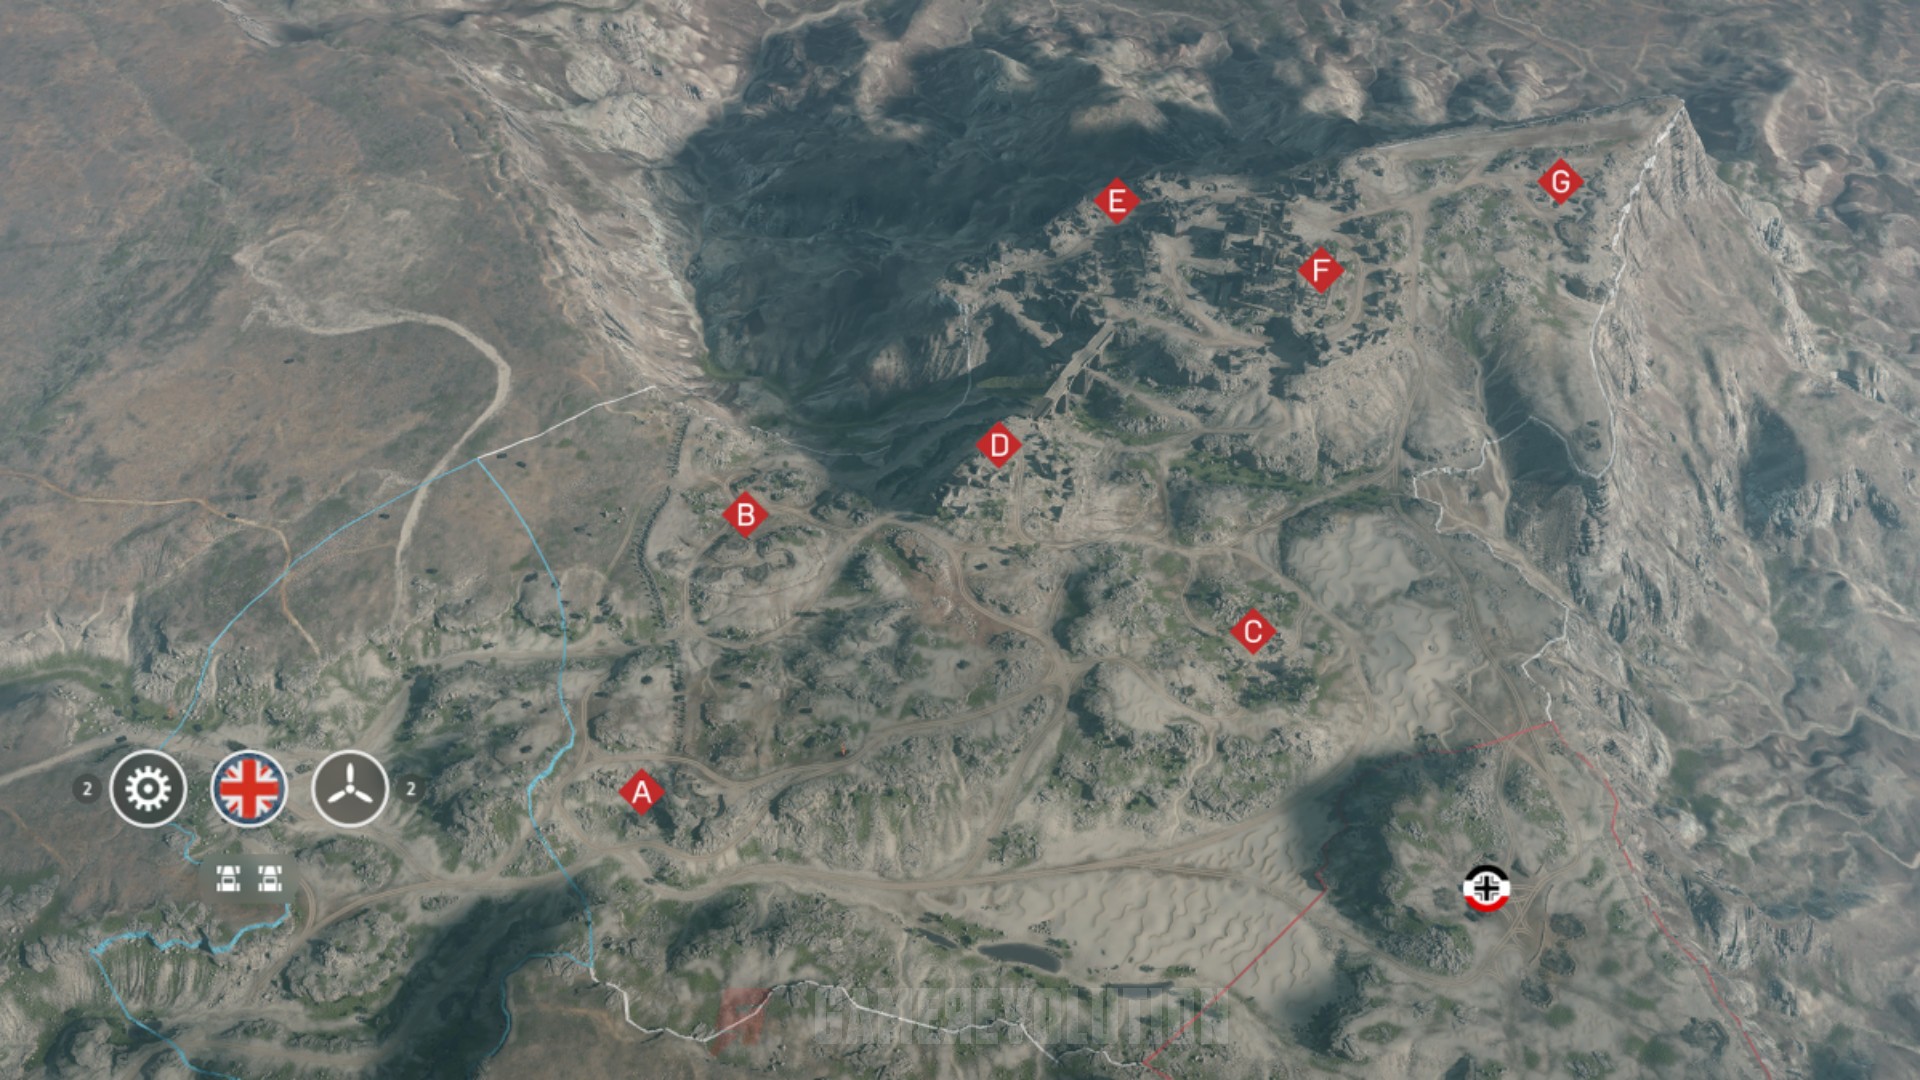
Hamada is a massive map with some very interesting features that take advantage of some of the new additions to the series that come with Battlefield 5. Points D and E, in particular, can lead to some intense fighting. There you’ll find a destructible bridge that can stop enemies from advancing across the chasm if it’s blown up.
Hamada Strategies
Snipers, here’s a map where you can shine. At points F and G you’ll find good places for sniper nests that can let you pick off the enemy from afar. You’ll notice that combat in Hamada is somewhat fluid in the beginning, as the long distance between points makes it harder to reinforce an attack. In this map, the boldest side will likely be the victor as by mid-round the fighting will become more static in nature.
One game changer in Hamada, though, can be the bridge. Blowing this can protect the German side of the map from tanks, which are quite the powerhouse here. If blown, the bridge has to be rebuilt, and snipers can make that a risky prospect.
Narvik
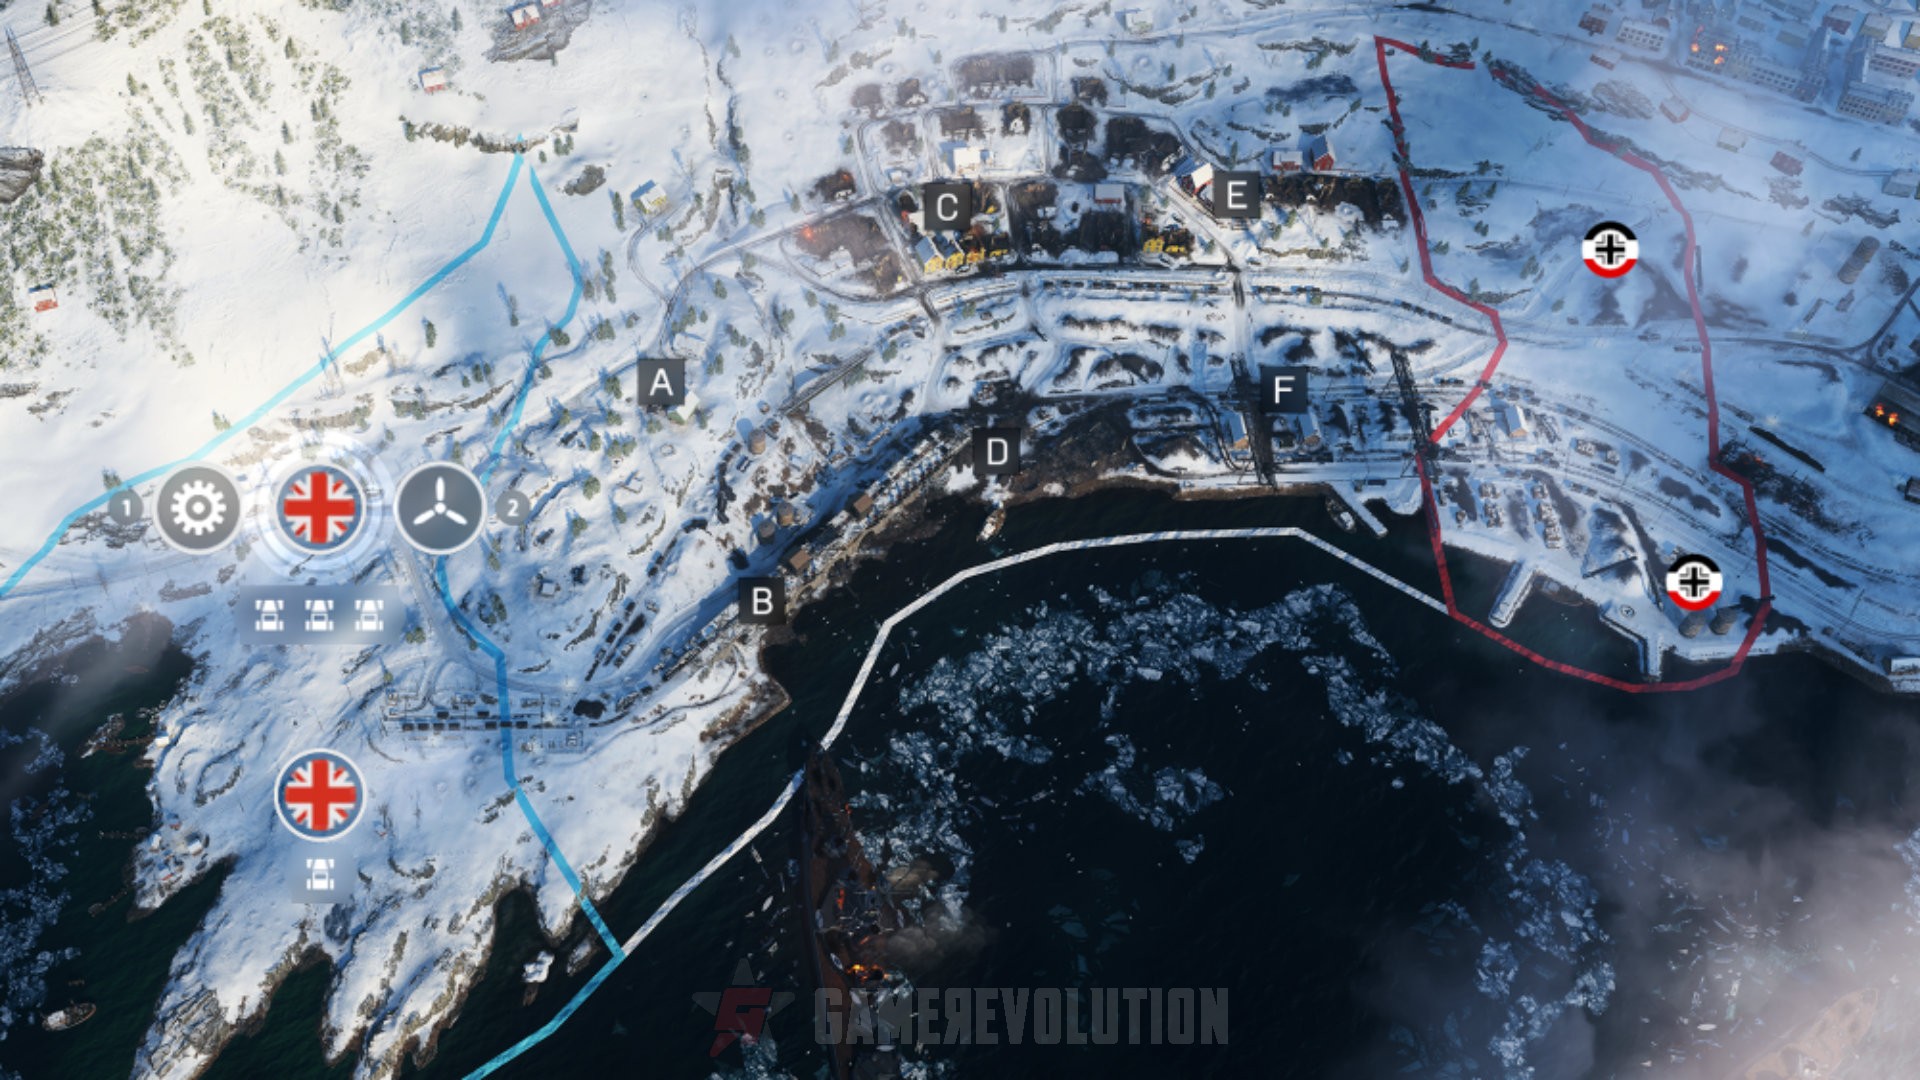
If you played the alphas and betas of Battlefield 5, you’re likely intimately familiar with Narvik. The prominent feature here is the railroad bridge spanning between points B and D on the map. Narvik is a medium-sized map which typically sees both sides frantically fighting for control of both sides of the bridge and secondary fighting taking place in the village in points A, C, and E.
Narvik Strategies
The ace in the hole in Narvik is point F, at least if you’re the Germans. The Ore Depot at point F is the perfect place to group for an attack on D or to fall back to in case the British overrun that position after you capture it. F is easy to fortify and defend compared to the other points on the map and should be a pivotal point to keep for the German side.
The British aren’t as lucky. Point A doesn’t offer a decent route straight to B, and D, and crossing from there will put you in the open. If you’re on the Brit side, capturing B should be your priority. From here you can assault D and keep the Germans pinned down at F.
Rotterdam
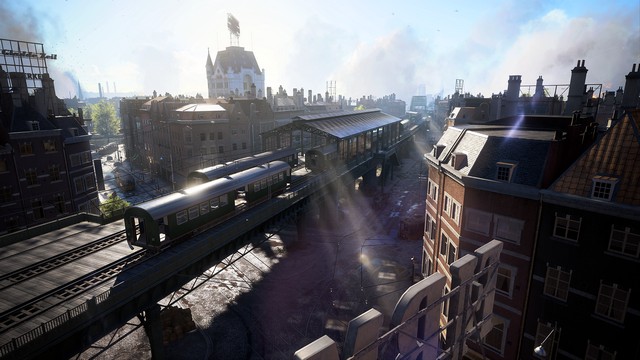
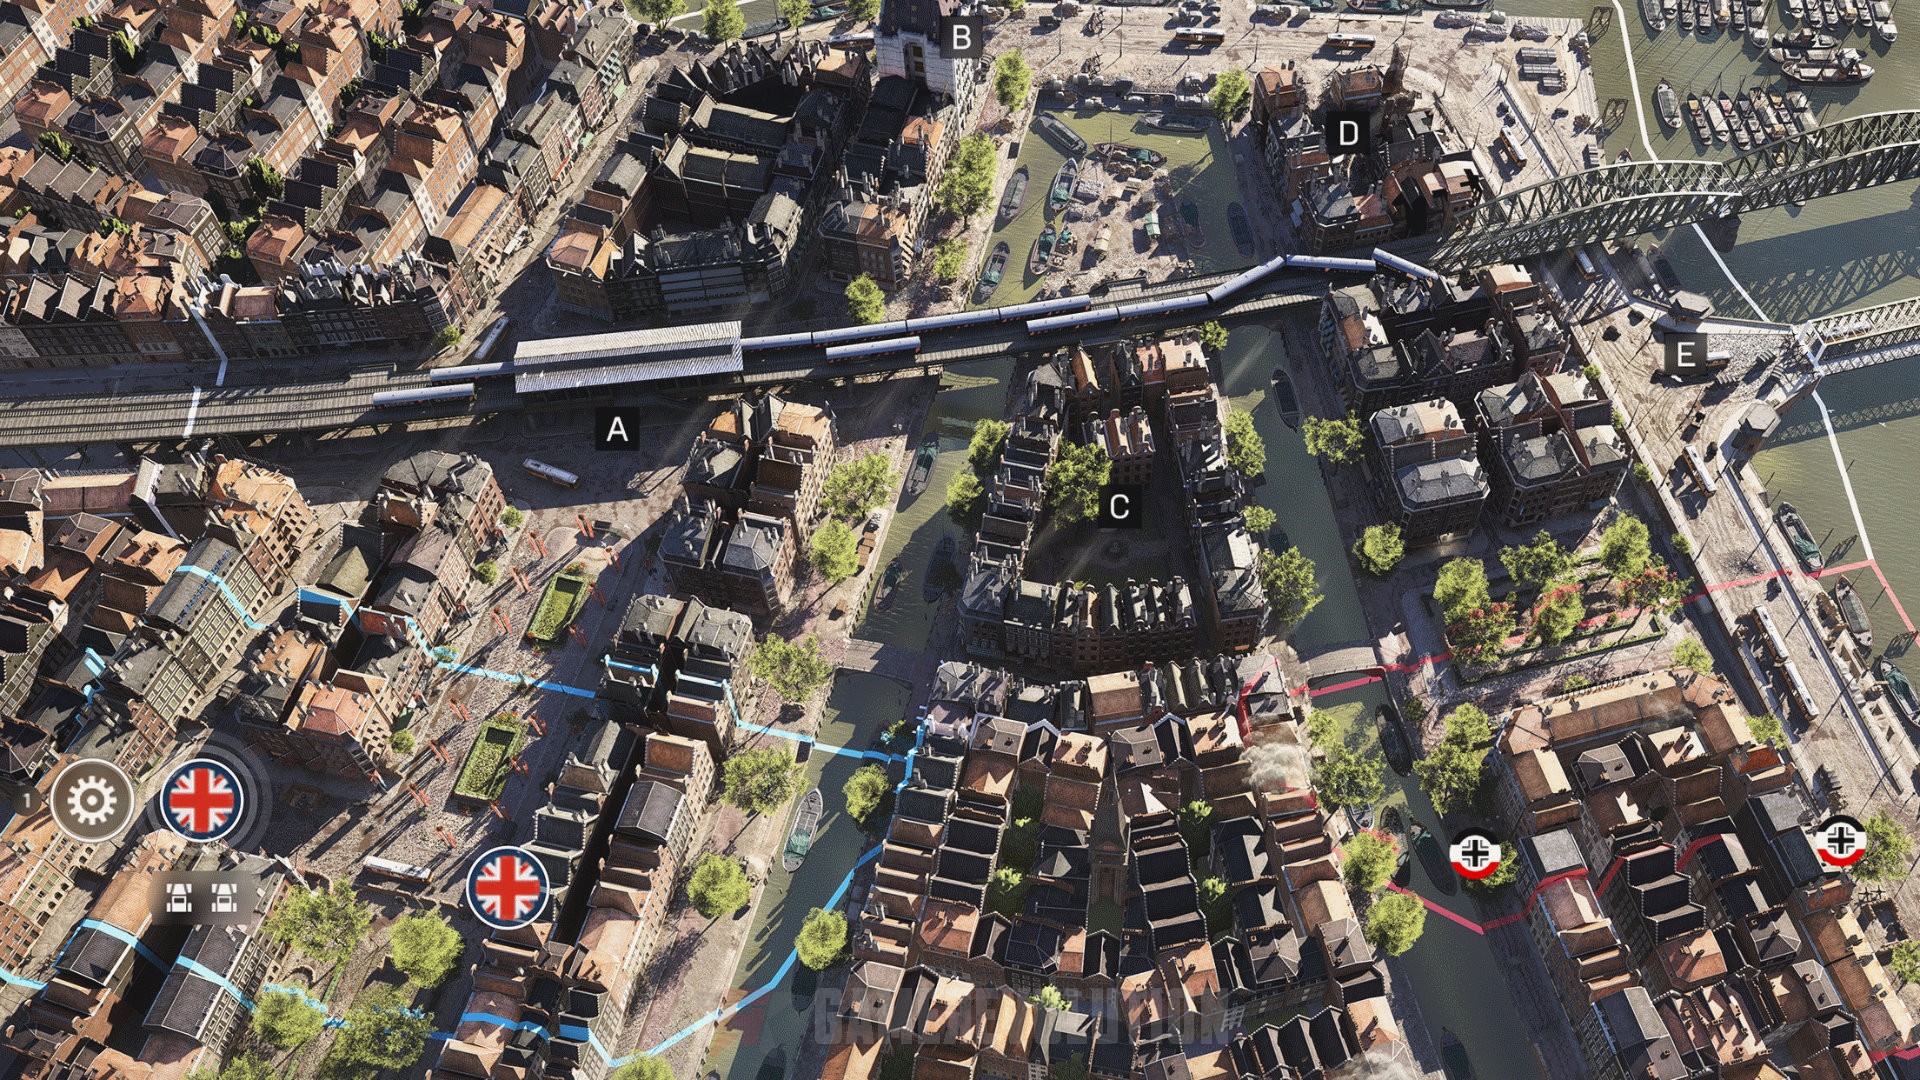
Rotterdam has the same feel of Amiens from Battlefield 1 and is a largish city-based map. The streets are a bit wider than Amiens which gives vehicle users more options, but it still contains the alleys and passageways that can lead to intense house-to-house fighting.
Rotterdam Strategies
Point A is everything in this map. If you’re British, it’s your Achille’s Heel. Point A overlooks the British spawn from an elevated railway, and if captured can put you at a significant disadvantage. There are two solutions to this. You can either brute force your way back into possession of A with the Howitzers and Machineguns mounted along the fortifications at the initial British spawn point. Alternatively, you can take the alleyways from the British spawn to the street to the east and push up to C. If you can take C, soldiers spawning in at the British spawn and C can attack A from both sides and push the Germans out.
Germans playing in Rotterdam have a simple task. Take A and hold it, this point is the key to the map, and if you can keep it, you should have an easy time taking the rest.
Twisted Steel
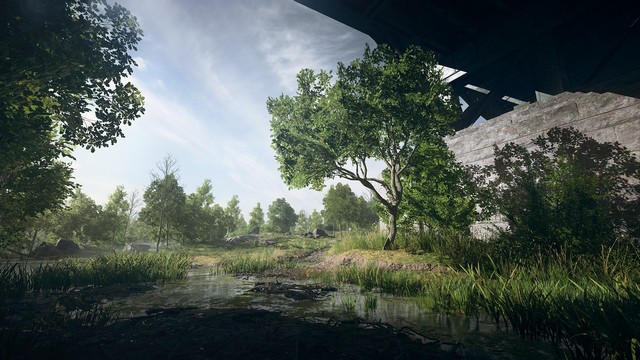
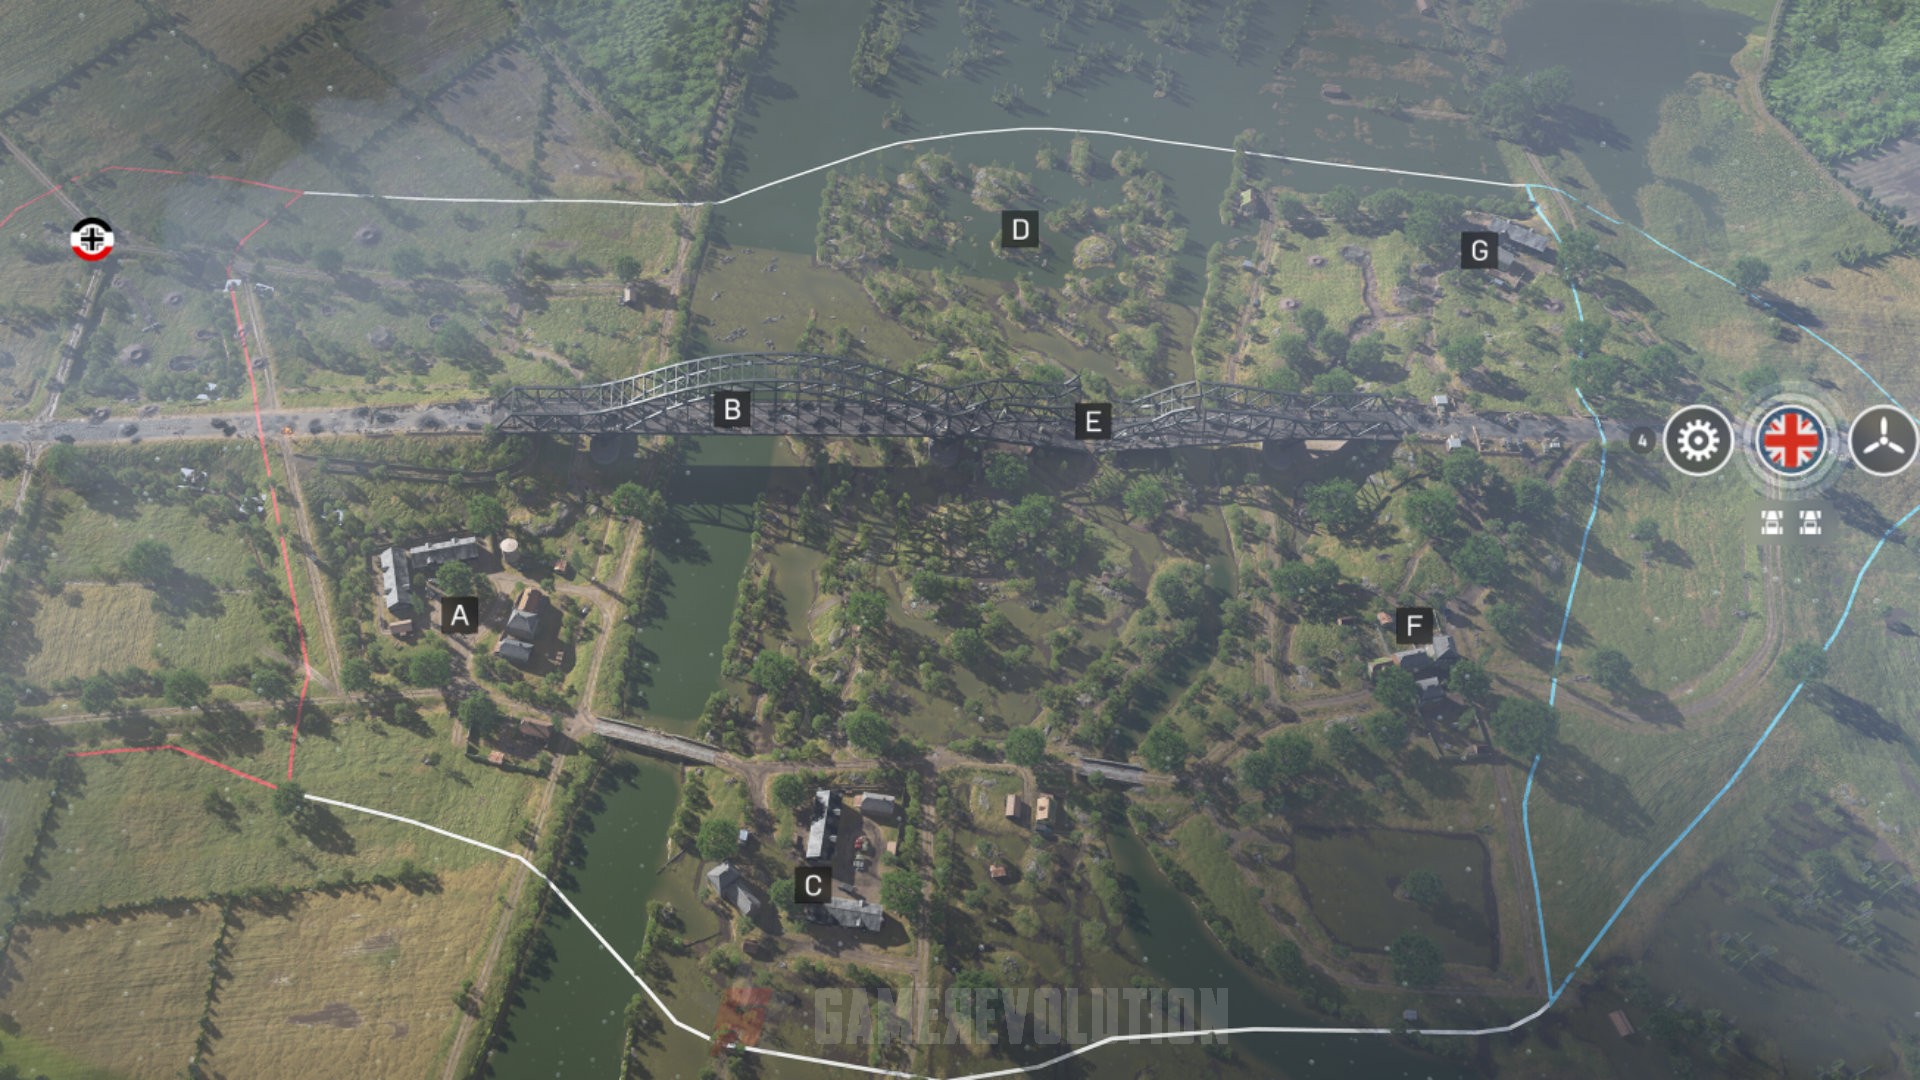
The centerpiece of this map is a vast collapsed bridge in marshy farmland. The area had been flooded by the river the bridge spans, and it’s turned much of the level into a wet, swampy mess. One of the more unique properties of Twisted Steel is how much foliage can play into your tactics. There’s lush growth everywhere, and it can be used very effectively to camouflage your movement.
Twisted Steel Strategies
Twisted Steel rewards proper combined arms tactics. This means you’re going to want to keep your tanks paired with squads of infantry. The massive amount of vegetation in this level makes it easy for enemies to sneak up and attack tanks with explosives, so you’ll need the cover if you want to bring vehicular firepower to bear effectively.
The bridge contains two points, but it’s often more effective to capture the flags on the periphery. Many times on this map the bridge is a spot of constant contention, and usually, it’s best to just let the enemy have these two points in exchange for the three others present.
