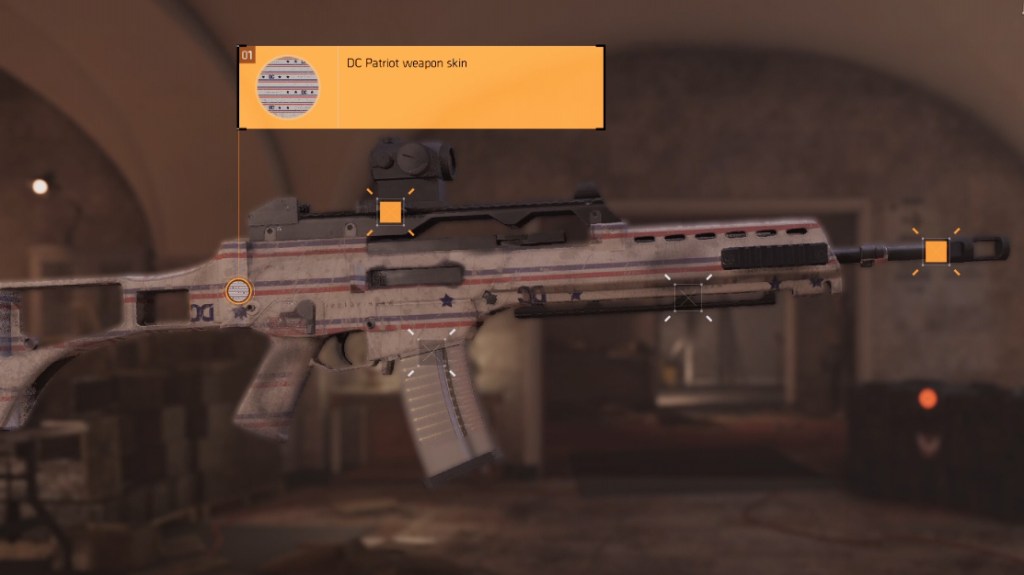
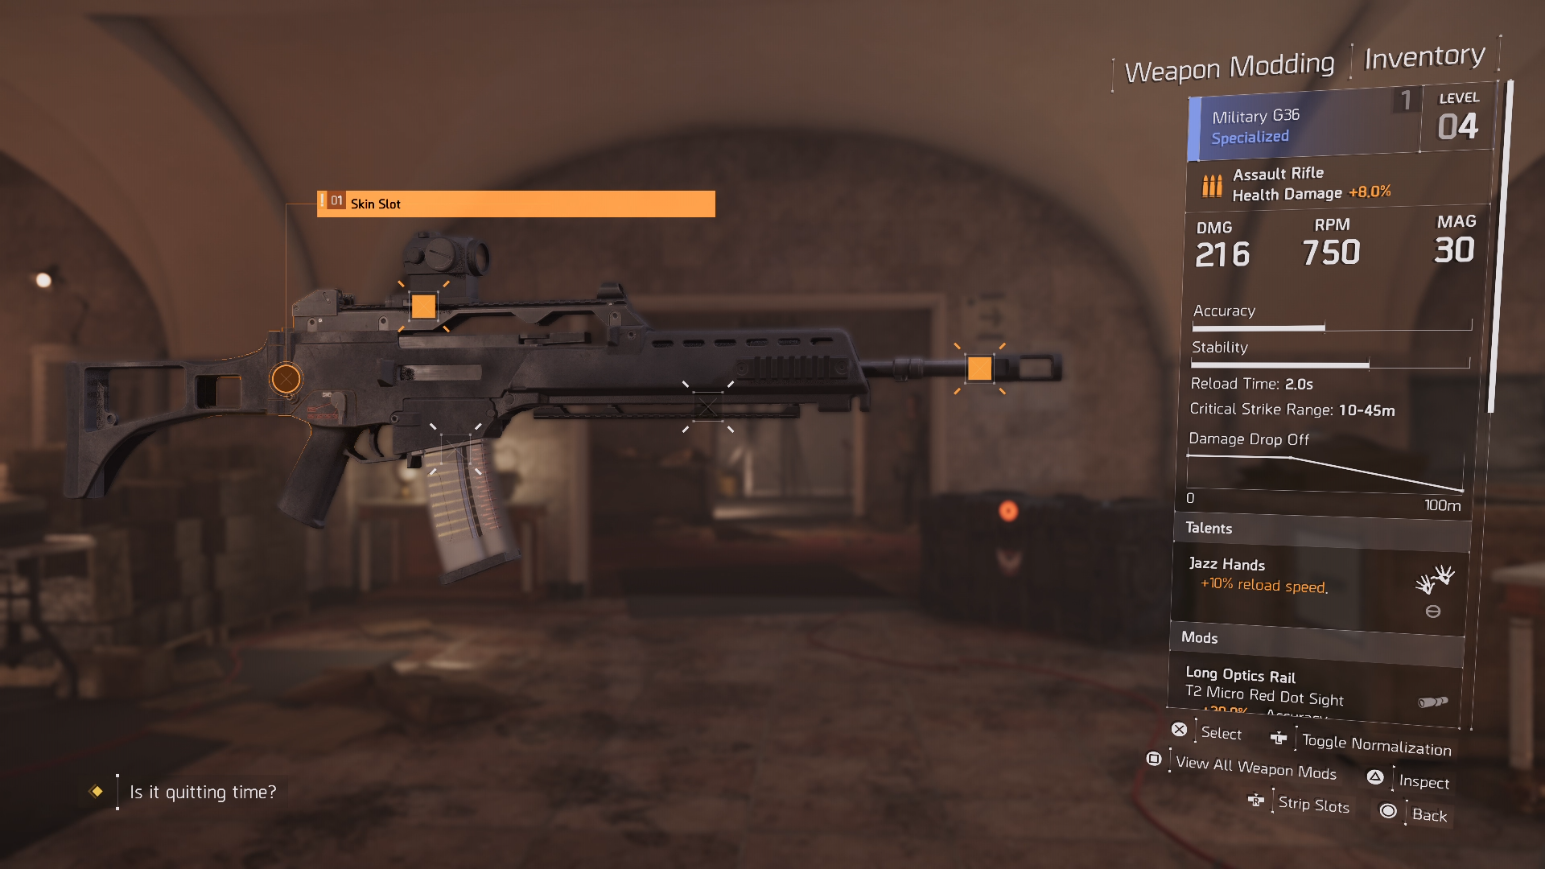
The process to equip weapon skins in The Division 2 works just a bit differently from the first game. Chances are if you’ve purchased the Gold or Ultimate Edition of the game that you’ve seen that you get at least one bonus weapon skin with your purchase. You can pick the bonus weapon skin up from the beginning of The Division 2, but when you go to put it on your gun, you’ll notice that the familiar Skin Mod slot is missing.
We’ll tell you which weapons can equip skins in The Division 2. We’ll also show you the exact process on how to fit weapon skins in-game.
How do you equip weapon skins in The Division 2?
The first thing you need to do to equip a weapon skin in The Division 2 is to get your hands on one. As stated above, if you bought one of the deluxe versions of the game you’ll get a skin as a bonus item. Otherwise, you’ll have to wait until you find one in a cache or purchase one with premium credits.
Once you’ve got a weapon skin in your inventory, you’re good to go. These items aren’t expended each time you equip one, which means you can put one skin on multiple guns. However, only certain weapons can actually be fitted with a cosmetic.
If you try and throw a weapon skin on your starting gun, you’re in for a disappointment. Both common and uncommon firearms don’t have a Skin Mod slot. Instead, you’ll have to wait until you get a blue tier Specialized item or up.
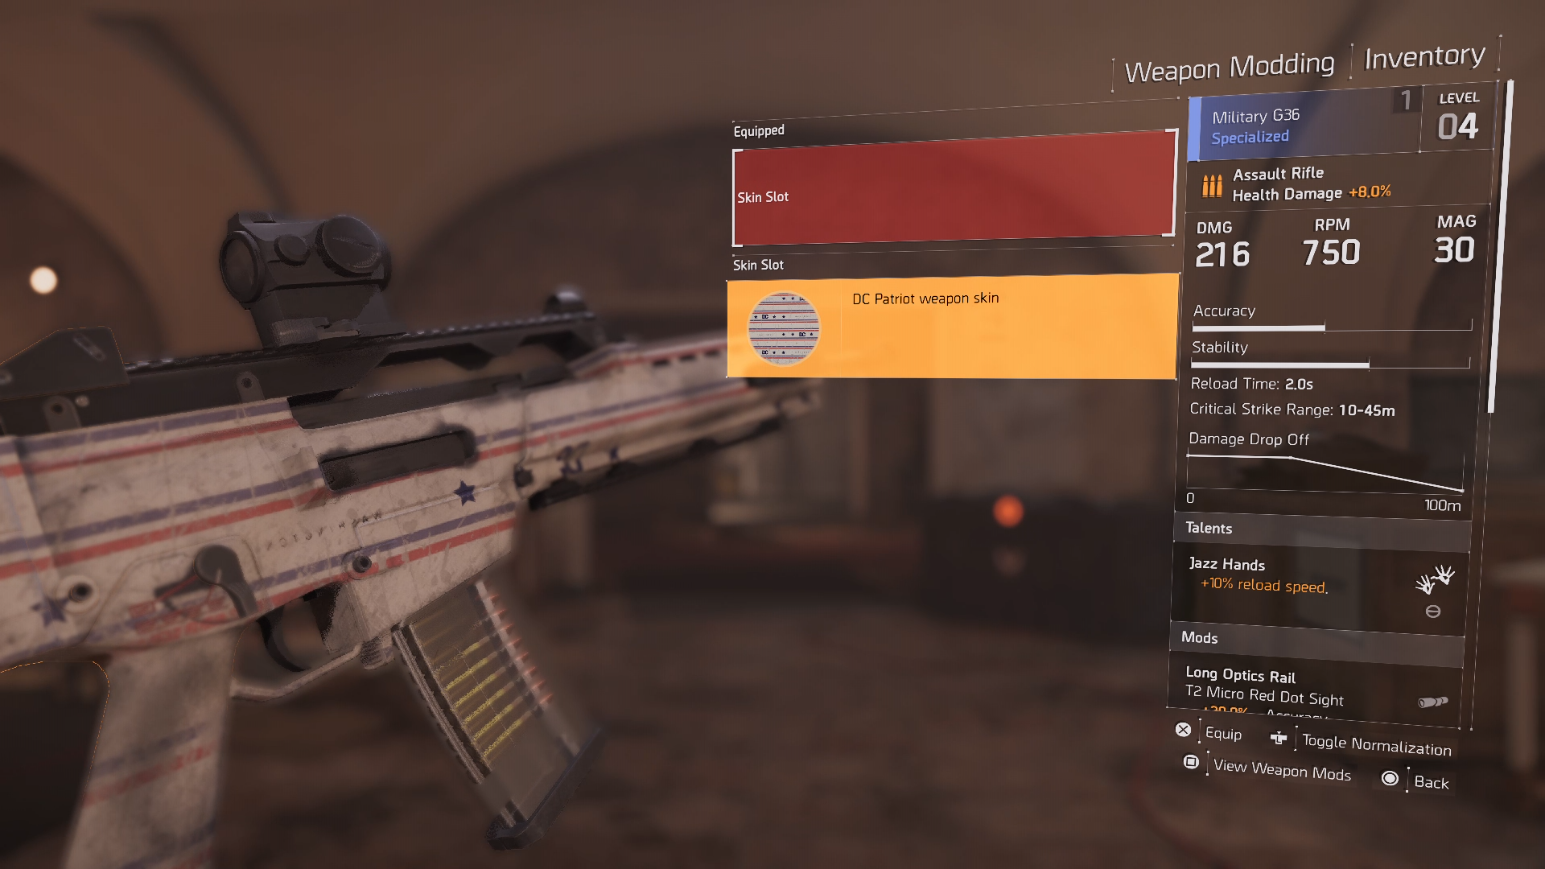
Once you have a blue tier gun, you can equip a weapon skin. Just highlight the weapon in your inventory and press the button to open the gun’s mod screen. Then, scroll over until you see “Skin Slot.” This can usually be found near the stock of the weapon.
Select the slot and choose whatever skin you want to equip from the menu. Then, just hit select again and you’re good to go! Just keep in mind that only guns that are blue grade or above can be customized with skins.
Division 2 Apocalypse Travel Guide
-
A Tourist's Guide of Gaming's Post-Apocalyptic Settings

It finally happened. The bombs went off. The zombies took over. The flood waters overtook the city. Valve released Half-Life 3. Whatever the case, you want to make the most out of your post-apocalyptic travel. In honor of The Division 2, we're taking to the skies and touring gaming's most luxurious wastelands. -
Enslaved: Odyssey to the West

Treat yourself to a luxurious overgrown wonderland of ruined buildings. Spy the warbots in the distance, but avoid their nasty claws and howling maws. Just grab some EMP devices and holograms and grapple to a prime sunbathing spot. No one will bother you up there. -
Far Cry New Dawn
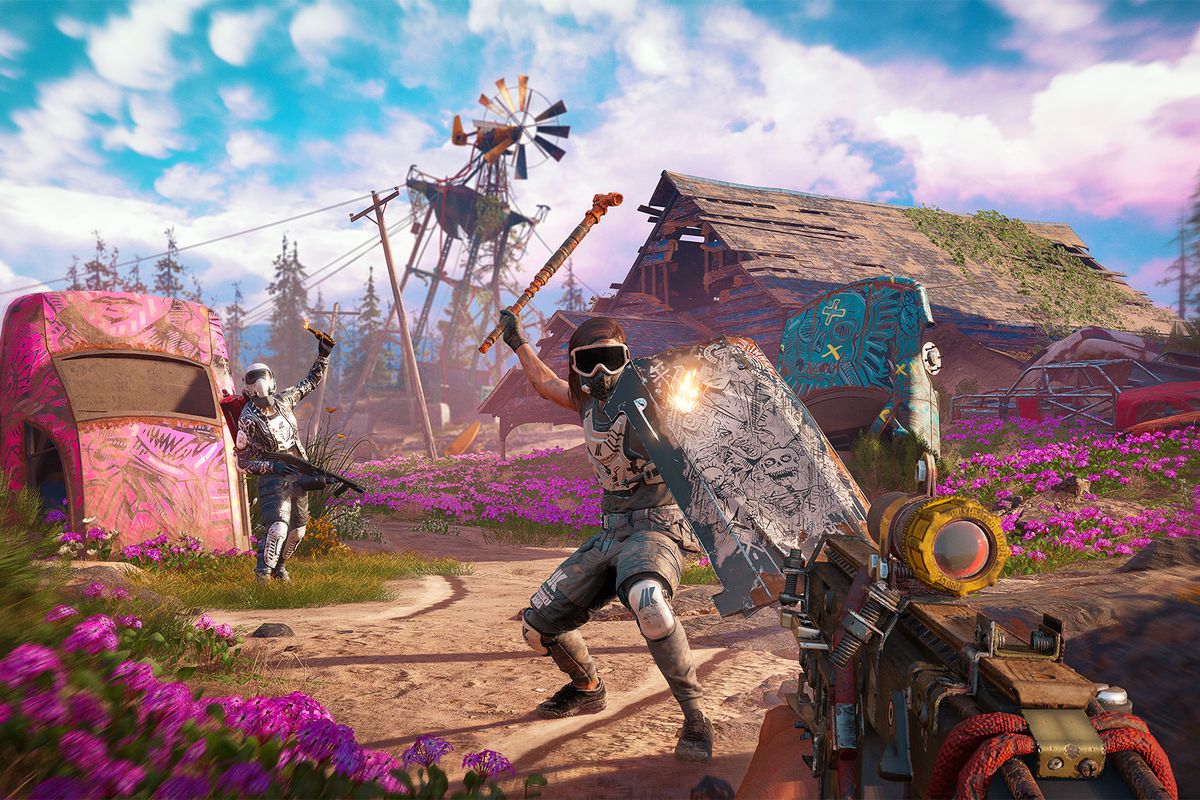
Pristine Hope County was spared by the atomic blasts, which is great news for the end days traveler. Marvel at the intricate and colorful graffiti left by the local "Highwaymen." Enjoy the death races at the arena! Just keep your helmet on and lay low, you probably don't want to be a participant. -
Horizon Zero Dawn

From the newest dawn to Zero Dawn. Arrive in All-Mother's Embrace and sample local cuisine from the Nora tribe. Venture out towards Meridian on safari, snapping pictures of all the robotic wildlife. Just remember, steer clear of the Tallnecks. They can crush anything underfoot without warning. -
Metro Exodus

The Russian countryside is just as luxuriously gray as any other post-apocalypse. Find a local faction to call your own and scavenge for food from your new rivals. Or, hop on the train and journey towards the unknown as you battle mutants alongside this Artyom fellow. -
MotorStorm: Apocalypse

What's better than wandering through ruined buildings and chatting it up with starving locals? Zooming past them on your retrofitted motorbike! Race with other thrillseekers on the roads of civilization's end, avoid sinkholes, and deathtraps on your way to the assuredly dented golden trophy. -
Fallout: New Vegas

Roll the dice on New Vegas, the greatest little set of casinos in the Wasteland. Stay in the Lucky 38 and be Mr. House's special guest, or take your chances across the street at the Ultra-Luxe. Just don't try the steak unless you have a strong stomach. -
Mad Max

Drive the Magnum Opus out to the Plains of Silence for a luxurious desert vacation. Come for the delicious cans of Dinki-Di Meat and Veggies, stay for the parades of raider caravans gathering in the distance. Bring a sawed-off shotgun along for extra fun. -
Rage

Do you want to see the pink of end times Hope County but you need a few more superpowers on your stay? Saddle up to Wellspring and take in the world of Rage. Just sit down at Mick's Garage and get set up with your own Outlander racing vehicle. -
State of Decay
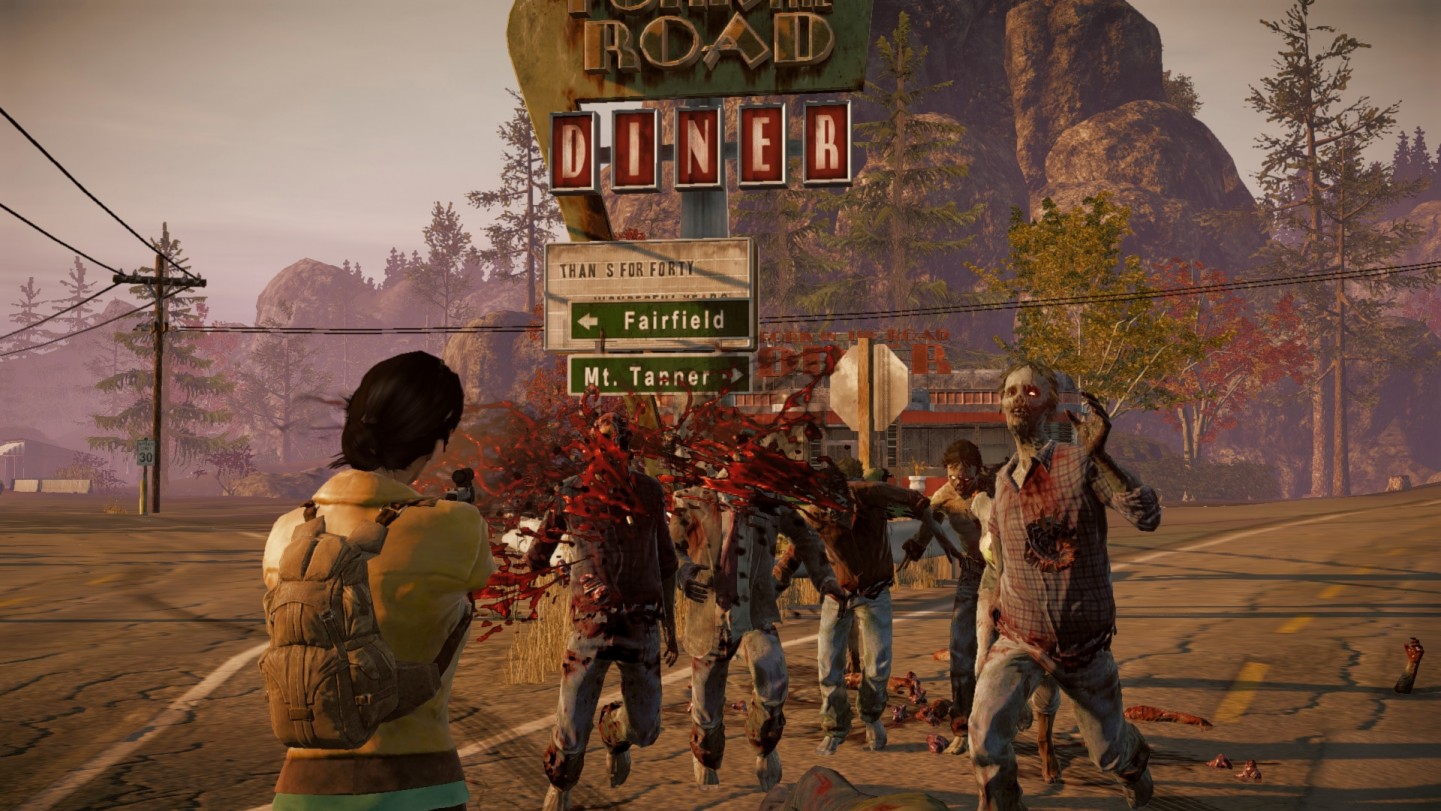
For a little extra with your end times, you'll always want to add the Zombies option. Perfect for groups or those with teamwork in their veins, Trumbull Valley offers plenty of opportunities for scavenging and exploring. Make new friends, rescue your old ones, and make a new home before the Breakdown. -
Wasteland
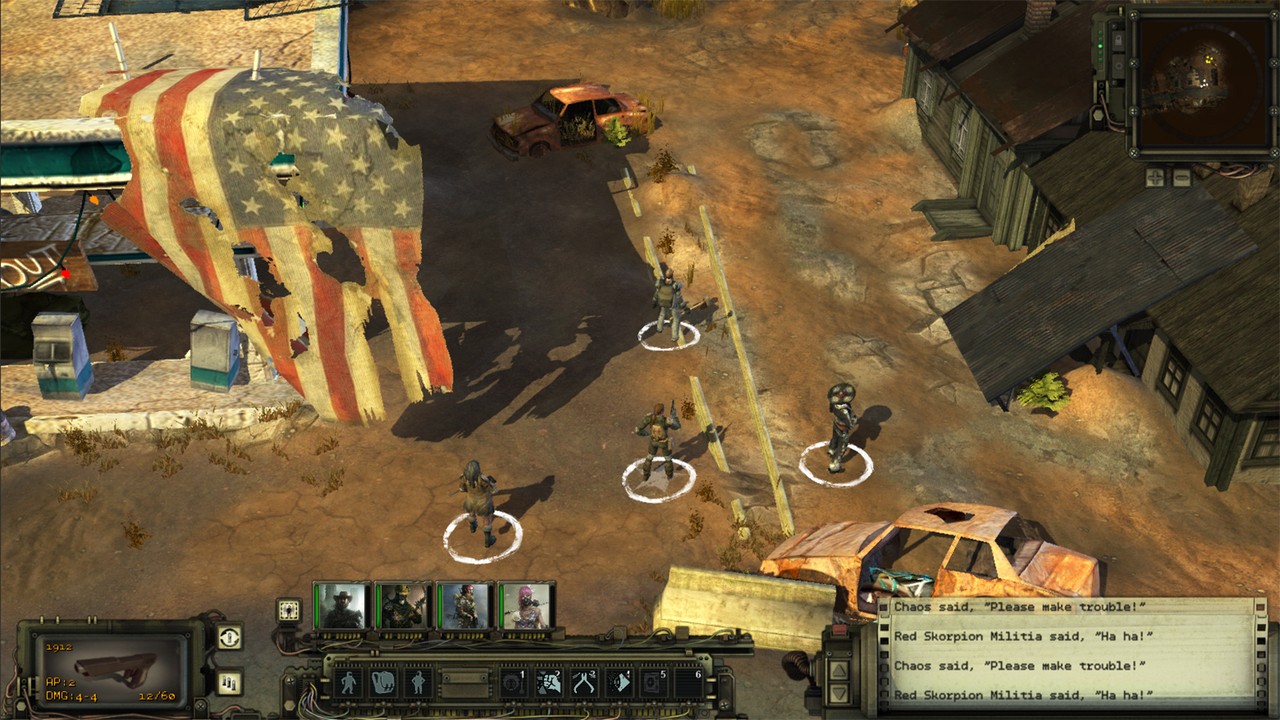
If you're looking for that rustic smell, only the classics will do. Jet over to Needles and take your time with turn-based combat and cozy graphics that only a classic PC franchise can provide. See the origins of your favorite vacation spot in this atomic blast from the past.
