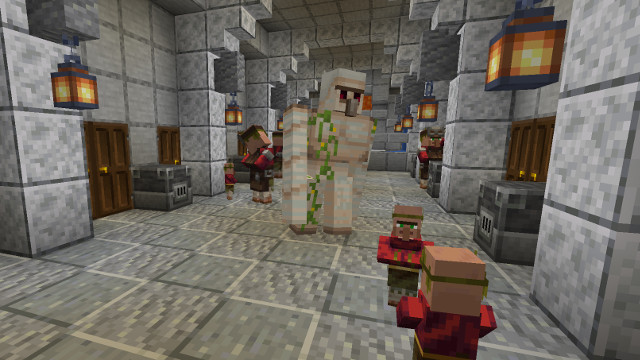
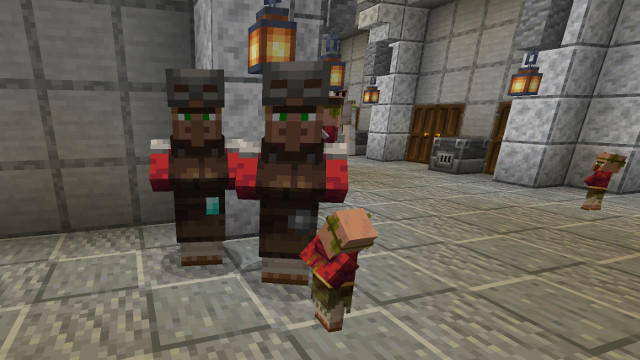
So you’re wondering how to build a Minecraft village from scratch. Minecraft 1.14 finally introduced some serious overhauls to the game’s villager mechanics, allowing players to experience a more realistic village with a greater ability to control and manage villagers. It’s a lot to unravel, whether you’re a Minecraft veteran or a brand-new player. We’ll break it all down for you in an easy-to-understand guide!
How To Build A Minecraft Village (Update 1.14) | Preparing the village
The first step to building a village is… building the village! And by that, I mean building the actual buildings that the villagers will live in.
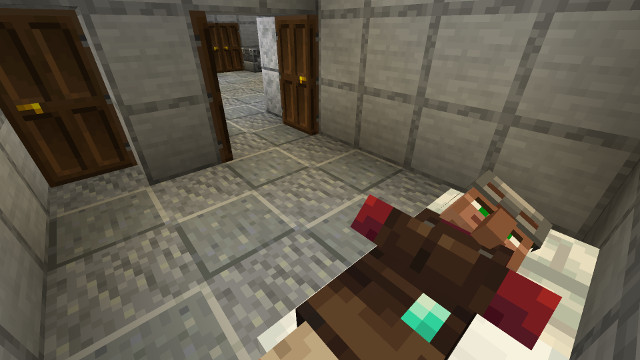
Previously, Minecraft determined a village’s population by counting the number of doors in an area. Basically, every 3 doors counted as a “house”, so 30 doors in a village would allow for a population of 10 villagers. Now, a “house” is considered a bed placed indoors with a door separating it from the outside world, something that makes much more sense. (The villagers use the beds, too!)
You have a lot of creative freedom here — simply create a bunch of buildings with a bed and a wooden door (of any type). You can make them out of basically anything as long as they have a bed as well as a door separating the inside and outside. You’ll also want to try to keep them pretty close to one another.
One last important note: Make sure that you build a wall around the village with an overhang to keep spiders from climbing up. Use iron doors and switches to keep the villagers inside and the bad things outside!
How To Build A Minecraft Village (Update 1.14) | Getting villagers
Now that you have a village built, you need to actually get the villagers! You’ll need at least two to get started, and the ways to do this haven’t really changed.
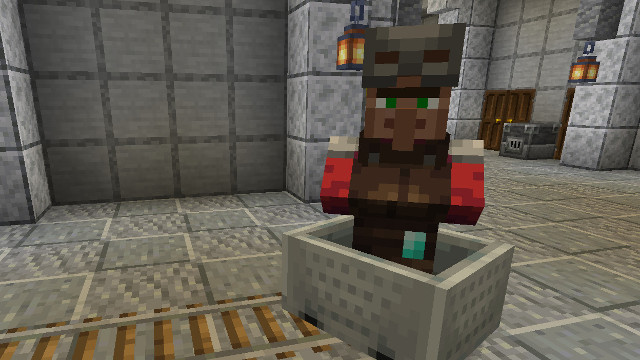
The first way is to find an existing village and stick a villager in a minecart. You can then push them along a track to the desired location or even just shove them along on the ground. Once you get to your new village, punch the cart to break it and they’ll settle down right there!
The more difficult option is to convert zombie villagers. This requires three things:
- A splash potion or arrow with the Weakness effect
- A golden apple (NOT an enchanted golden apple)
- A dark, secure place
Hit the zombie villager with the Weakness effect and then use the golden apple on them. You’ll hear a special sound and they’ll start to transform back. Trap them indoors, and they’ll eventually turn into a regular villager, easy-peasy.
How To Build A Minecraft Village (Update 1.14) | Changing jobs
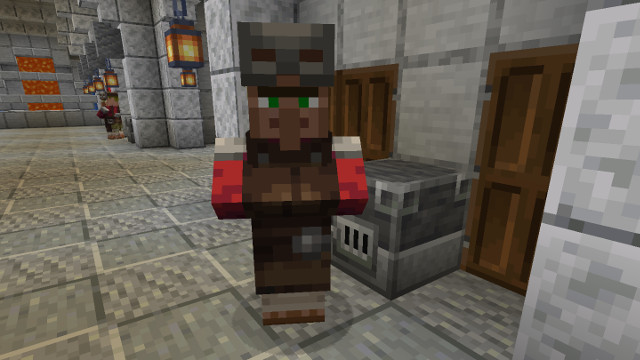
The last important thing to figure out is how to get villagers to do the jobs you want! This used to be entirely random and you’d have to just keep breeding villagers until you get the right ones. Now, jobs are determined by special “job site blocks,” some of which can be used by the player and some of which can not.
For example, placing a Blast Furnace will make a villager become an Armorer! A villager “claims” the job site block, so you can determine how many of each villager you want to have simply by placing that number of blocks.
How To Build A Minecraft Village (Update 1.14) | How to breed villagers
After you have the initial two villagers, you’re going to want to know how to breed villagers. Thankfully, it’s not too hard! Simply put, there are two requirements:
- An unoccupied house (an indoor space with a bed and a wooden door separating it from the outside world)
- The willingness to breed
As long as you have an empty house, the only thing you need to do is ensure that two villagers are “willing.” This is a special state that is achieved in one of two ways:
- The villager has enough food on hand
- The villager has completed a trade with you (20% of the time only)
Once two villagers are willing, some hearts will pop up and they’ll pop out a baby villager! Soon enough he’ll be trading with you in no time!
