The Surge 2 upgrades is probably around what you’d expect for an RPG. Well, generally. Given its dismemberment system, it’s not quite the same as dumping experience points into different bits of gear. That is involved but it’s not the whole picture. So in order to figure out how to upgrade in The Surge 2, we will have to look at what you’ll need and where you’ll need to go in order to get that stronger gear.
The Surge 2 Upgrades | How to upgrade your character

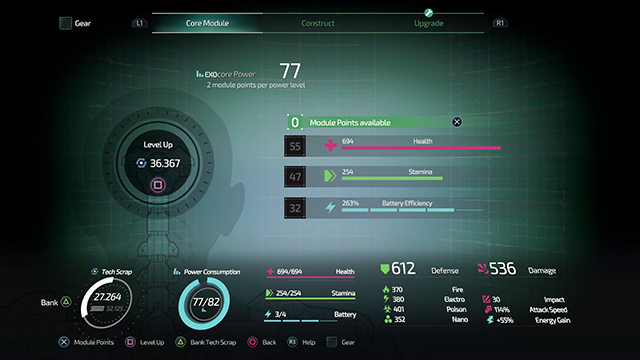
You will need Tech Scrap in order to upgrade, which you get from killing enemies. You can bank it in your Medbay (those blocky pods that open up when you get near them) by holding Triangle or the Y button. While it has multiple uses, you can drain it in your character in order to upgrade your health, stamina, or battery power. This is a pretty standard and an easy way to upgrade your character’s stats. Every level upgrade also enhances your core power, which you will need in order to store more implants and gear.
The Surge 2 Upgrades | How to upgrade your gear

Upgrading your gear takes a few more steps. You can only do this at the Medbay and you will still need Tech Scrap and enemy parts. To get enemy parts, you’ll need to target their armored appendages (which you can see once you lock onto them using R3) and cut them off. Moving the right stick around lets you target different limbs. Blue limbs are unarmored, easier to kill, and won’t give you parts. Yellowish parts are armored, harder to kill, and yield the parts you need if you perform a special finisher on them (holding the X [Xbox One] or Square [PS4] button once you’ve damaged a certain limb enough). This finisher takes one battery slot so just be aware that you’ll need to save a battery in order to get these vital parts.
ALSO: The Surge 2 Review | Cyberjunk 2019
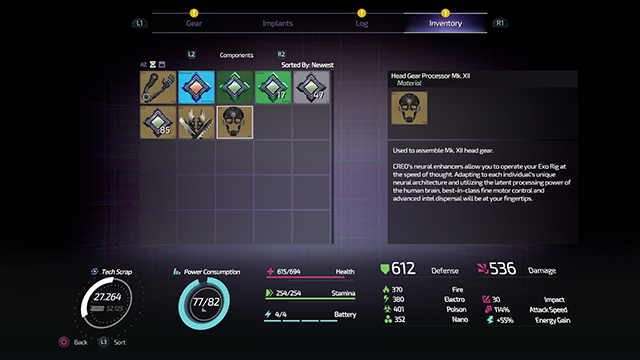
Once you’ve damaged a certain limb enough and performed the finisher, you’ll have to pick up the item on the ground. It will give you the blueprint for the appendage or weapon and it will also offer you a part based on that limb. For example, if you cut off an arm or head and pick it up, you’ll get something like Arm Gear Coils Mark IV or Head Gear Processor MK. X. The “MK. X” are “Head/Arm” parts are important because that is how you’ll upgrade. That number corresponds to the level of the enemy that you killed and the limb corresponds to what part you can upgrade. Killing level six enemies warrants level six parts and killing level eight enemies warrants level eight parts. Arm upgrade parts let you upgrade arms and leg upgrade parts let you upgrade legs.

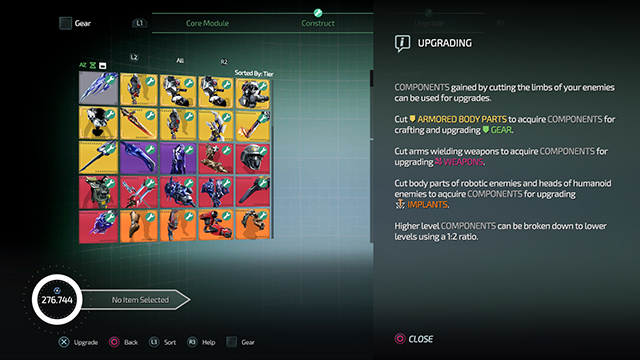
But we are getting a bit ahead of ourselves. First, you’ll need to construct the gear piece at the Medbay, which also takes Tech Scrap and the limb drops. Once you construct them, you have to tab over to the upgrade tab, which also takes Tech Scrap and limb parts. Any part you can upgrade with your current inventory will show up with a green wrench on it.
You’ll need to upgrade in ascending order from MK I onward. So if you need to upgrade your MK III arm, you will need to find MK III enemies (which is the number you see when you lock onto them) and find their armored arms and cut them off. You’ll need more than one appendage to upgrade, so be sure to get multiple ones before returning to the Medbay. This applies to every appendage. Cut the armored parts that you need off, get a few, then return the Medbay.
You can also convert higher level parts to lower level parts. For example, if you need to upgrade your MK IV arms to MK V but only have MK VI arms, you can convert those MK VI arms to MK V arms. You’ll even get twice as many of those lower tier appendages back, too, meaning you’ll break down on MK VI arm and get two MK V arms. For implants, you’ll need to find implant circuitry which is rare, but can be found around the environment and in some enemies.
In essence, chop off the enemy parts that correspond to what gear parts you want to upgrade on yourself, make sure that they are the right level appendages, then go back to the Medbay to upgrade.


