Monster Guide
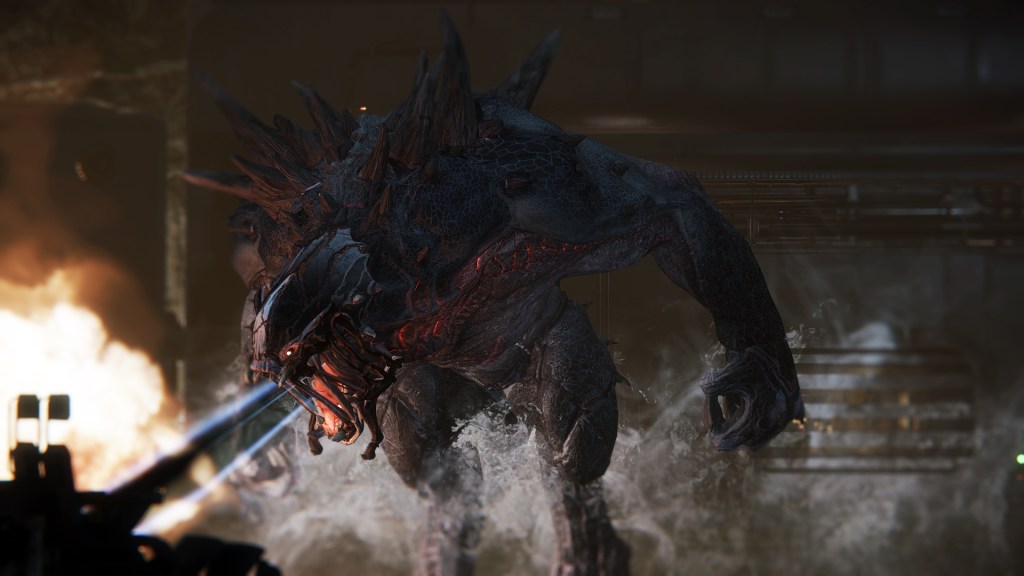
Goliath
Unlike the next two monsters, Goliath largely sticks to the ground, but his special mobile ability is jump. It becomes important to combine the jump and climb abilities to get away from Hunters with relative ease.
As far as combat goes, Goliath uses basic melee attacks and four important abilities: rock throw, leap smash, fire breath, and charge. Rock Throw can be hard to execute but it does a ton of damage. Leap Smash is a great way to attack a group of Hunters when they're clustered together. Fire Breath in conjunction with melee attacks works well, and Charge can hit multiple Hunters when they're next to each other.
Rock Throw
- Level 1: Damage 100%, Radius 100%
- Level 2: Damage 130%, Radius 130%
- Level 3: Damage 169%, Radius 169%
Leap Smash
- Level 1: Damage 100%, Radius 100%
- Level 2: Damage 130%, Radius 130%
- Level 3: Damage 169%, Radius 169%
Fire Breath
- Level 1: Damage 100%, Range 100%
- Level 2: Damage 130%, Range 130%
- Level 3: Damage 169%, Range 169%
Charge
- Level 1: Damage 100%, Radius 100%
- Level 2: Damage 130%, Radius 130%
- Level 3: Damage 169%, Radius 169%
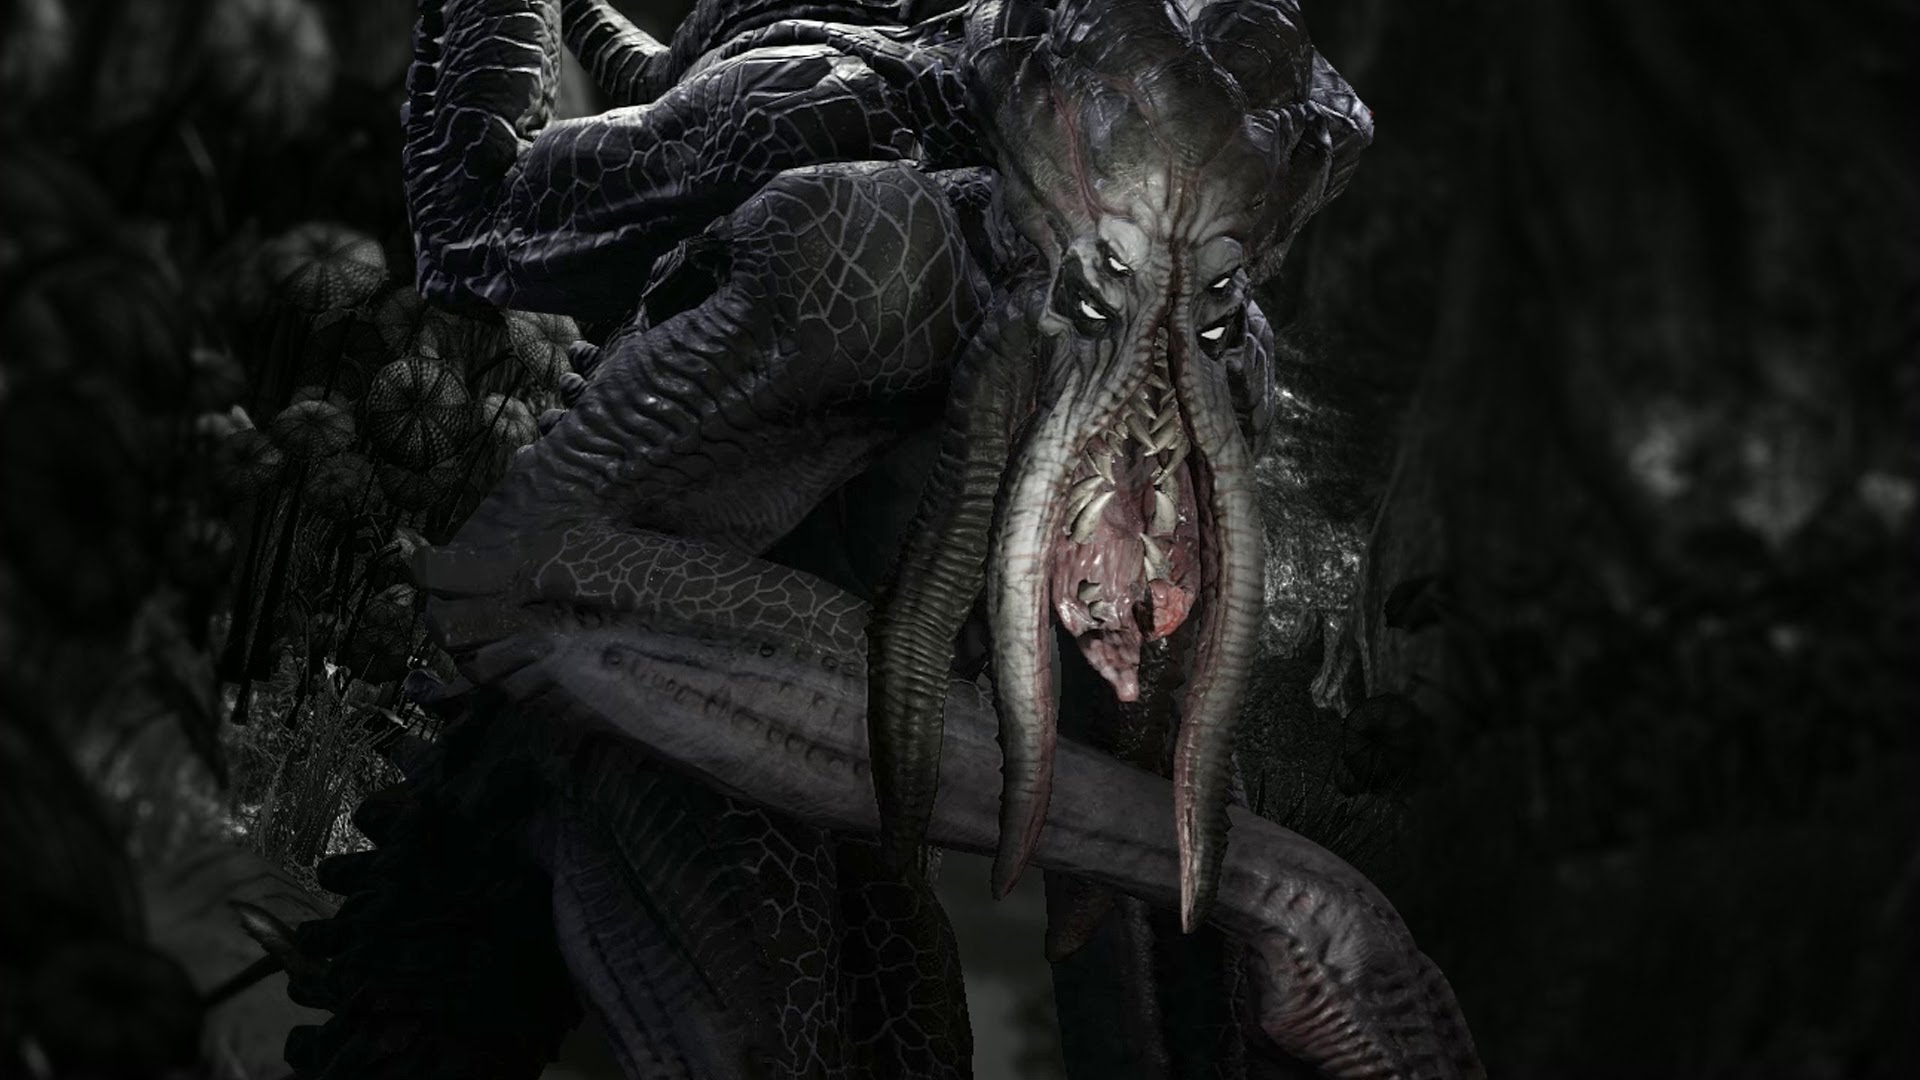
Kraken
The Kraken can be hard to get used to because of its flight ability. It can fly large distances, but the key is to stay in the air and use projectile attacks against Hunters.
This monster also uses a lot of useful abilities. Lightning Strike takes a long time to charge up but deals a lot of damage, so use it in key situations. Banshee Mines are a great way to run away from Hunters as they distract them. Aftershock targets Hunters grouped together, and Vortex should be used to separate the group and secure a one-on-one fight.
Lightning Strike
- Level 1: Damage 100%, Radius 100%
- Level 2: Damage 130%, Radius 130%
- Level 3: Damage 169%, Radius 169%
Banshee Mines
- Level 1: Damage 100%, Radius 100%
- Level 2: Damage 130%, Radius 130%
- Level 3: Damage 169%, Radius 169%
Aftershock
- Level 1: Damage 100%, Range 100%
- Level 2: Damage 130%, Range 130%
- Level 3: Damage 169%, Range 169%
Vortex
- Level 1: Damage 100%, Radius 100%
- Level 2: Damage 130%, Radius 130%
- Level 3: Damage 169%, Radius 169%
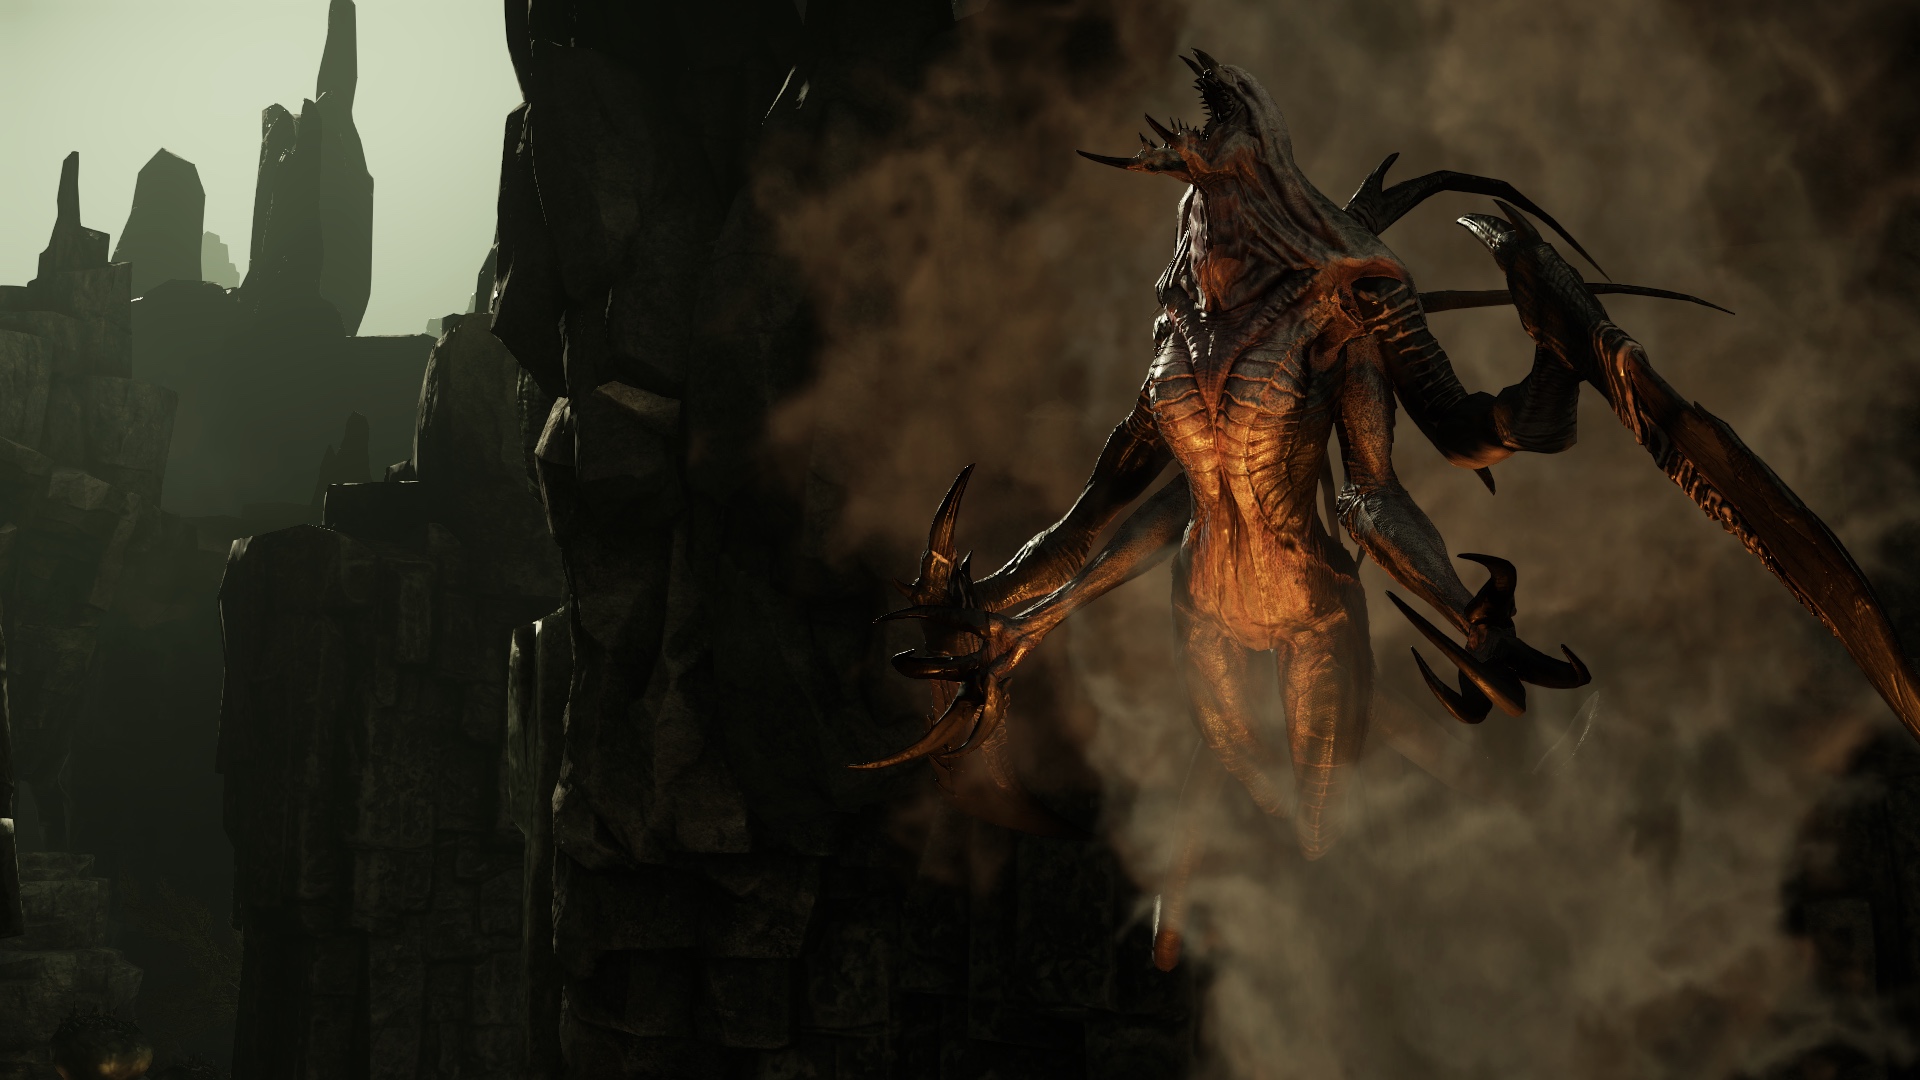
Wraith
The Wraith has much less health and armor than the other two monsters, so it's a risky pick. On the plus side, it has some devastating abilities that can kill hunters in the blink of an eye. Thus, stealth becomes even more important when playing as the Wraith.
As for its abilities, Supernova is the big one that can immediately take out a Hunter in a one-on-one fight. Decoy works well with it because Hunters will be distracted and won't know which Wraith is the real one. Abduction is another ability that helps separate one Hunter from the group, and wrap blast is a good area-of-effect attack.
Warp Blast
- Level 1: Damage 100%, Range 100%
- Level 2: Damage 130%, Range 130%
- Level 3: Damage 169%, Range 169%
Abduction
- Level 1: Damage 100%, Range 100%
- Level 2: Damage 130%, Range 130%
- Level 3: Damage 169%, Range 169%
Decoy
- Level 1: Duration 100%, Damage 100%
- Level 2: Duration 130%, Damage 175%
- Level 3: Duration 169%, Damage 250%
Supernova
- Level 1: Damage 100%, Radius 100%
- Level 2: Damage 130%, Radius 130%
- Level 3: Damage 169%, Radius 169%


