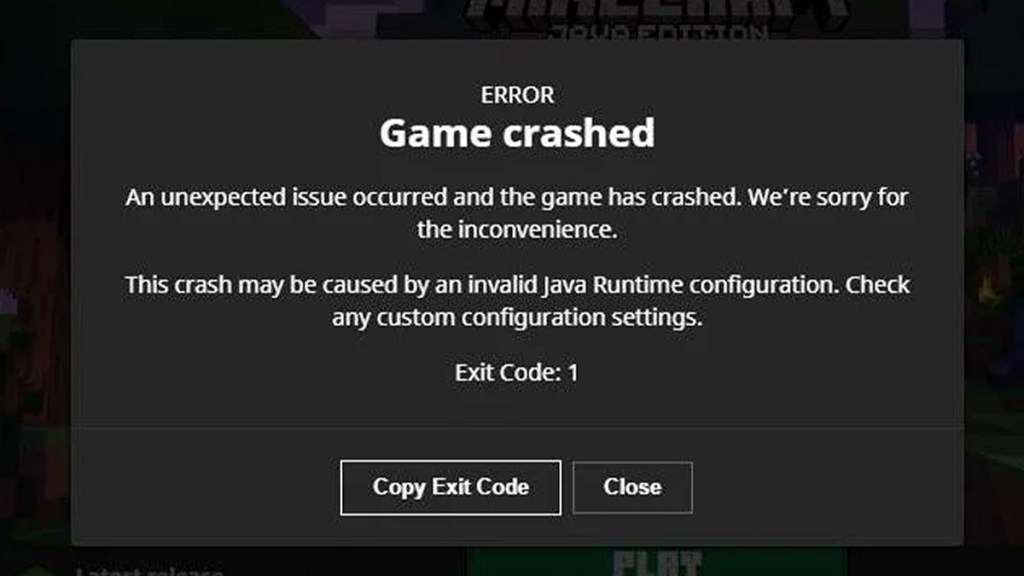
Minecraft Exit Code 1 error is usually caused by an invalid Java Runtime configuration. When this happens, the game crashes, and users will be unable to play. Sometimes all it takes to fix this is starting the game again, but there are times when this error is more permanent.
Table of contents
How to fix Minecraft Exit Code 1 error

There’s a multitude of things that can cause Minecraft Exit Code 1 to appear. This error indicates a misconfigured Java Runtime, and the culprit is usually a mod. We’ll cover all the easier fixes before we get to the more complicated ones.
General fixes
The first three things you should do to try and fix this error are:
- Restart your computer
- Make sure graphics drivers are updated
- Relaunch the game
If you complete these steps and you continue to get Exit Code 1 when you try and start Minecraft, then it’s time to move on to more in-depth fixes.
Disable mods
Usually, a Minecraft Java Runtime misconfiguration is due to a mod. Fortunately, there’s an easy way to check which one it might be:
- Open File Explorer
- Click on the hard drive where your OS is installed
- Make sure Show Hidden Items is checked in the View menu
- Go to Users -> AppData -> Roaming -> .minecraft -> logs
- Open latest.log
You should be able to look through this file and discern which mod is causing your error. Disable it and any associated mods, and relaunch the game when you find it.
Change Java executable
If the issue persists, you should be able to continue launching the game and checking the log to see what’s going wrong. If, after disabling all mods, you still get Minecraft Exit Code 1, you might need to download a new Java executable and point your installation of Minecraft in it in the Minecraft Launcher.
To do this:
- Download a new copy of Java from the official website.
- Then, install Java into a new folder.
- Open the Minecraft Launcher
- Go to the installations list.
- Hover over the copy you’re having issues with.
- Click on the three dots.
- Select “Edit.”
- Click on “More Options.”
- In the dropdown, click “Browse” in the box under “Java Executable.”
- Find your newly installed Java executable and select it.
If the issue persists even after this, consider doing a complete uninstall and reinstall of Minecraft. Just make sure to back up your worlds before you do so.


