
In chapter 3 of Dead Space Remake, you have to restart the gravity centrifuge by attaching two generator modules and activating a console. Unfortunately, when you try to connect one of the generator module arms, you’ll likely be surprised when it immediately retracts. This puzzle is made more tricky because the Locator doesn’t highlight the console needed to disengage the clutch and activate the centrifuge.
How to attach the generator module arms in Dead Space Remake
You attach the generator module arms to the centrifuge in Dead Space Remake chapter 3, just like you did in the original. However, new players will likely be confused when they attempt to attach them for the first time.
To connect the arms to the centrifuge:
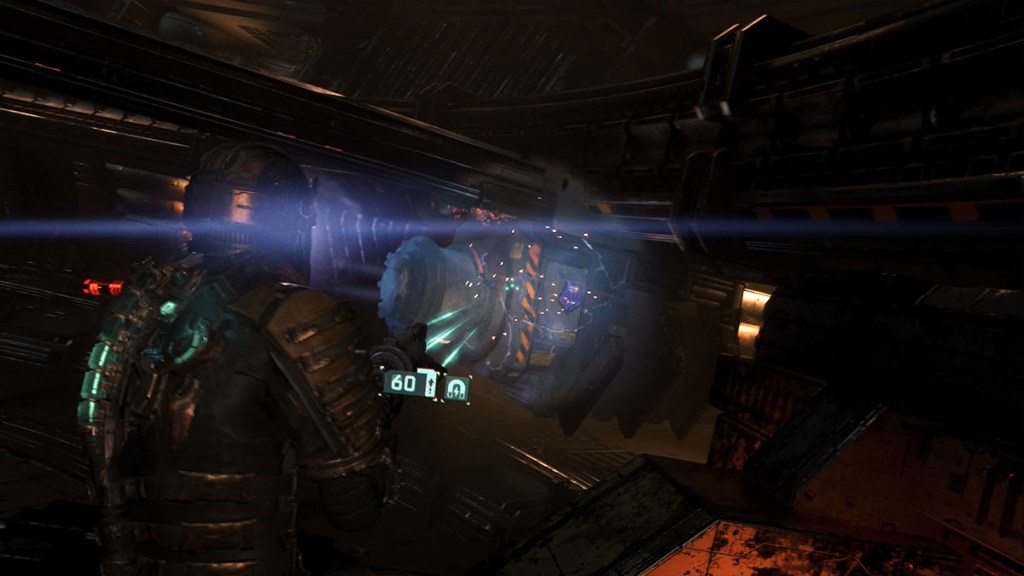
- Use Stasis on the spinning tip of the arm to slow down its rotation.
- Then, use Kinesis to pull the arm toward the centrifuge and attach it.
- Repeat the process on the other side
Where to find the console to activate the centrifuge
Once the arms are attached to the gravity centrifuge in Dead Space Remake, you’ll need to find the console to activate it. Unfortunately, it’s tough to spot, and the Locator doesn’t point in its direction.
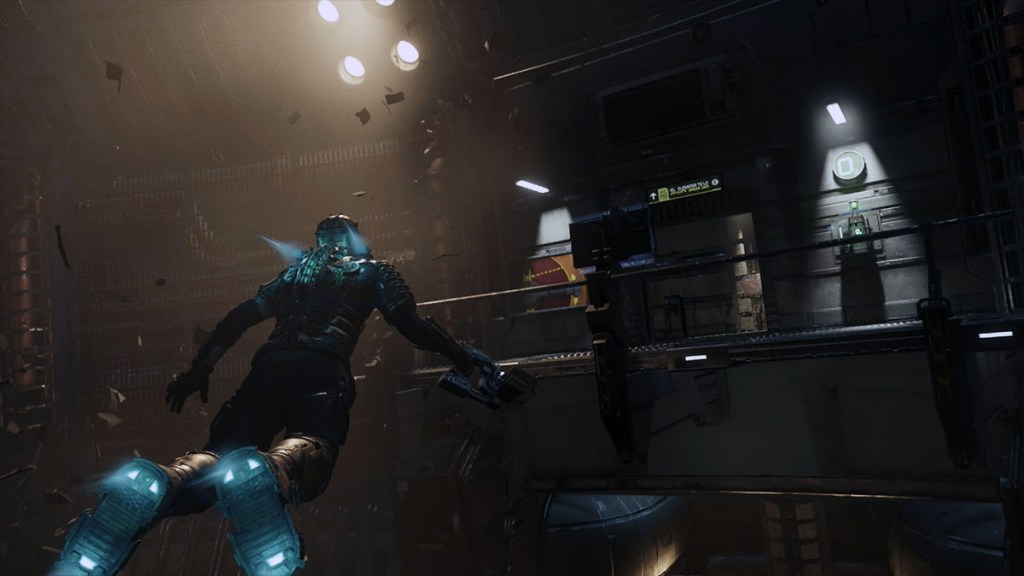
To find the console, head to the walkway where you entered the room. If you’re facing it, there will be some Necromorph growths that have broken through the walkway to the left of the door you used to enter the area. To the left of the growth is another walkway. Land on this and head to the end of it, and you’ll find the console by an elevator shaft.
Another way to locate the console is by facing the large screen saying “Clutch Engaged” on the wall. When facing this display, the console should be at your 1-2 o’clock on the walkway.


