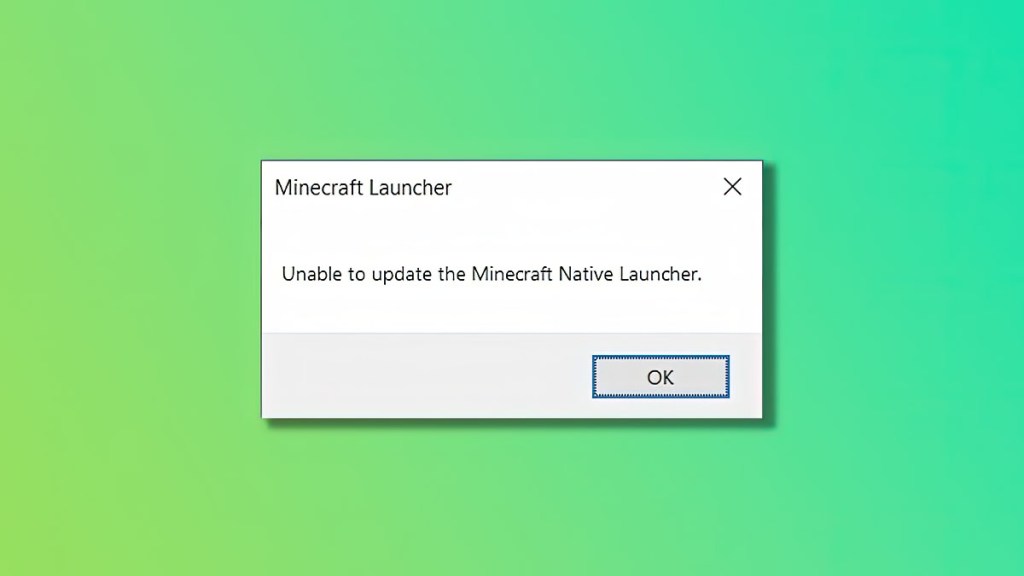
The unable to update Minecraft native launcher error has been an issue that has plagued players for years. The trigger seems to be a corrupted update, but there’s no official solution. However, there are a few fixes you can try that may solve your problem.
How to fix Minecraft unable to update native launcher error
There are a few suggested solutions you can attempt to fix the unable to update native launcher error on Minecraft:
Repair the launcher
You can attempt to repair the Minecraft Launcher Windows App on Windows 10 or 11 by following these steps:
- Click on the start menu.
- Find the Minecraft Launcher app.
- Right-click on the icon
- Click on “More”
- Select “App Settings”
- Choose “Repair”
- When it’s finished repairing, click on “Reset.”
This process should take your Minecraft Launcher back to its default settings. At this point, you should be able to log in and play the game as usual.


Switch to the Windows App version of the launcher
If you aren’t using the app version of the Minecraft Launcher, try installing it from the Microsoft Store or the Xbox app.
Run the launcher as an administrator
Find the Minecraft Launcher app in the start menu. Then right-click and select “Run as Administrator.”
Disable VPN or Firewall
If you are running a VPN or have a robust firewall, it may be interfering with Minecraft’s update process. Try disabling your VPN or adjusting your firewall settings and then updating the launcher again.
Please note that altering your system settings could make your computer more vulnerable. Be sure to re-enable these security features once you finish the process.
Clear Cache
Sometimes, the game cache can cause issues with updates. You might be able to fix the “unable to update the native launcher” error in Minecraft by clearing the cache. Here’s how:
- Open File Explorer and type “
%localappdata%” in the address bar, then press Enter. - Find the “
Packages” folder and open it. - Locate the folder named “
Microsoft.MinecraftUWP_8wekyb3d8bbwe” and open it. - In the “
LocalState” folder, find the “games” folder and delete it.
Remember, deleting this folder will remove all your game data, so be sure to back up anything you want to keep.


