NCSoft's latest free-to-play title, Blade & Soul, is an active, bone-crunching MMORPG that has been around for several years but has only made the diving leap now to North America and Europe. For those of you who wonder what a fighting game would look like as an MMORPG, Blade & Soul is a strong, solid hybrid of the two genres, with exciting raid bosses and a robust community for PvP that has several World Championships already.
That said, the game is a beast to get a handle on and many of its systems work differently from other MMORPGs you may be familiar with. So with access to the Head Start for Blade & Soul, which officially releases today at 9PM PST/12 AM EST, and having previewed the game multiple times, I'm pouring my knowledge into this guide for all you rookies out there. (If you're interested in partying, I'm BanchoLeomon on the Iksanun server.)
Beyond this tips guide, you can learn more about the game by heading to Jonathan Leack's features on what you should know about the game before you start as well as his handy class guide.
1. Combat Basics
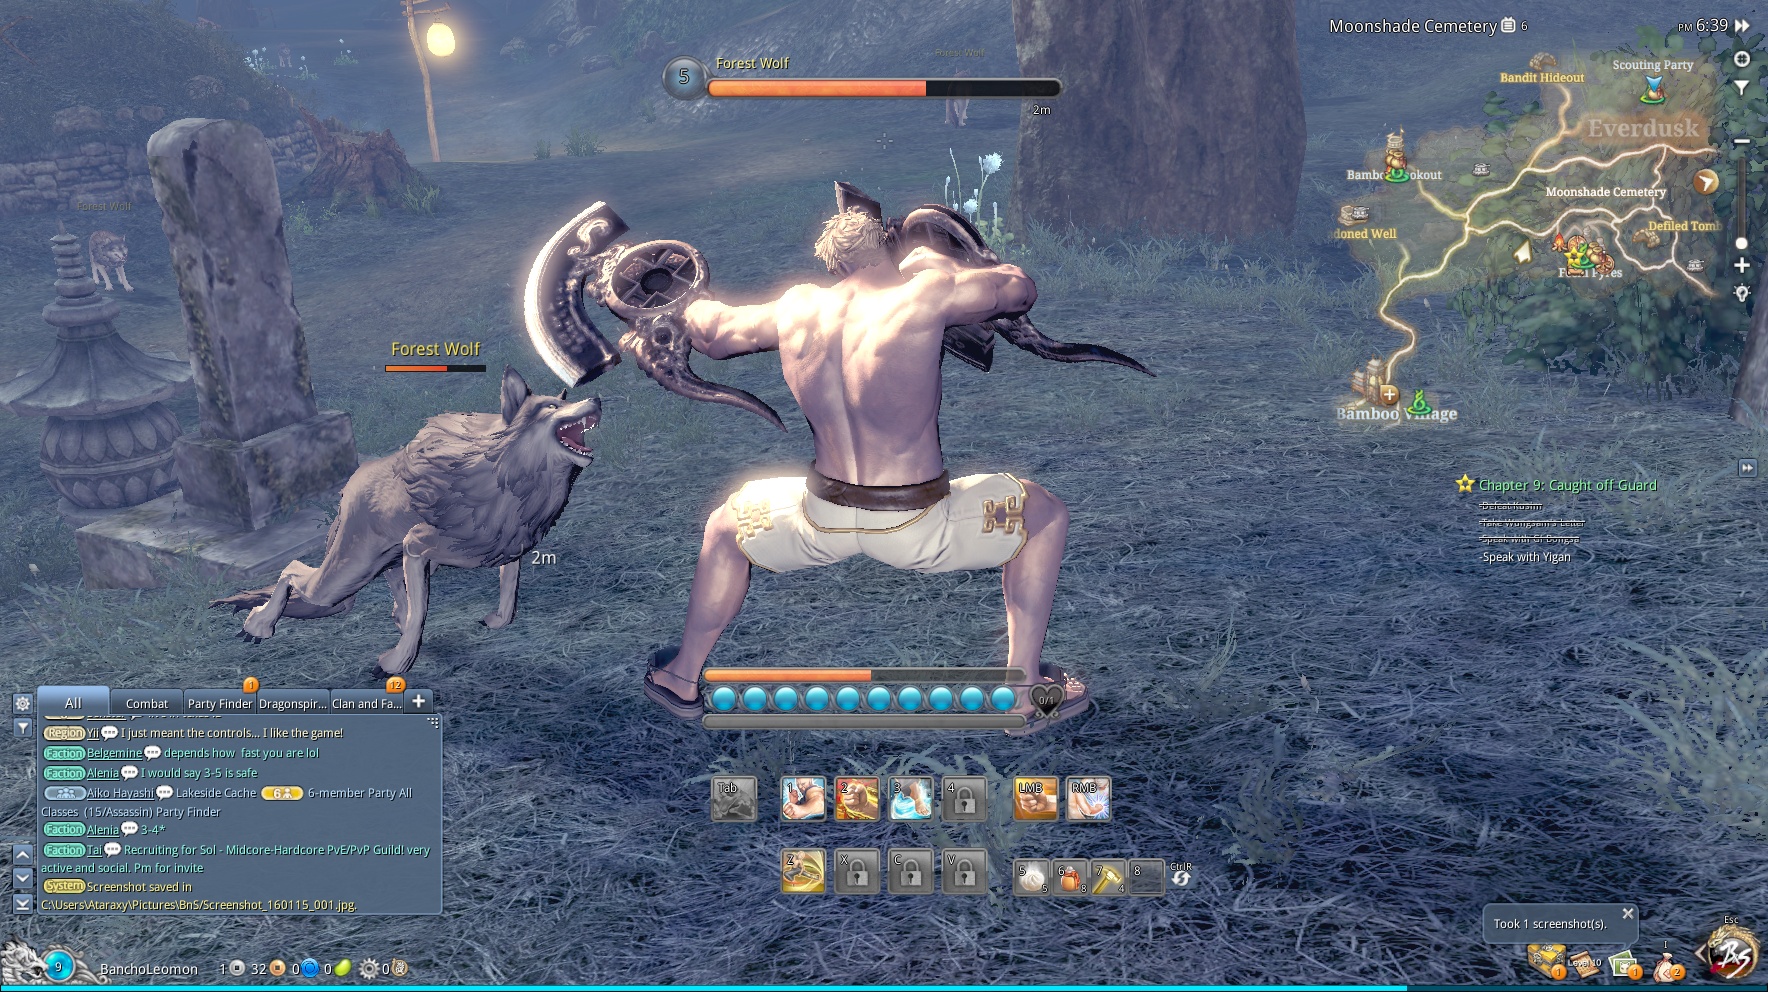
Blade & Soul has a reactive, action-based fighting system that you might not be familiar with when it comes to MMOs. Much of the terminology from fighting games actually applies here: spacing, frame data, combos, juggles, etc. As such, the combat system of Blade & Soul is one of the best in the MMO genre, even though the game has been out for several years already in Korea and other Asian territories.
First and foremost, you need to have the enemy in front of you and within the distance necessary of your chosen attack. That might sound obvious, but when it comes to dungeon raids, enemies move around the environment a lot and the game relies on manual targeting. Apart from bosses and semi-bosses, most enemies won't have telegraphing data so you need to watch out for the attack animations of an enemy to dodge and counter properly.
When there are telegraphs, they come in the form of yellow and red zones that appear beneath the boss's feet that tell you when one of their attacks are about to come off. You'll want to avoid red zones like the plague as they are pretty much unblockable.

2. Horde Those Coins… No, Seriously
One of the first things you'll notice about the economy in Blade & Soul is that almost everything you sell is worth 1 measly bronze coin… in a place where vendors sell dumplings for about 5 silver coins, or 500 bronze coins. What the hell? That said, keep your money close to your chest and don't spend them unless you absolutely have to.
I recommend spending money either in the marketplace (shortcut key 'F5') or the loot auctions that pop up during a dungeon like the Blackram Narrows (more on this dungeon later). Near the endgame, the amount of money it takes to upgrade your weapon, soul shield, and accessories by feeding them junk becomes extremely high, so you'll want to save your coins for that as well.
3. Don't Miss Surveys and Daily Dash for Free Items
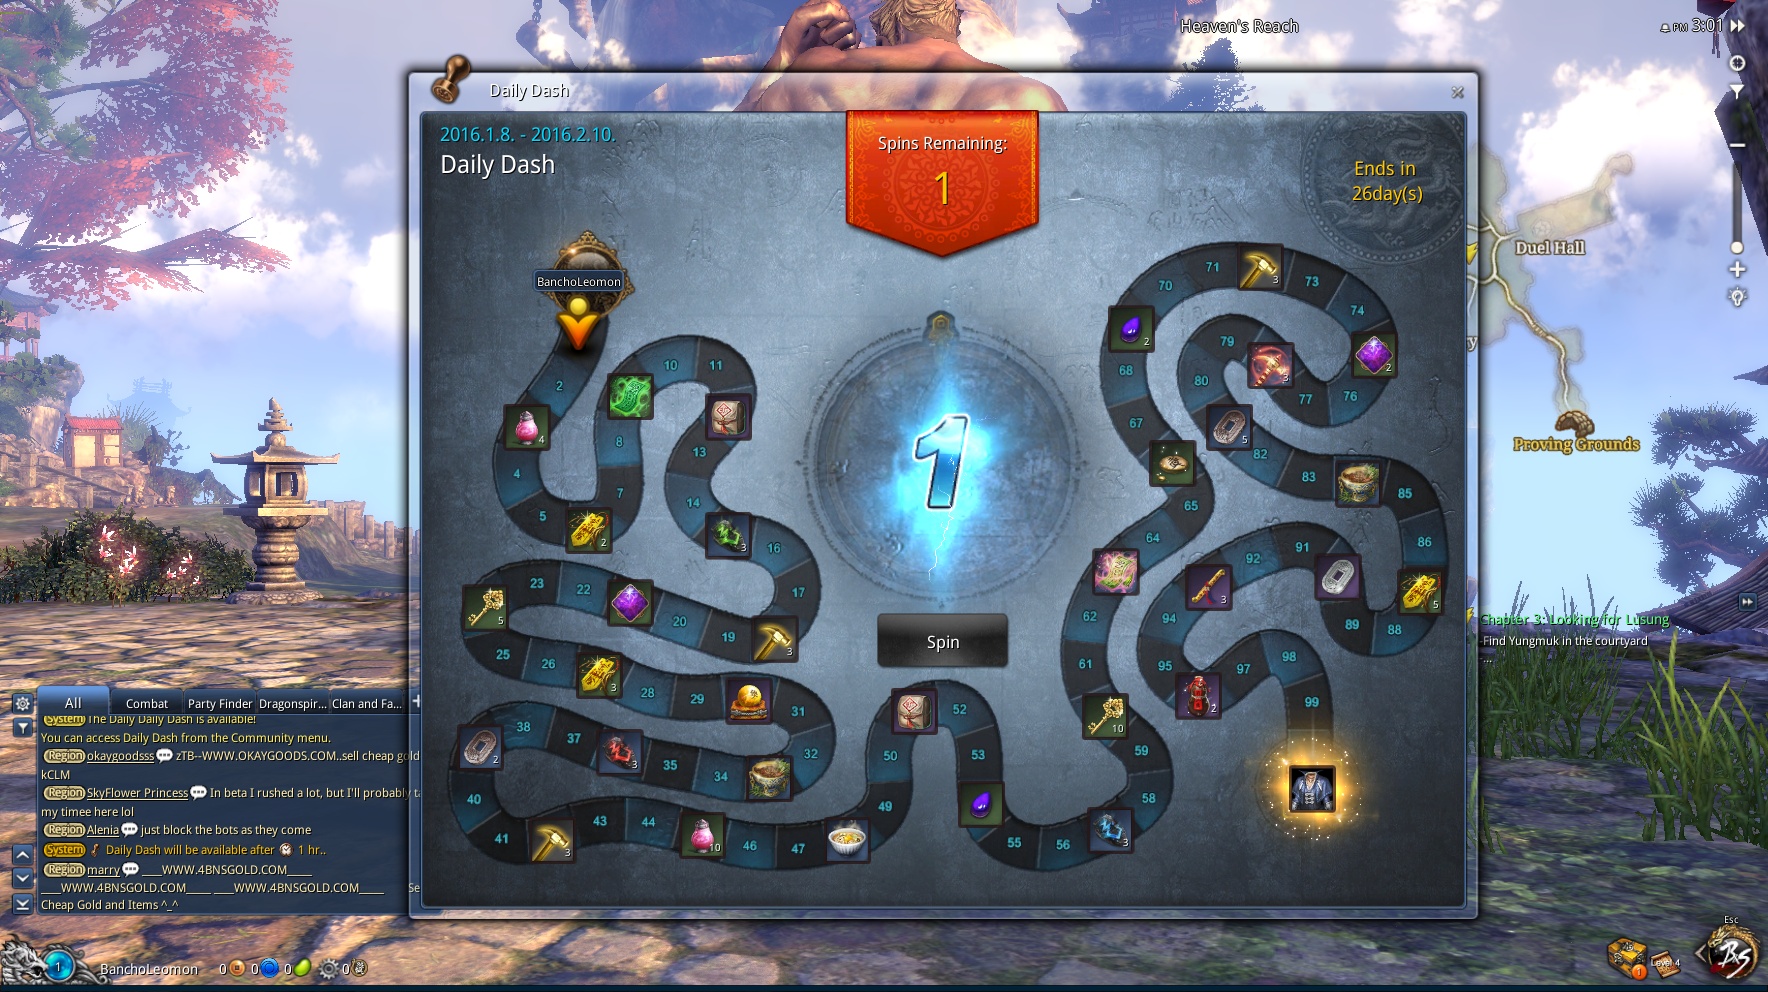
Who doesn't like free items? At every two levels or so (it becomes more spaced out after Level 18), you will gain access to surveys from Blade & Soul where you answer a few multiple-choice questions and fill out a comment. Completing these gets you all sorts of healing items, keys for opening chests, and unsealing charms to access rare equipment drops.
Also don't miss out on the Daily Dash, a simple game of luck that looks like Candyland. Every day, you get two spins that have you move anywhere from 1-6 spaces on the 100-space board. About once every three or four steps, you will pick up free items that get progressively rarer as you move along. Reach the end, and you'll receive a special item (in the opening month, that's a cool outfit). Just hope you don't spin too many 1s.
4. Don't Waste Your Keys and Unsealing Charms, Salvage Crap Instead
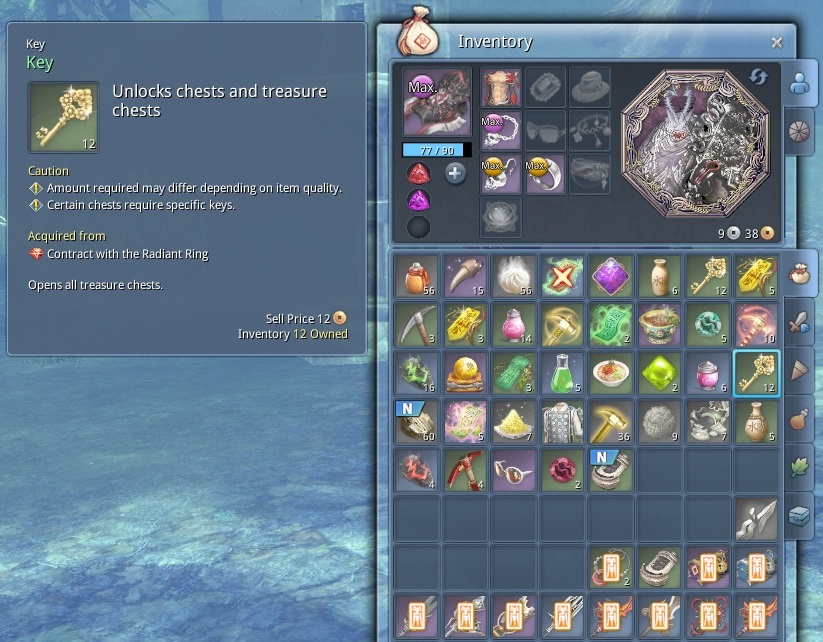
Keys and unsealing charms are rather rare. They cost an extreme amount of money when you're starting out, and the only way to earn them are through quests, surveys, Daily Dashes, crafting, and a few other means. Keys are used to open locked chests that drop occasionally, whereas unsealing charms make it possible for you equip weapons and soul shield pieces that have been sealed. Sometimes, you need to use both a key and a unsealing charm to get to the item you want.
But both of these items are rare enough that you shouldn't waste them on low-level green and blue items. Many times, it's better to save the fodder for either leveling up the weapons and accessories you already have (you don't need to unseal weapons or accessories to use them as fodder), or salvaging them into components for fusion later down the road. I made the mistake of not knowing that I could break soul shield pieces down, so learn from my folly.
5. Experiment With Skill Points
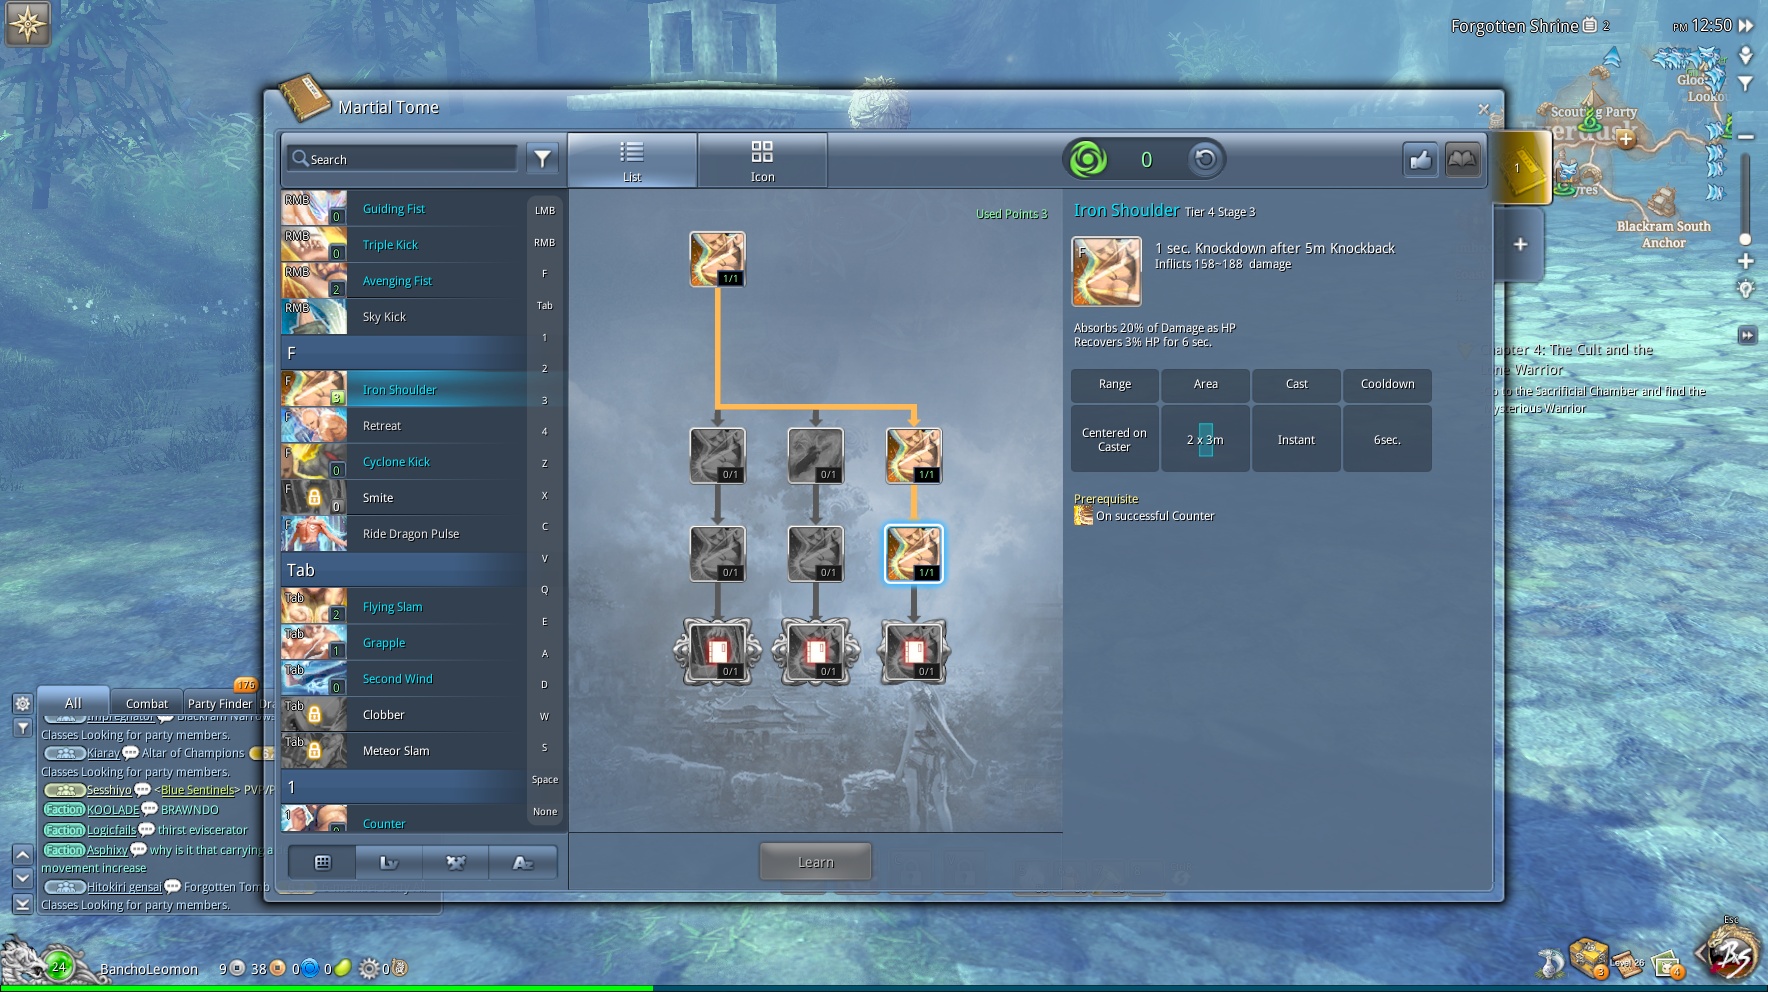
Skill points can change your character's skill set dramatically. At level 15, you'll start earning a single skill point for you to assign, but you'll need to get through Act I, Chapter 17 before you can start putting those points into good use. I was about Level 18 when I got to Chapter 17 so you may have some extra skill points to fiddle around with.
Skill points imbue most skills with a small effect like healing properties and added damage (the above image is not that clear but my skill Iron Shoulder now adds health over time), but some trees can change the skill into a different one entirely or bestow awesome CC effects like knockdown, airborne, freezing, daze, and stun. Experiment as much as you can with your skill trees; since there's no cost to resetting your skill points, the developers certainly want you to. One simple change of a skill can mean a combo string that can last for fifteen seconds.
6. Learn From Seasoned Veterans
And while we're on the subject, Blade & Soul has been out for quite a while now in Korea and Japan, so there are already plenty of gameplay videos of expert players showing off their combo skills in both PvE and PvP. I suggest that you take a look at the videos on YouTube and elsewhere for your chosen class.
It may be a while before your character is high enough to have access to all of the skills that these experts will use, but it's still a good look at how the class is supposed to perform and which combos do the most damage. That said, how you build your character is up to you and you may be more comfortable with certain combos and skills than others.
7. How to Dungeon in the First Place
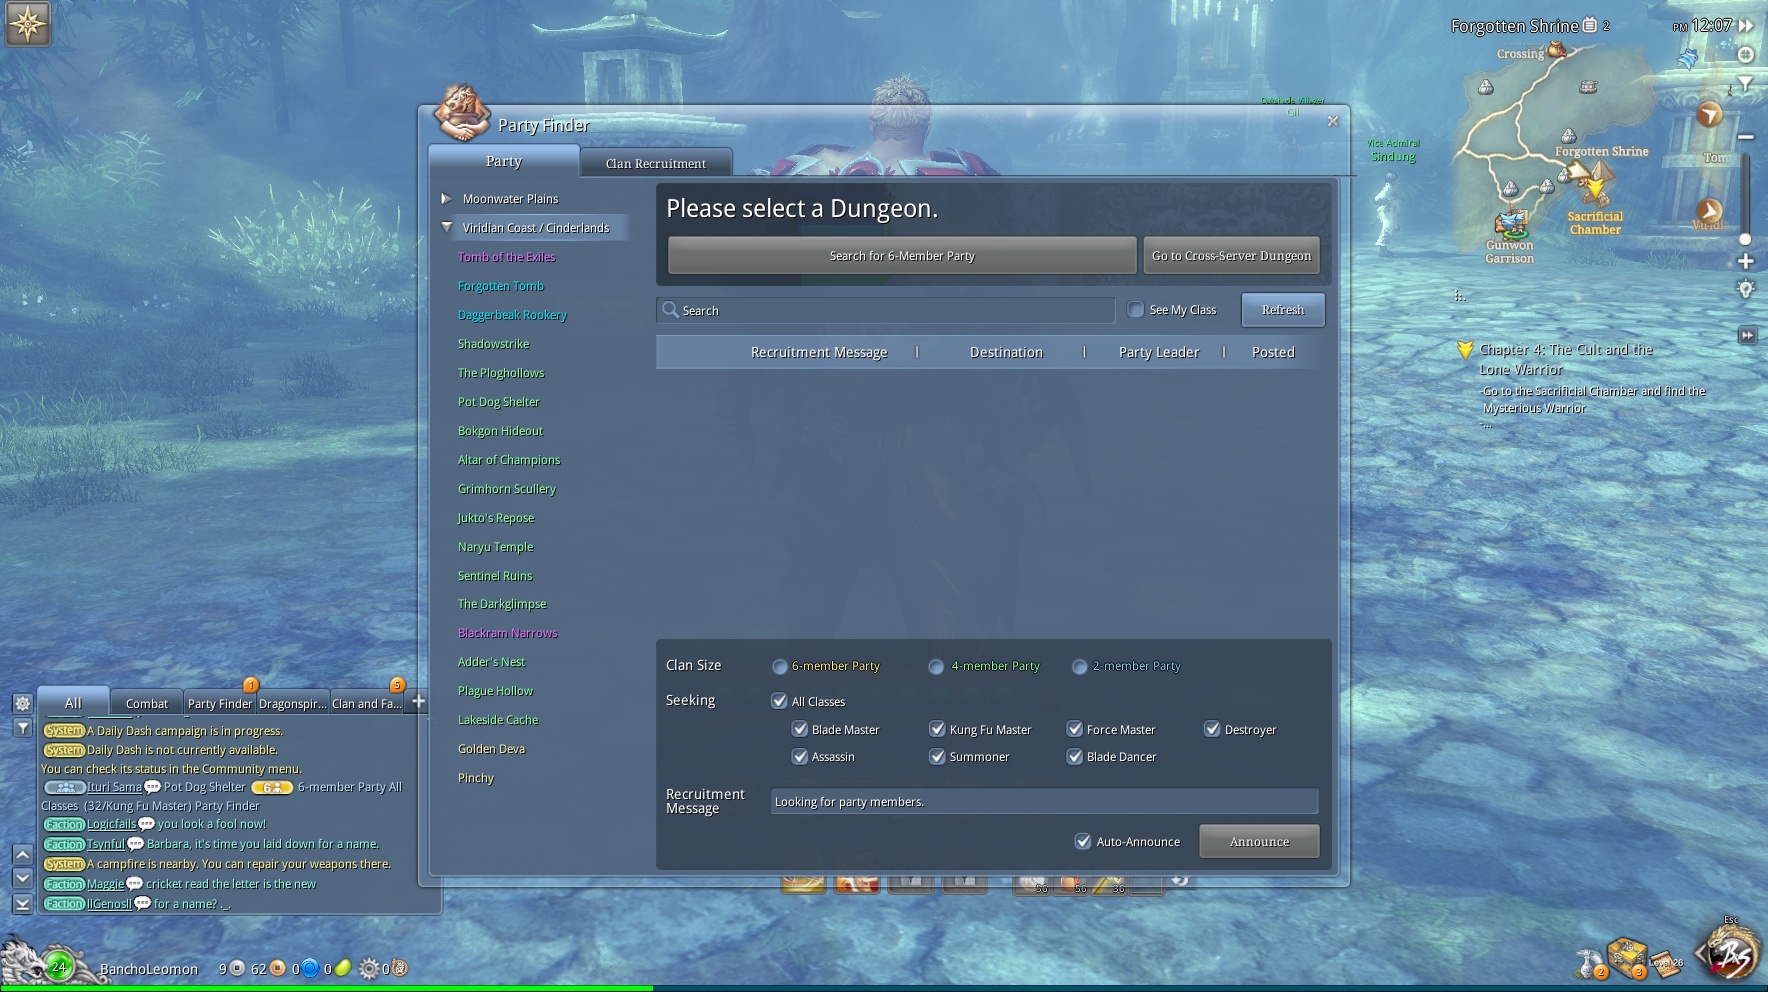
The party finder system in Blade & Soul can be difficult to navigate and isn't terribly intuitive. Now, you won't have to worry about dungeons that require a party until you reach Jadestone Village which is halfway through the first act in the story. Up to that point, you'll just be doing dungeons that you can solo with ease.
There are several ways to gather a party together. At the front of some dungeons, there is a dragon pillar where you can press the 'F' key to search for party members who are around that area across multiple channels. The other method is going into the party finder by hitting F7, choosing a dungeon, and seeing whether someone is already searching for a party for that dungeon. If so, you can apply for that party; if not, you can announce your own dungeon party. And just a note: You'll find many party finder notifications in one of the chat tabs, but you can't click on them to join the party (I know it's odd); instead, you'll need to find the party request in the party finder window as mentioned earlier.
Another method is to skip all of this together and instead go into the cross-server lobby, which is an option available in the party finder window. This will send you to a lobby screen where you can select a dungeon and enter a party immediately or search for a party of your own. Once it's full (or not), you'll all head to a small cross-server area that has a merchant and vault storage before you enter the dungeon through the portal. Just for the merchant and vault storage, you may prefer doing the cross-server lobby instead, and you can be assured that players using this option are experienced dungeon runners.
8. Complete Blackram Narrows Dungeon 10 Times for 400 HP Boost
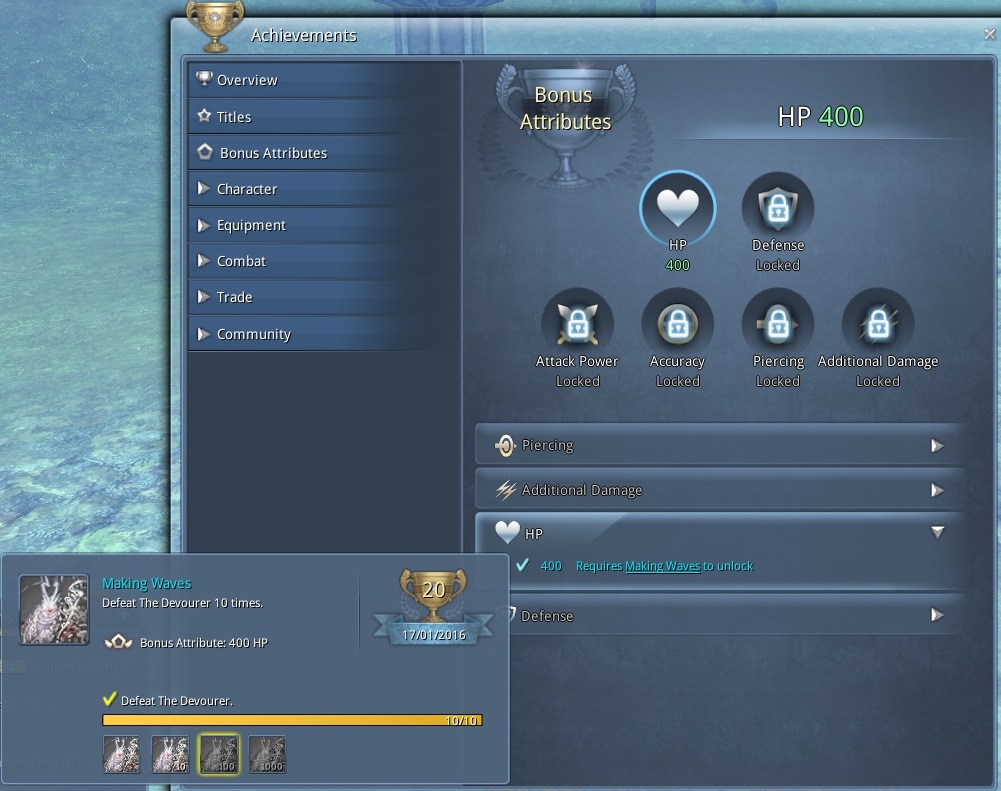
The Blackram Narrows 6-man dungeon at the end of Act I will be your first major dungeon that features multiple bosses over three parts. You can choose to skip this dungeon altogether if you want, but it's in your best interest to complete this dungeon once it's available and when you're around Level 20. Most significantly, if you complete the Blackram Narrows dungeon 10 times, you'll gain access to the 400 HP bonus attribute which you can apply in the Achievements window (shortcut 'U' key) under Bonus Attributes. That's a huge boon that you can't ignore.
As you continue to raid the dungeon, you'll also gain many chances to earn all eight pieces for the fantastic Blight Soul Shield. This is a major upgrade as each purple piece gives 90-110 HP each (piece six will give a whopping 340 HP!) instead of the measly 10 HP of most soul shield pieces. It may be difficult to get all of the pieces through the boss treasure chest and the loot auction, but try to grab all eight pieces if you can. It will serve you well through almost the entire second act of the story.

9. Get All 8 Pieces of a Soul Shield
Speaking of the Soul Shield (which you may be wondering what the hell it is), it effectively replaces armor in most other games by giving you an HP boost as well as other minor bonuses in accuracy, evasion, and the like. You'll want to gather all eight pieces of a Soul Shield not just for the HP boost but to gain the set bonus for having 3, 5, and 8 pieces of a set. Some of the rarer Soul Shield pieces cannot be traded so you'll just to pray to the luck gods to collect an entire set.
Apart from the Blight Soul Shield that I mentioned earlier from the Blackram Narrows dungeon, your first taste at a field boss that requires a team of players is the giant Jiangshi near the Foshi Pyres in Everdusk. Defeating the boss will earn you essences that you can spend at the two Dragon Union wheels in the Foshi Pyres area. If you're lucky, you'll just score all eight pieces of the Stalker Soul Shield in one spin but it doesn't take long to grab them all with a few spins.
10. Join 2 Crafting and 2 Gathering Guilds at Jadestone Village
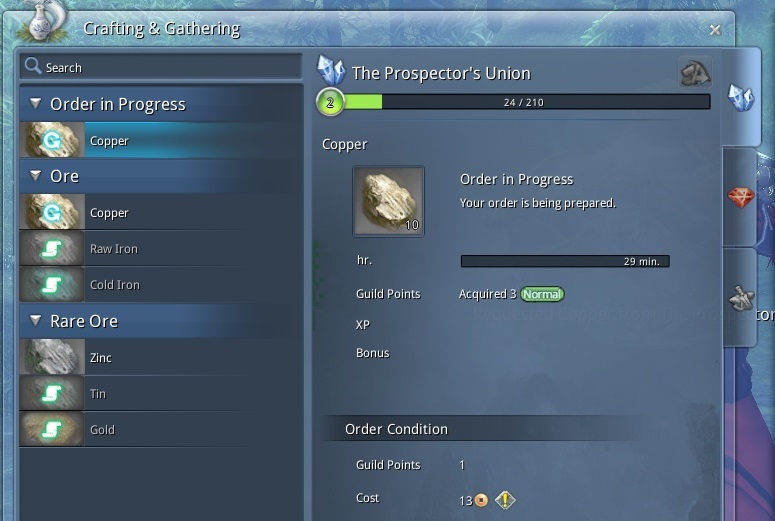
Jadestone Village not only serves as the jumping point for learning how dungeons work, but is the hotspot for joining various crafting and gathering guilds. Many of them are what you would expect: stonecrafting, woodcutting, jewelry, healing, etc. Many guilds interact with one another, producing materials for another guild, and you'll find out all of this information by talking to the guild reps spread throughout the village.
In my playthrough, for example, I found copper ore for the Prospector's Union which I can then refine into repair tools and basic weapons through The Forgekeepers. Just make sure you find the spots on the map that your gathering guilds need to create raw materials, since it costs a lot to windstride (or teleport) to another area that's far away. You can also re-order anything you've requested just by using the pop-up that appears in the lower right-hand corner once an order is finished. Very handy, yes?

10 Tips For Blade & Soul
A Guide To Choosing A Blade & Soul Class
10 Things You Should Know About Blade & Soul
Post-Launch Update Will Add 4 Dungeons and Warlock Class
