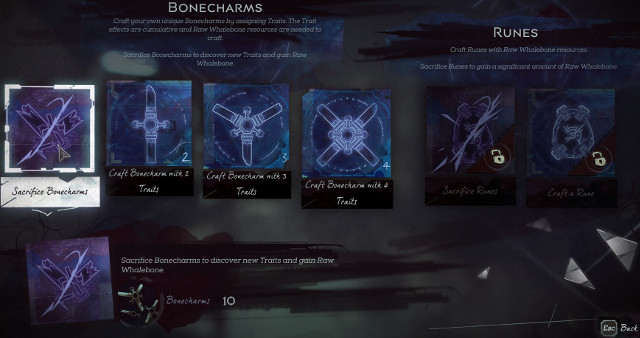
One of Dishonored 2's premier new features is the ability to craft Bonecharms, items you can pick up to give you bonus passive abilities or traits. While many people were excited about this ability, it's easy for it to fall under the radar because it's rather undefined. "What does it mean to craft Bonecharms?" "Will they have a random effect?" "I'd rather get a different power."
But, if you're playing Dishonored 2 in any fashion (Merciful, Ghost, High Chaos, Low-Chaos), you're doing it wrong if you haven't given Bonecharm crafting a fair shake.
What is it, exactly?
So, Bonecharm crafting is a way to either consolidate or stack Bonecharm traits. You won't be given a random ability, nor will you be able to choose which Trait you want. Let's say you have the Bitter Blood Bonecharm that makes it so Bloodflies attack at slightly shorter distances closer to nests. You can opt to sacrifice that Bonecharm to yield the use of that trait as well as additional raw whalebone.
Once you have the use of the Traits a your disposal, you can then craft Bonecharms with multiple traits, either 2, 3 or 4. And these Bonecharms only take up one slot, despite offering multiple passive effects. Because of this, there are two ways you go take Bonecharm crafting.
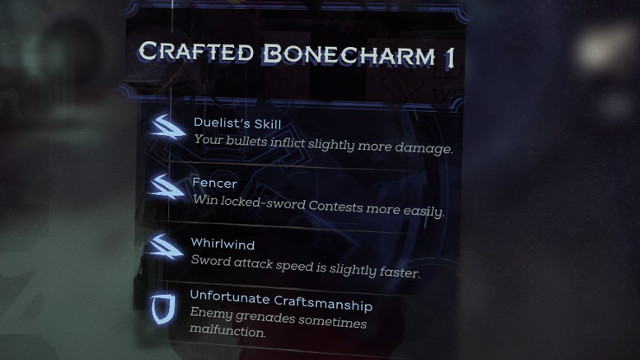
You can make multi-faceted Bonecharms (see image above). Imagine having five Bonecharms each with four different traits, quadrupling the amount of traits you can have? I mean, there are 55 Regular Bonecharms in Dishonored 2 (not counting Corrupted Bonecharms or Black Bonecharms, which we'll get to), so this will allow you to take advantage of a good portion of the available effects.
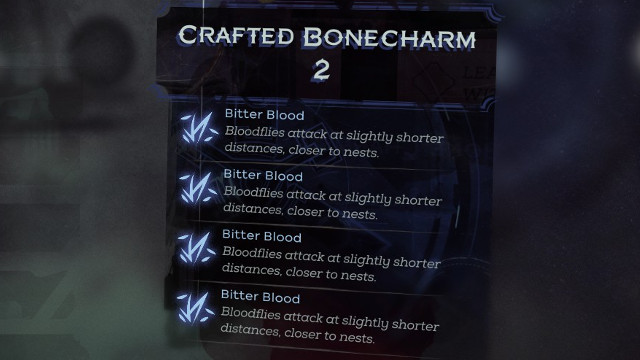
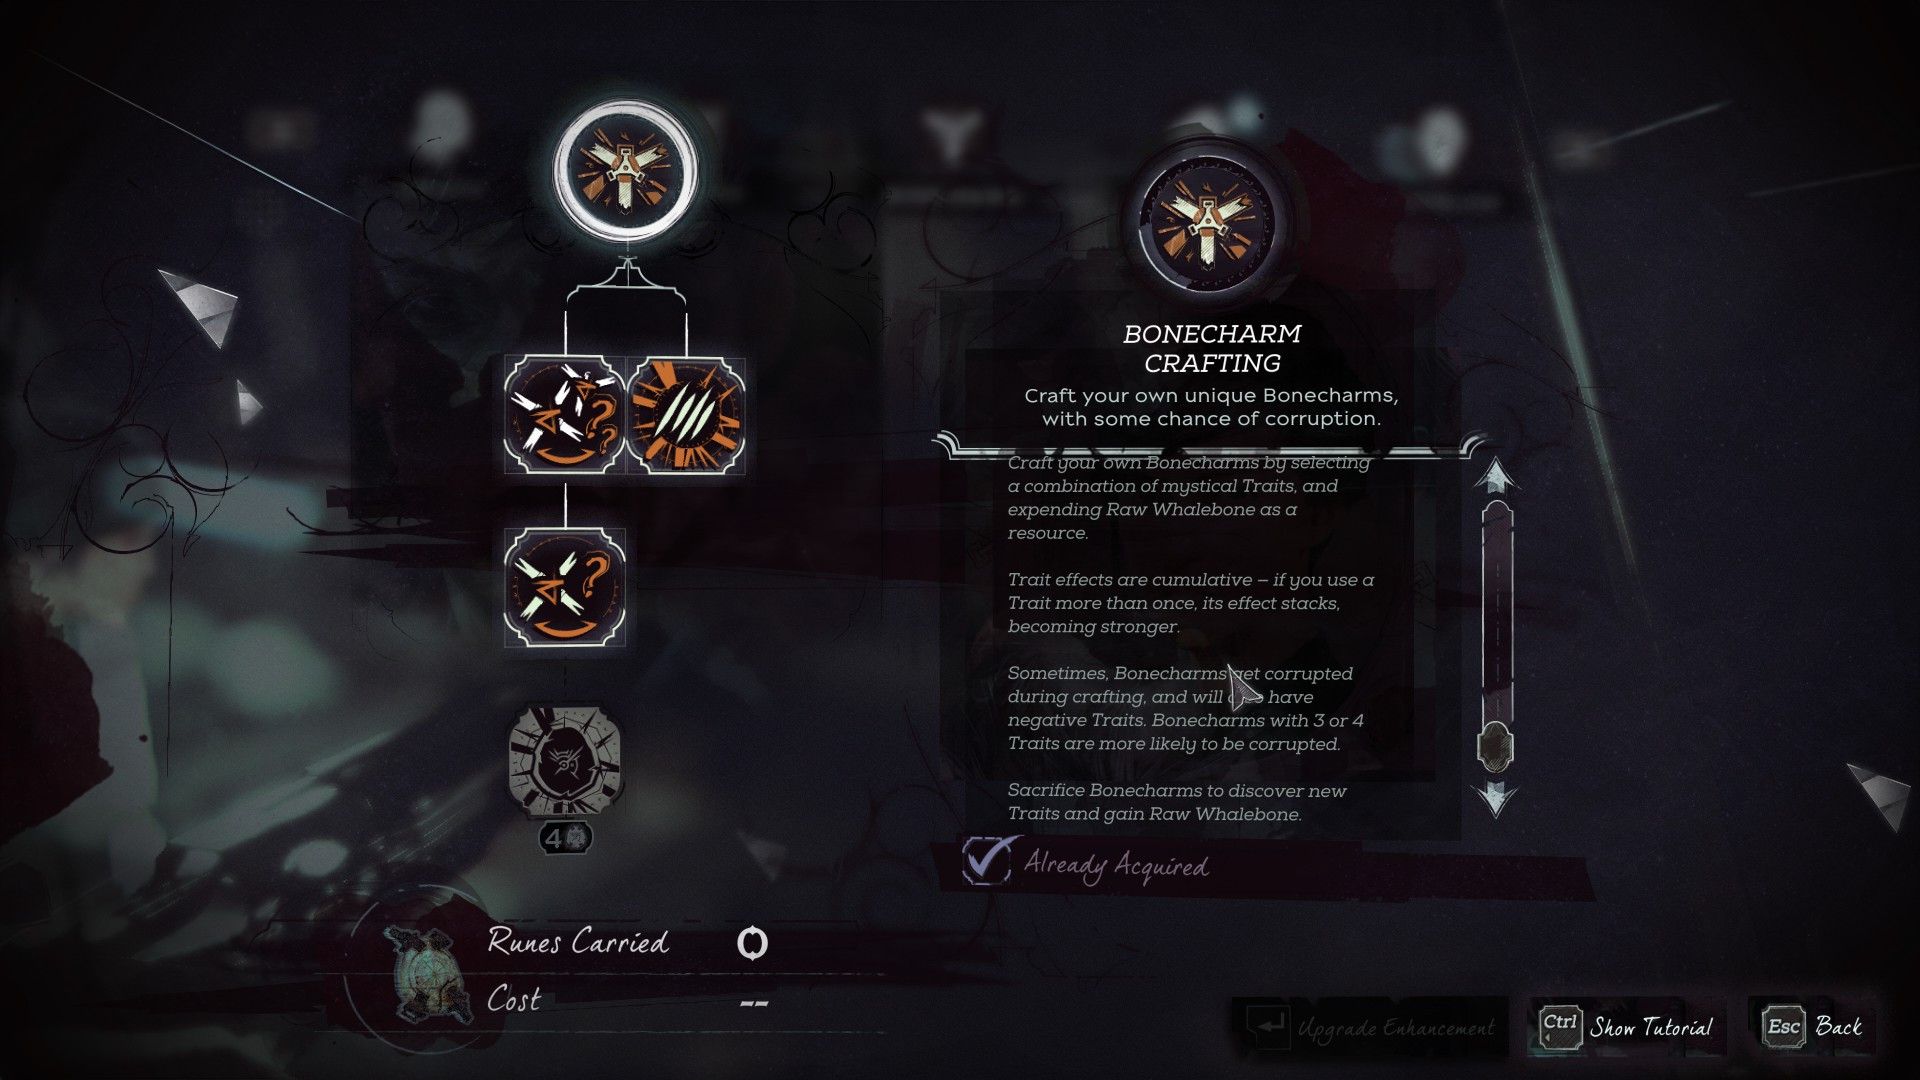
Alternatively, however, you can make what I like to call "Super Bonecharms." When you read the description of the Bonecharm Crafting ability, it contains a tiny, but important paragraph: "Trait effects are cumulative – if you use a Trait more than once, its effect stacks, becoming stronger."
So rather than using Bitter Blood, in combination with, say, Lucky Needle, which raises your chances of recovering Sleep Darts after you use them, you can instead opt to use all four Bonecharm slots on the Bitter Blood Trait, which will basically let you make out with a Bloodfly Nest before they attack you.
Necessary Upgrades
Really, every upgrade to Bonecharm Crafting is required except Craft Runes. While the ability to Craft Runes is a nice bonus if you're not getting the Bonecharms you want, this upgarde is both expensive (Four runes) and extraneous.
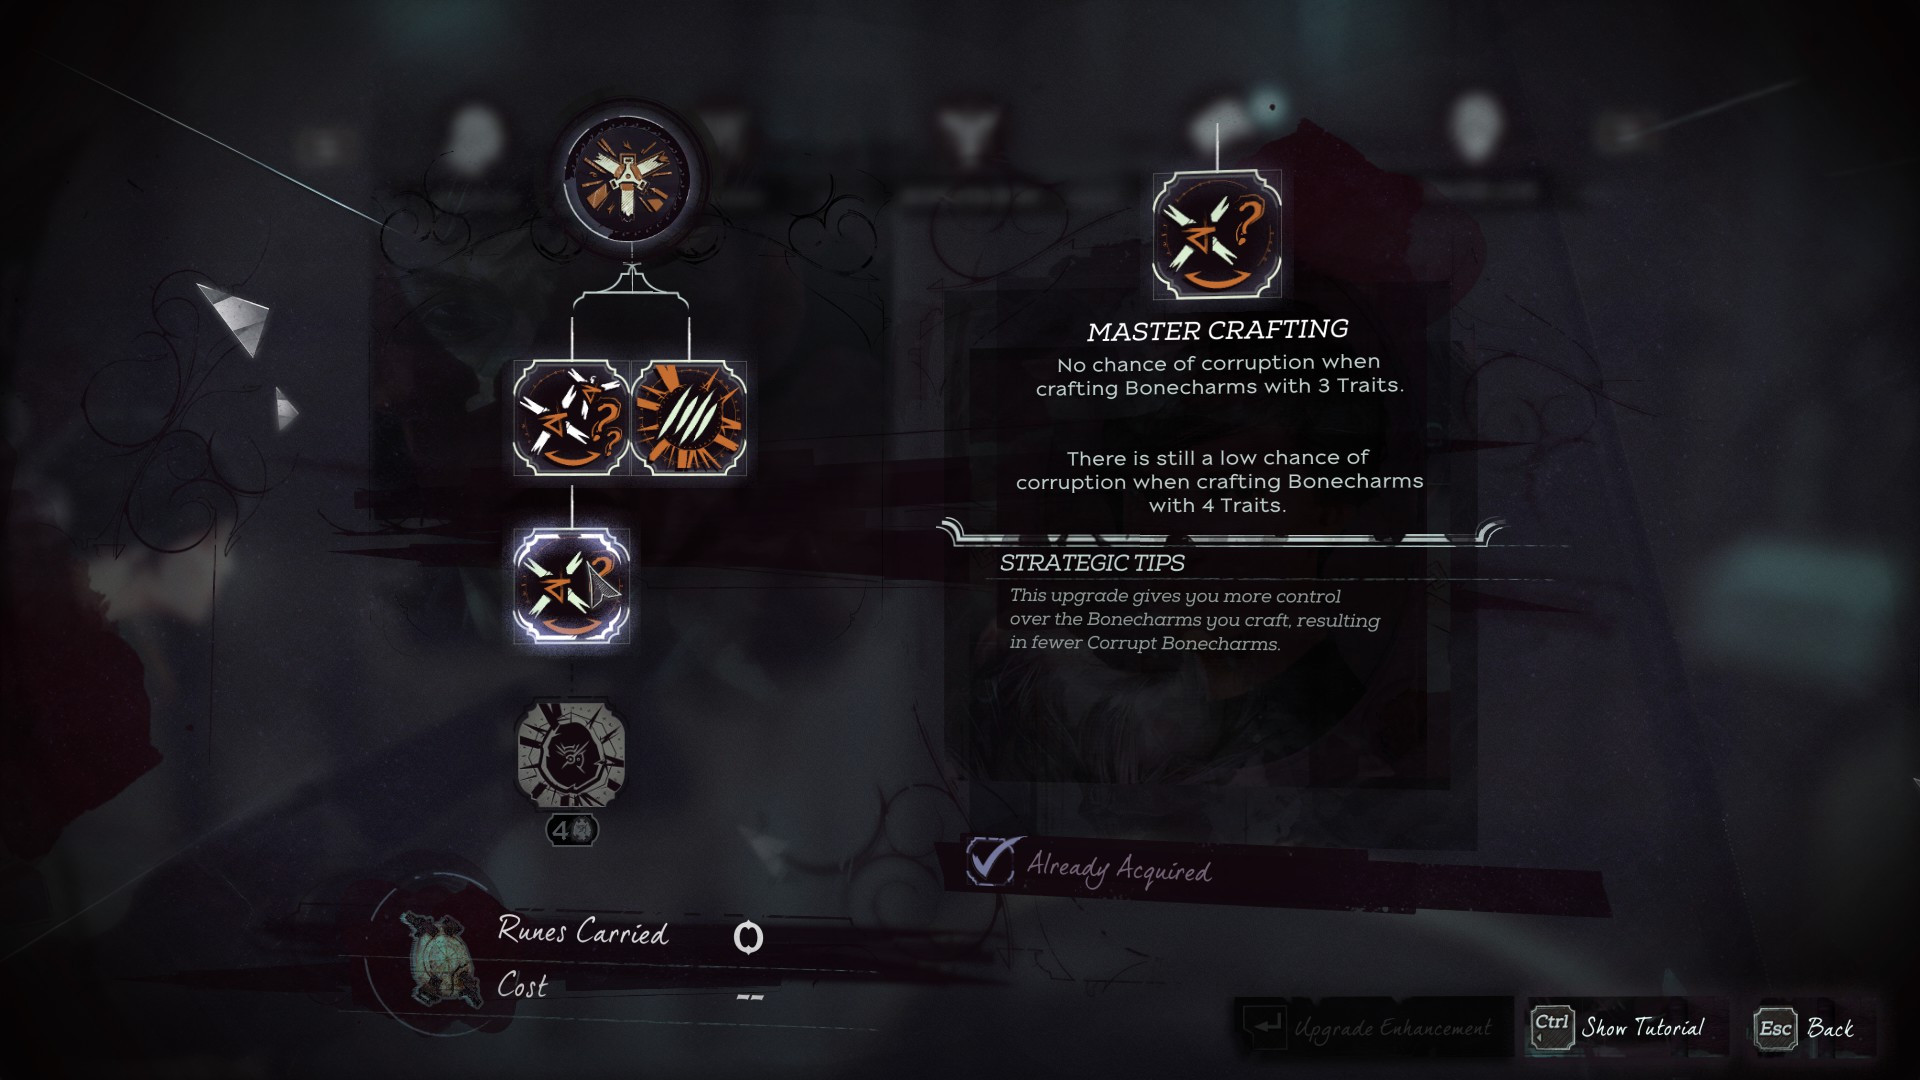
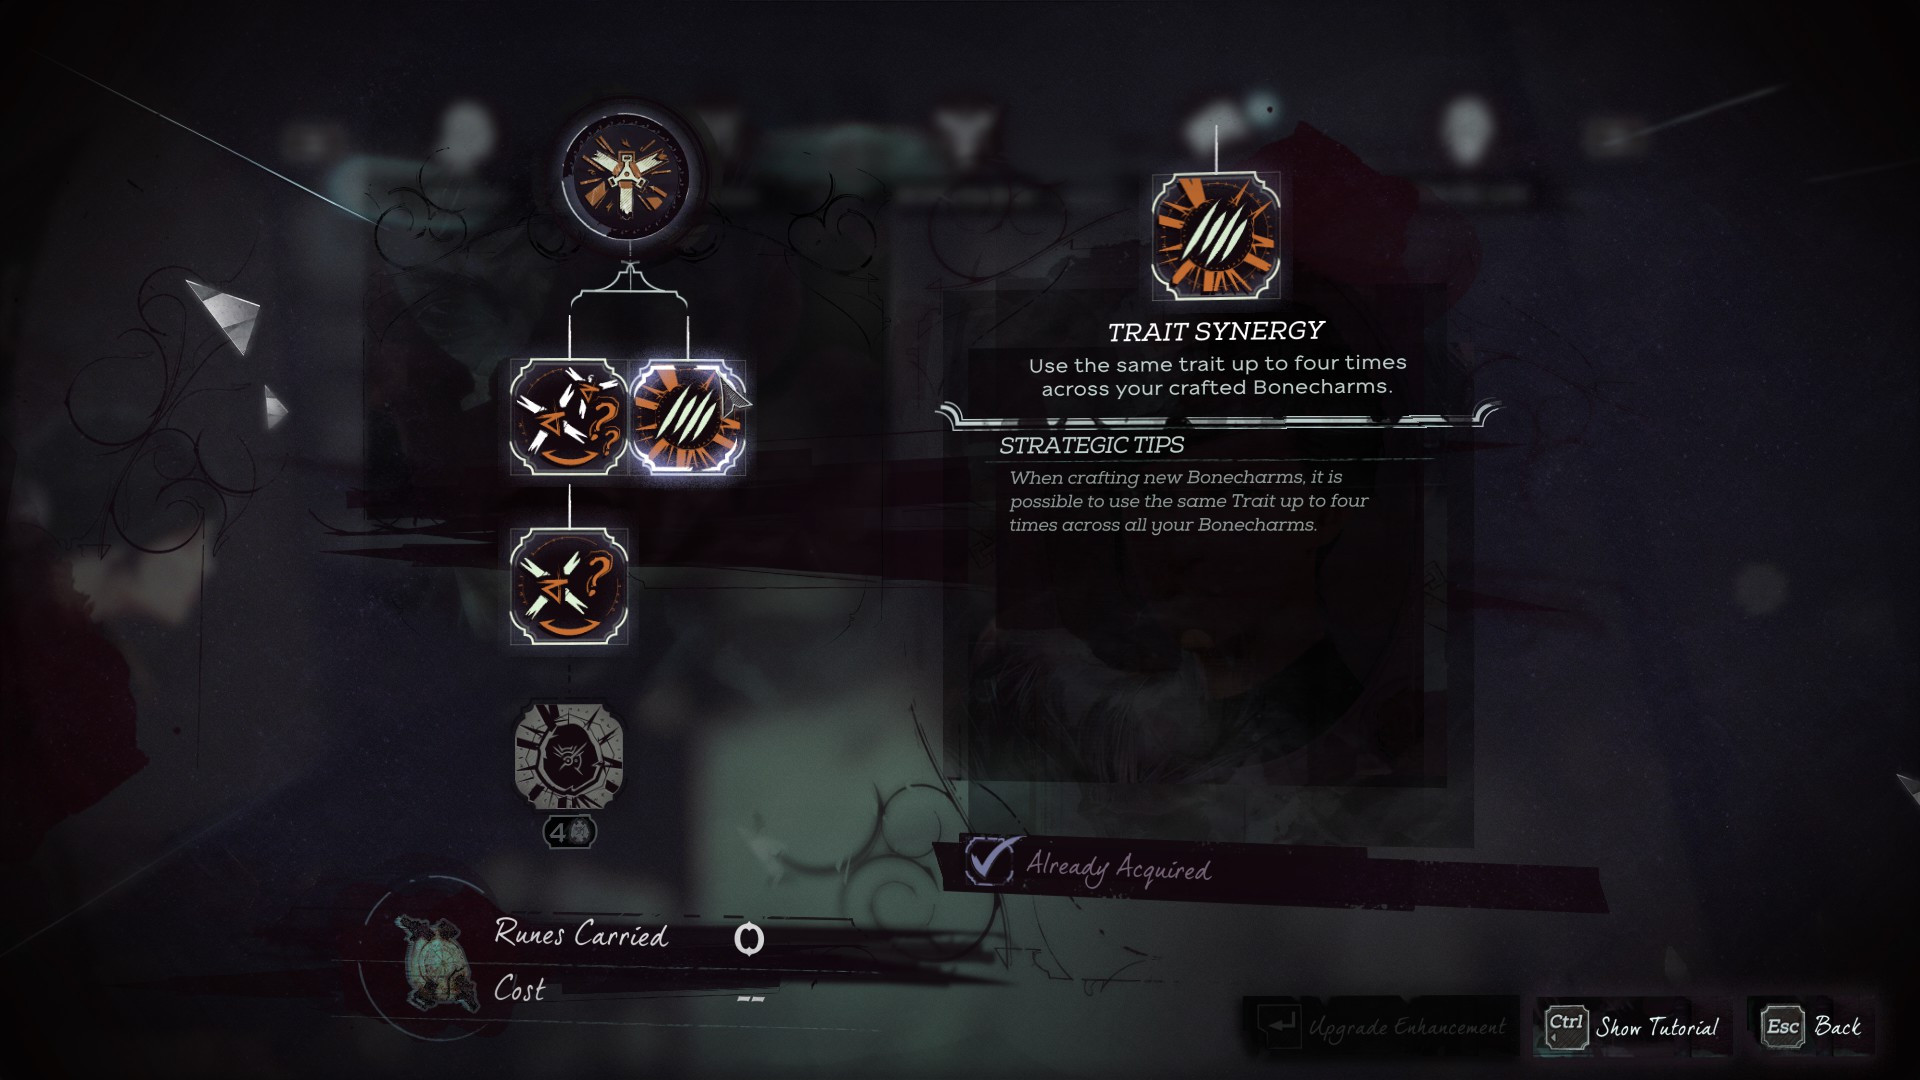
Trait Synergy and Master Crafting, though, are your bread and butter in Bonecharm Crafting. Trait Synergy is the only way to use four of the same trait across all crafted Bonecharms, and Master Crafting makes it so you can craft a Bonecharm of three traits with no risk of corruption, while reducing the chances of corruption on four-trait Bonecharms to "low."
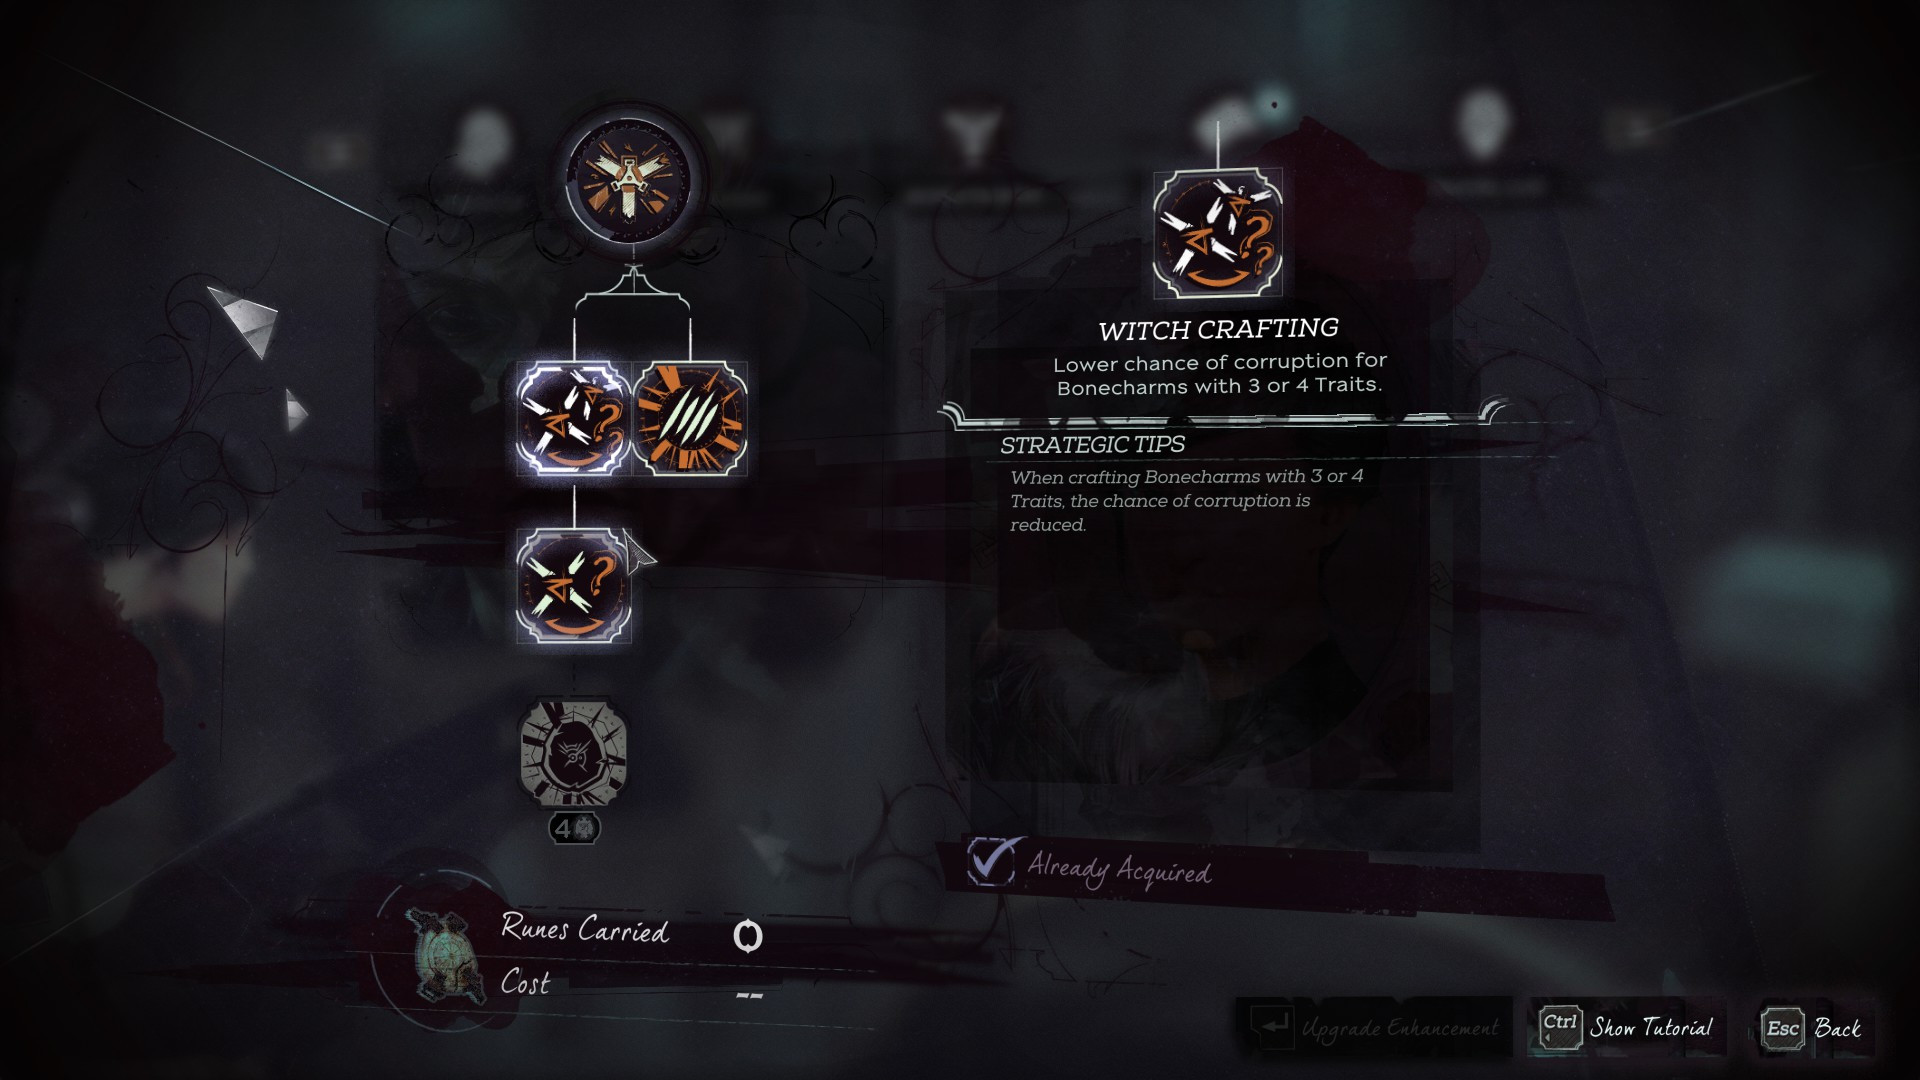
These will virtually allow you to craft whatever Bonecharms you like free of worry. Now, after you get Master Crafting, Witch Crafting will seem entirely useless. But, Witch Crafting can be helpful if you don't have the necessary amount of Runes to go straight to Master Crafting, and will tide you over nicely.
Tips and Tid Bits
Corrupted Bonecharms and Blackbone Charms and Black Bonecharms will yield Raw Whalebone when you sacrifice them, but they will not give you the trait. The thing about Corrupted Bonecharms and Black Bonecharms is that their effects are so good that they don't want you combining them with others while only using up one Bonecharm slot.
Also, since you can avoid Corruption when crafting Bonecharms, you would be able to essentially "uncorrupt" a Bonecharm, which is not what they made the skill for.
On the note of corruption, even the best upgrade to Bonecharm crafting still contains a low chance of corruption. So you could put all your best traits on one Bonecharm, craft it only to have it be corrupted and have a negative trait thrown on. Of course, you could always just try again, by sacrificing that Bonecharm, but the issue you'll run into is that sacrificing a four-slot Bonecharm yields five Raw Whalebone, but creating one requires six, so you'll start to hemorrhage materials.
Rather than go down that road, simply quicksave before creating a four-slot Bonecharm. If it gets corrupted, just re-load and try again.
Necessary Upgrades To Bonecharm Crafting
-
Basic Ability
-
Essential Upgrades For Bonecharm Crafting
-
Trait Synergy
-
Witch Crafting
-
Master Crafting
