Early access to the Destiny 2 beta is well under way for PS4 players, and it will begin later today for Xbox One players before going live on the 21st to all console players regardless of pre-order status. That said, players are already running into somewhat of a brick wall when it comes to the Beta, in the form of the game’s co-op Strike level, The Inverted Spire.
It’s a wonderful, promising level overall with a jaw-dropping set-piece and a bastard of a boss fight that’s sure to have you restarting on several occasions before finally tasting victory. After several victories, we’ve honed in on a few strategies to help you out along your journey.
Weave Between the Buzz Saws
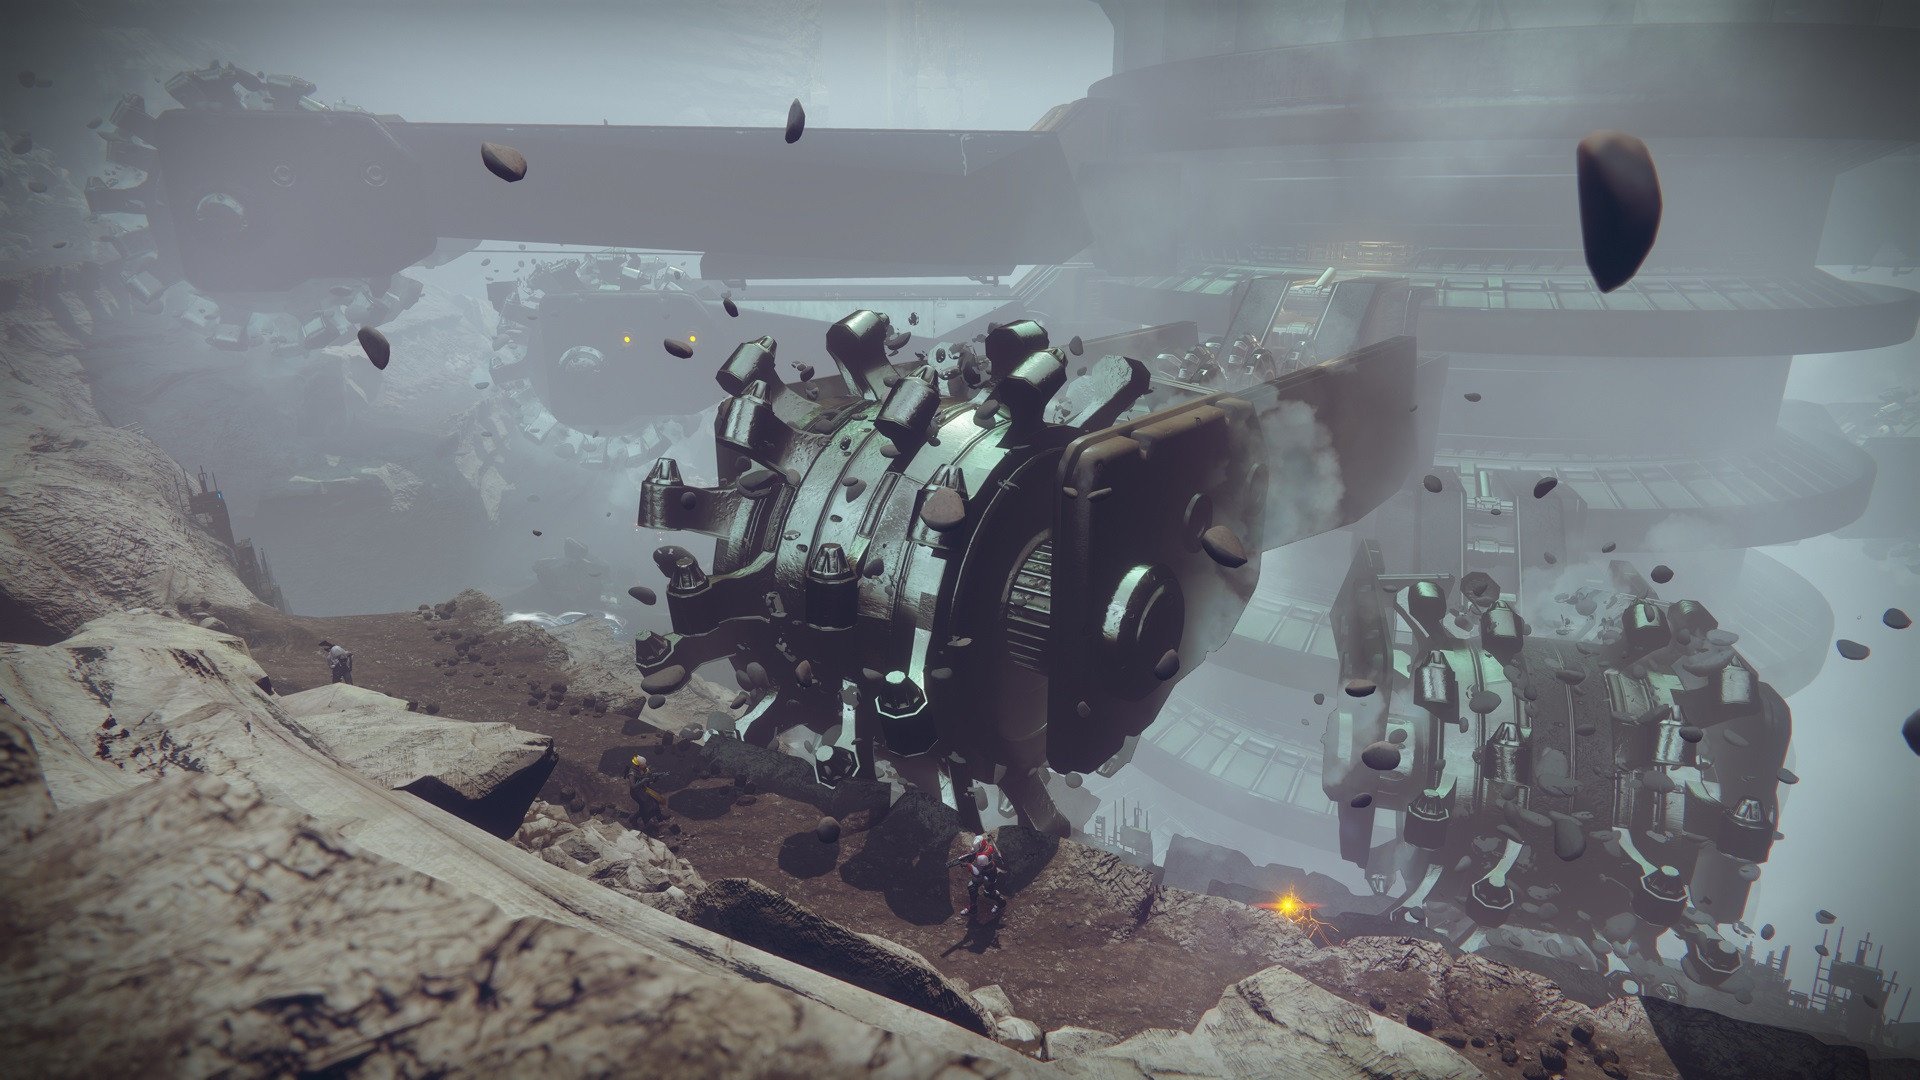
Most of the content in this guide, and most of the deaths you’ll experience, will be related to the boss fight, as it’s the most challenging encounter in the whole level. That said, the huge set piece featuring several buzz saws on a rotating axis is also not to be trifled with. But, you’ll have to successfully traverse it in order to continue to the dreaded boss fight, so we go once more unto the breach.
The real trick here is to keep your wits about you. These huge blades are incredibly intimidating and the enemies populating the level’s many “safe” areas create even more chaos designed to throw you off your element. That said, if you can keep a level head, simple logic will help you navigate this treacherous terrain.
What you’ll want to do is stick on the edge of the middle-tier and the lowest tier, and simply weave between the two saws as they come. If the middle-tier saw is coming, jump down to the lower saw, but immediately jump back after the middle saw has past. Continue this strategy until you reach the end, which will be a path further downward accessible from the lowest-tier.
Know When to Revive Your Teammates
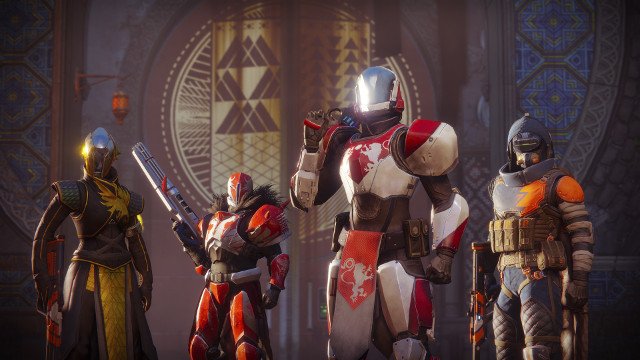
Reviving your teammates is almost always a great thing to do. If you can get away with it, you’ll bring a friend back to help you out in the heat of battle, whereas you would normally have to wait 30 seconds before they can be of service once more.
That said, it’s all about when. I’ve lost several matches due to poor revive timing. Whether it be when I tried to be a hero and revive a player who died to one of the buzz saws only to get us both killed seconds afterwards.
The most common situation in which you do not want to try to revive your teammates, though, is when you are in battle and the only one alive. Trying to revive your teammates here will likely just get you killed and make you all restart from the last checkpoint. If you’re taking heavy fire and are the last one alive, just try to stay alive for the next 20-30 seconds until your teammates come back.
Don’t Neglect the Normal Enemies During the Boss Fight
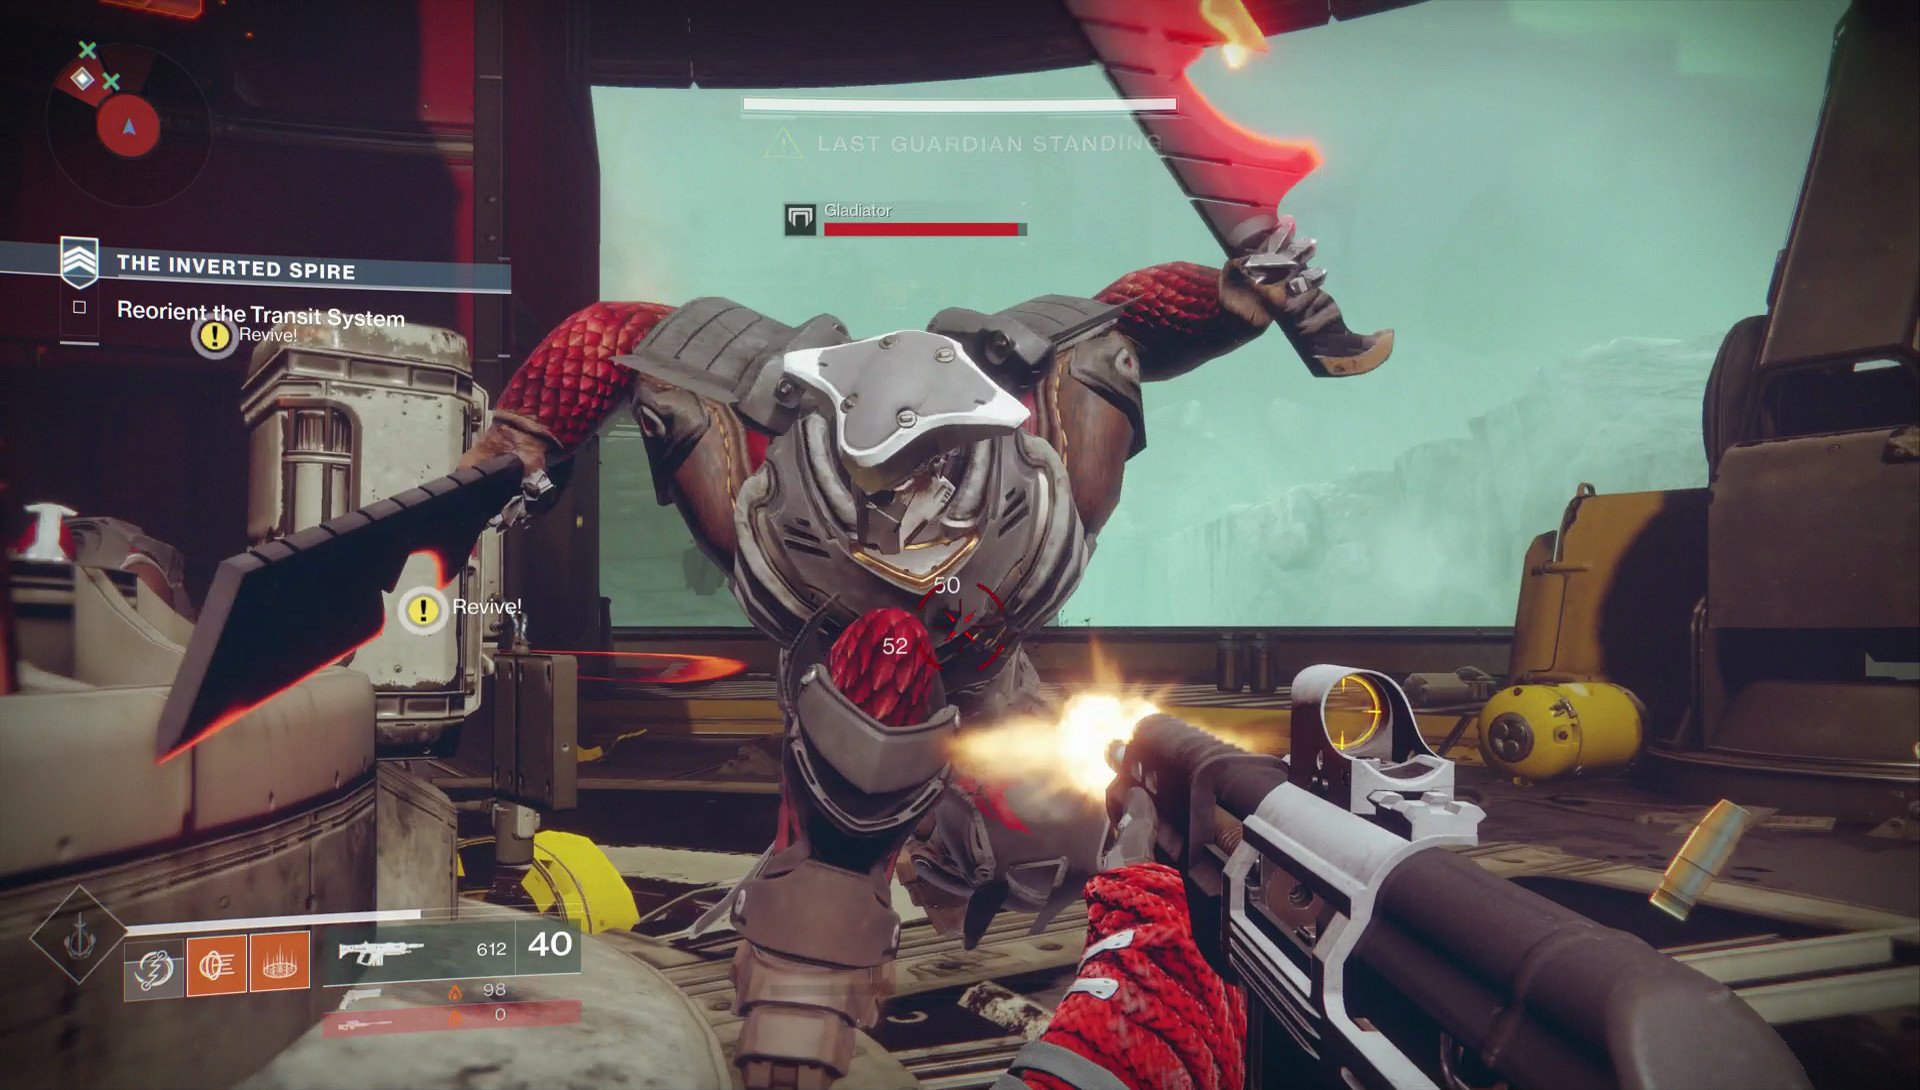
It’s easy to try to focus on the boss. He’s easily the biggest thing on your screen, and he’ll do the most damage. But if you want sustained, unchecked damage, you need to focus on the normal enemies that spawn in waves as well. If you’re tunneling on the boss trying to get that last bit of damage, all the while you’re getting wailed on, it’s not going to work out for you.
This is when communication can come into play, especially if you’re in a group of friends. You can have one person focus on taking out the little guys while the other two are safe to go after the boss. You can even rotate based on how this strategy progresses. If the boss suddenly switches focus to the person shooting the little guys, your rolls need to change.
Of course, this is going to be harder to pull off if you’re in solo queue with uncommunicative people, but you can still do your best to make sure that at least one person is shooting non-boss enemies.
Don’t Use Your Special Ability on the Boss
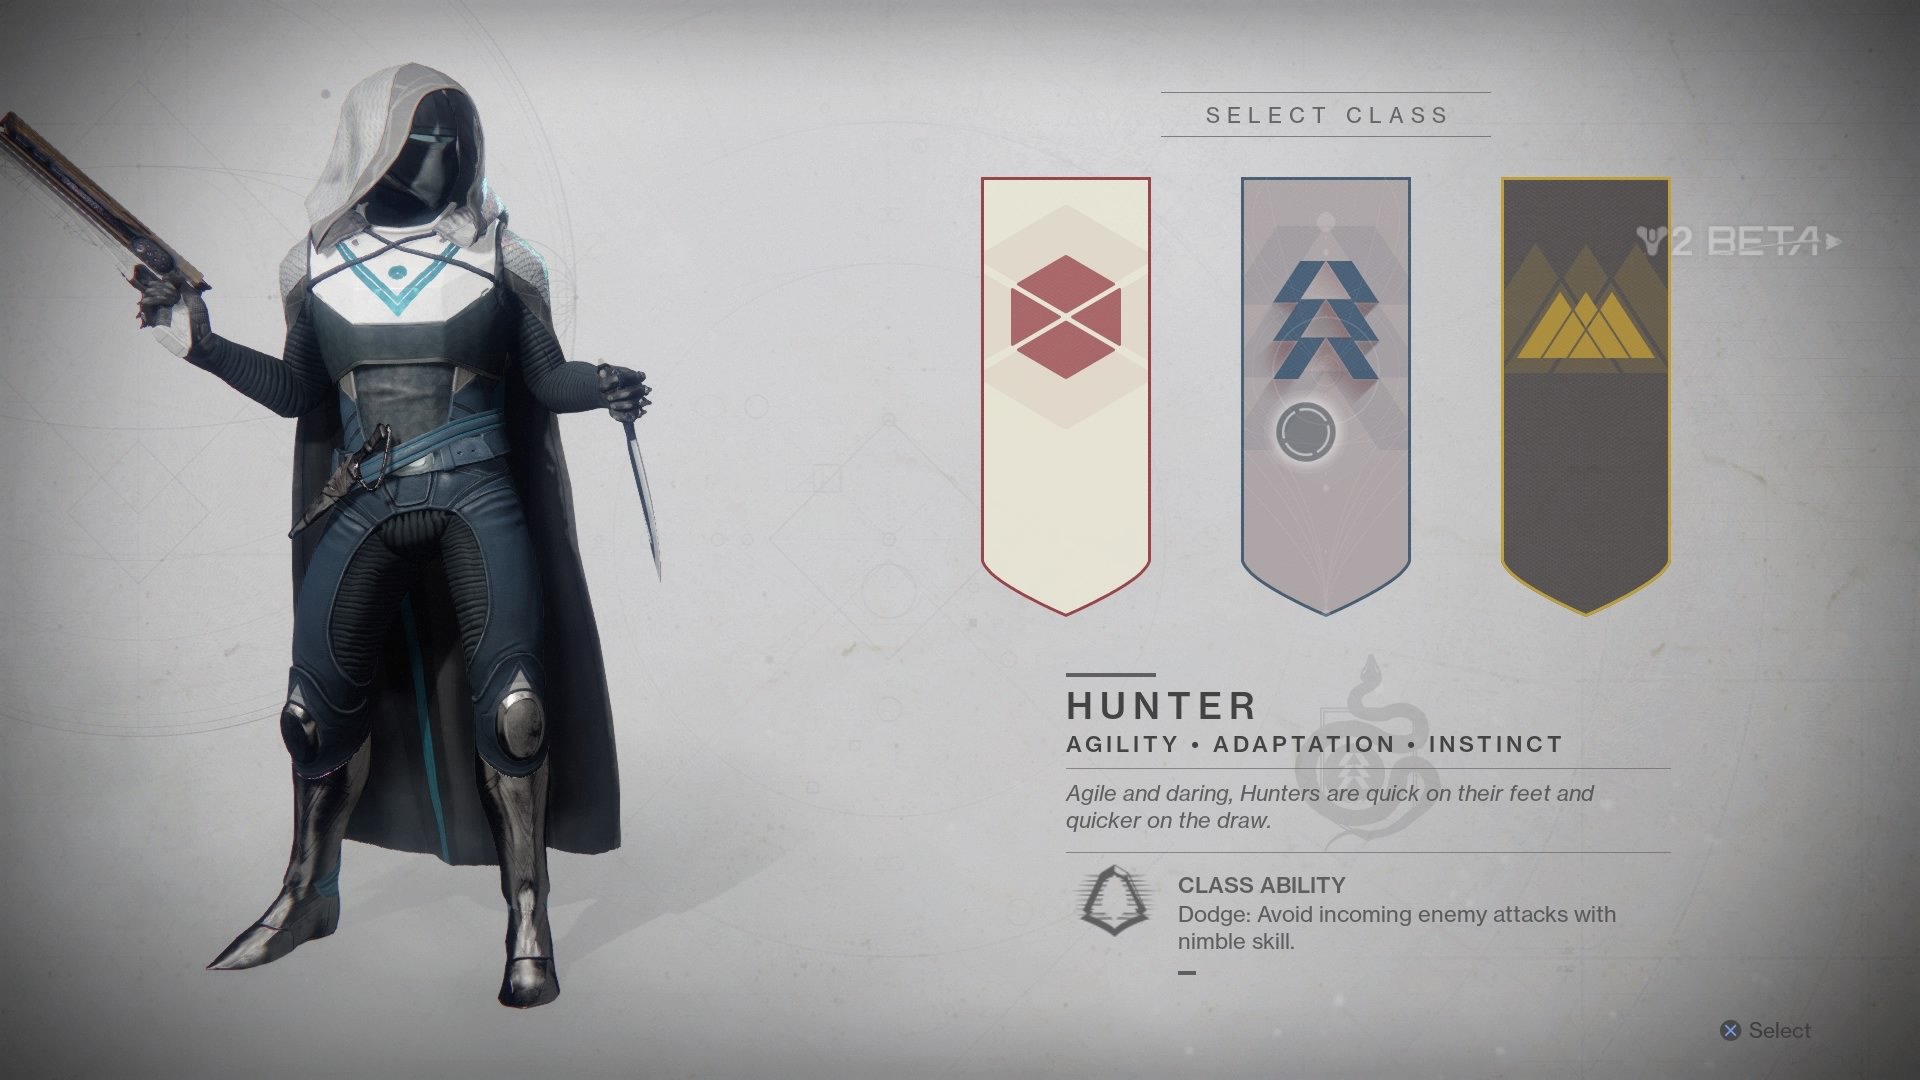
With a special ability that lets you turn into a near-invincible melee character for several seconds, you’ll be very tempted to bust that out when you’re supercharged and go straight for the boss, with the goal of taking out a big chunk of his health.
This is short-sighted, though. The boss is seldom going to kill you by himself, and you’ll do the same amount of damage eventually as long as you can stay alive. What will really kill you is the normal enemies, which is why we focused so much on not ignoring them in the last segment.
You can use your special ability to wipe out an entire wave of smaller enemies. This will give you more time to sink damage into the boss without needing to pay attention to the little guys slowly chipping away at your health. Just dispatch with them quickly and move on.
Exploit Attack Angles and Cover
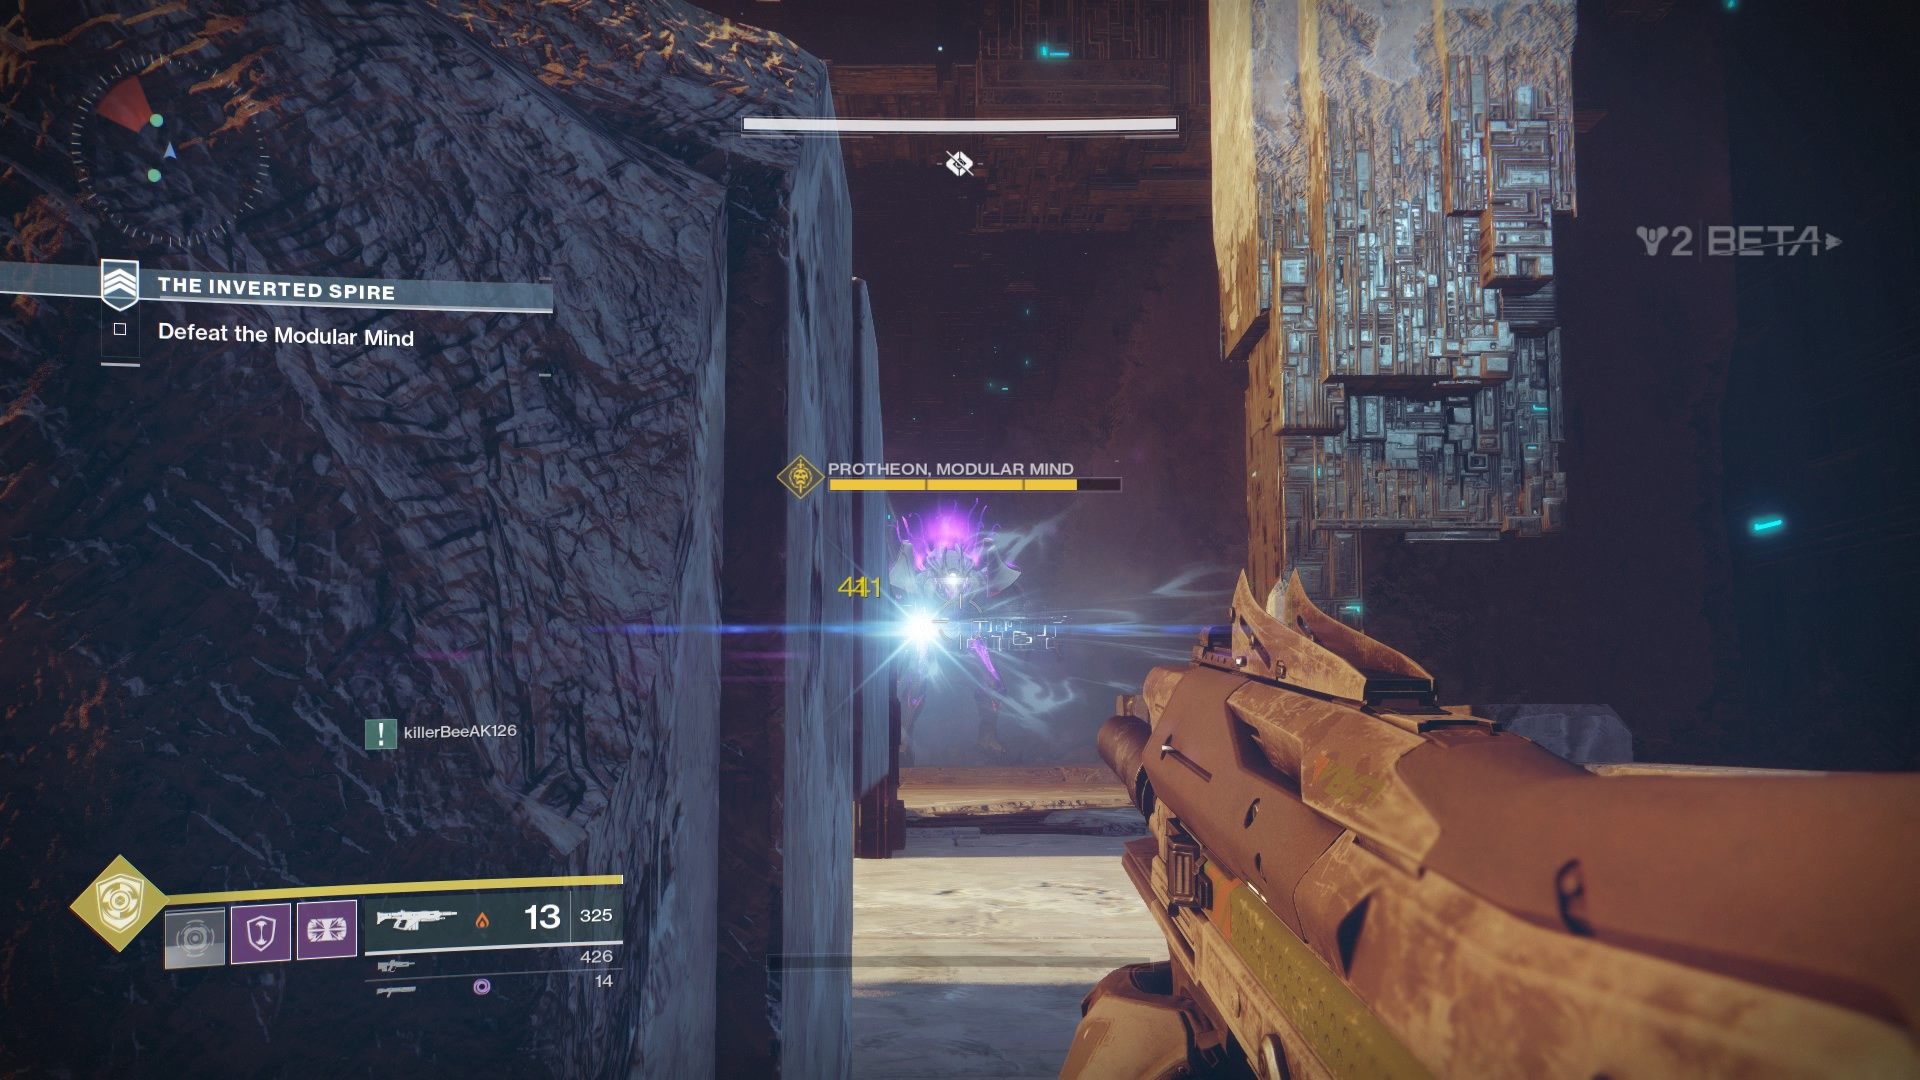
Here’s your biggest tip. For almost the entirety of the boss fight, he will only shoot with a big gun on his right hand. Since he himself is so large, he won’t be able to shoot at pinpoint angles the way you can. You can use these two facts to your advantage.
If you peak around the right-hand side of a piece of cover, and shoot at the boss’s left side (his left, not yours), positioning his gun behind cover in your view, you will be almost untouchable while allowing you to deal uncontested damage (see the image above).
This exploit won’t always work, as the boss’ shots have a bit of a splash to them, but it will still be your best option, especially when compared to being out in the open.


