[I'll be updating this tips guide with more as The Elder Scrolls Online moves along, with some help from the community. If you have any tips of your own for TESO, you can share them in the comments and I'll credit you with them in this guide. I'll also ask the community during our livestreams on Twitch if they have any tips or if they wish to have any questions answered about TESO. ~Ed. Nick]
1. Change your keyset.
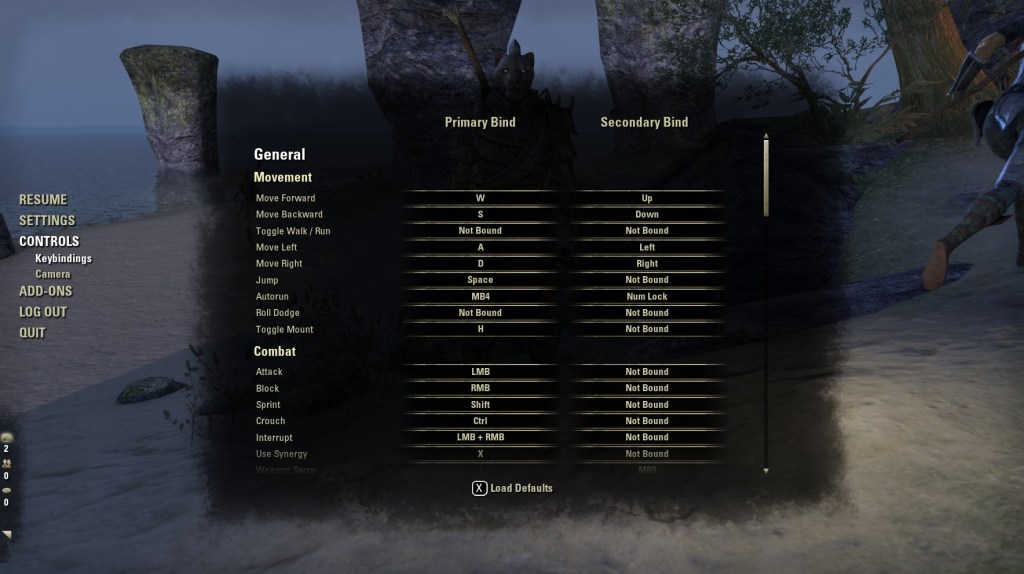
This recommendation isn't new to MMOs, but the default keystroke setting for The Elder Scrolls Online may be too tight for your liking. Along with the normal WASD controls, 'E' is the normal action button for everything, 'R' is the default setting for your ultimate ability, and 'T' cycles through quests. On top of that, the number keys 1-5 are your abilities.
So unless you have a mouse with plenty of buttons that can do all of these functions without the use of your keyboard, this can turn into a certain kind of cluster very quickly. I recommend changing the key for the ultimate to something different, like '6' or 'T', or someplace far enough away from the WASD that you won't hit it accidentally (as I have numerous times… to my demise). Having to press 'Shift' for running can get tiresome as well, so you may want to fiddle with that too.
2. Nail combat basics down fast.
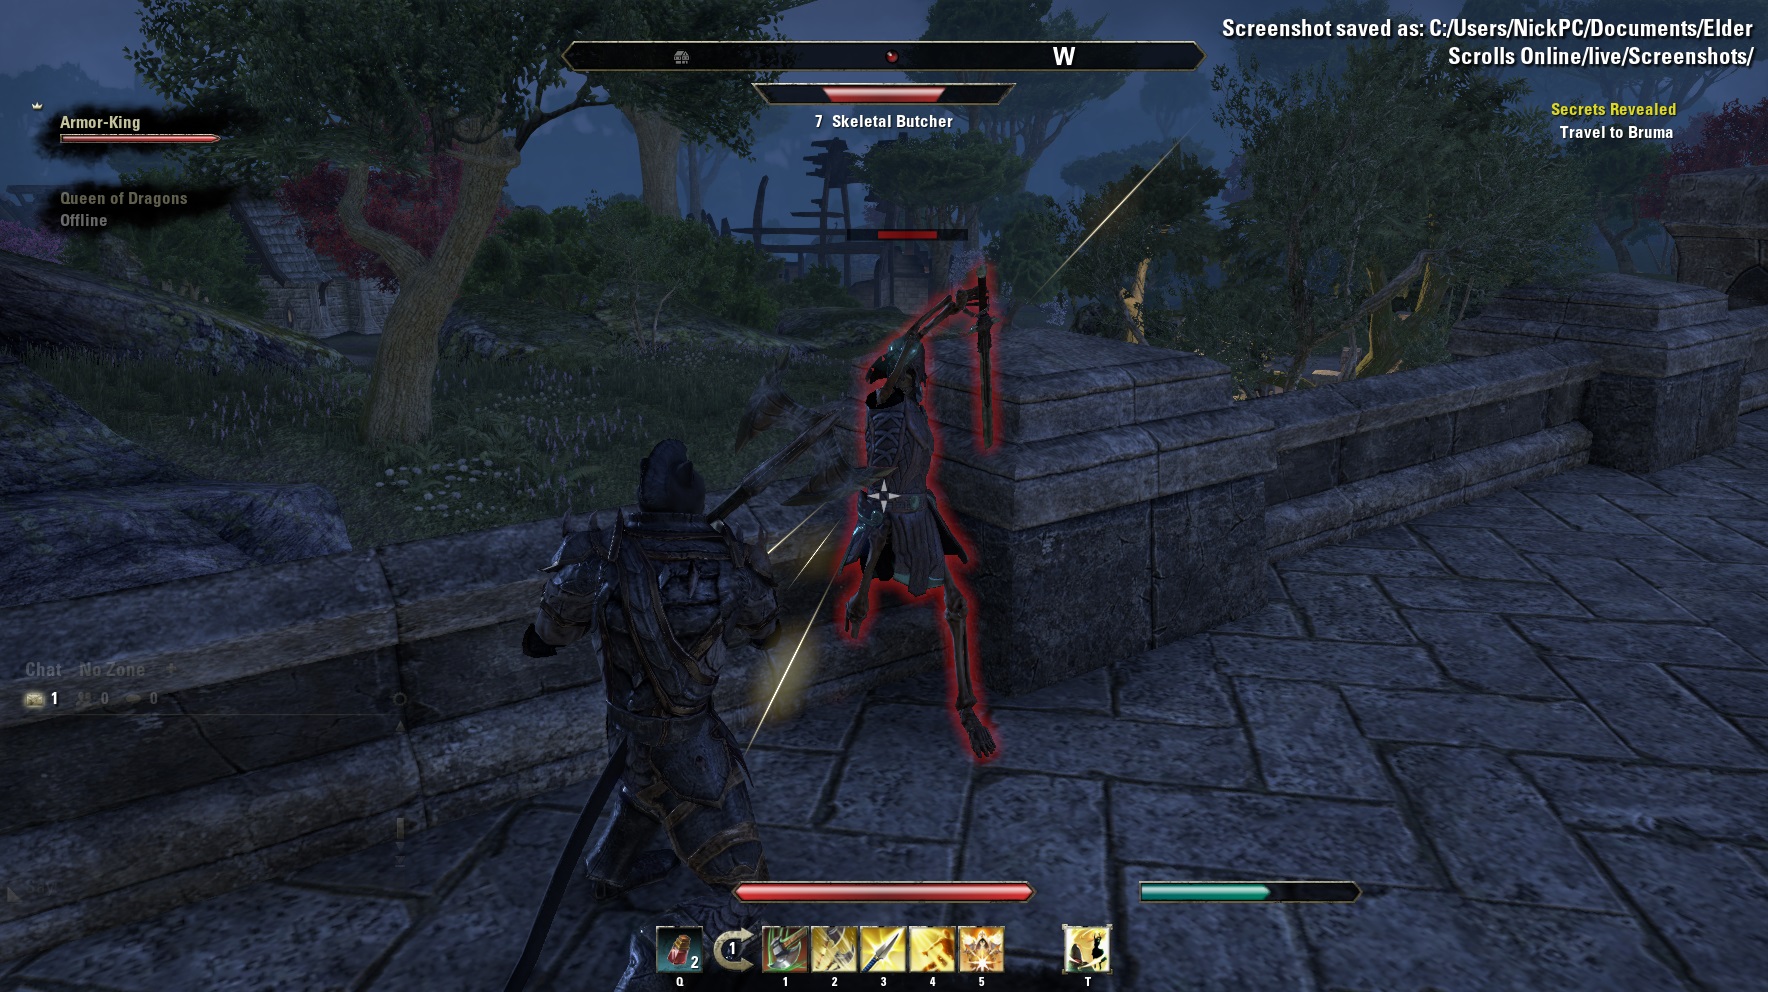
The tutorial for The Elder Scrolls Online explains its systems half-well, so if you're confused as to what you're supposed to be doing in combat, you're not the only one. The game can also suffer from a bit of lag, so while it may seem you have a bit of health left, you may not have the time to heal and die before you even try to recover.
The first thing to understand is an enemy's cues in PvE. An opponent charging white means block, which upon success will usually knock back and stun the opponent for several seconds unless it's a boss. The same goes for when an opponent is charging red, except you'll need to bash the opponent by holding block while you attack.
It's your decision whether you want to "exploit" this opening as the game wants you to by charging for a heavy attack which will knock down the already stunned opponent for a few seconds. There may be other powerful abilities that you'll want to use instead while the enemy is down and out.
For getting through a crowd of enemies to the next objective, you only have two choices: defeat every group along the way or run like hell. Sometimes you don't really have an option apart from killing every creep so it's important to take advantage of the situation by either sneaking against a single opponent or at least disabling a part of the group by knocking them down and using area-of-effect abilities. Mad-dashing through an area will tend to "kite" a ridiculous amount of enemies behind you, so make sure you have a clear line of sight, mount a horse if you have one, and don't get trapped. Getting surrounded by five enemies is a sure way to send yourself back to a wayshrine or to waste a valuable soul gem to revive.
3. Use "Travel to Player" function as much as possible.
Traveling from wayshrine to wayshrine doesn't cost a thing, but teleporting back to one costs money. While it's rather miniscule at first, about 50-100 gold at lower levels, the time it takes to return to a wayshrine and the money it takes to teleport adds up quickly. Also, you can't return to a wayshrine again in quick succession unless you wish to pay a ridiculous fee, like 500 gold (it drops by 1 gold every second or so).
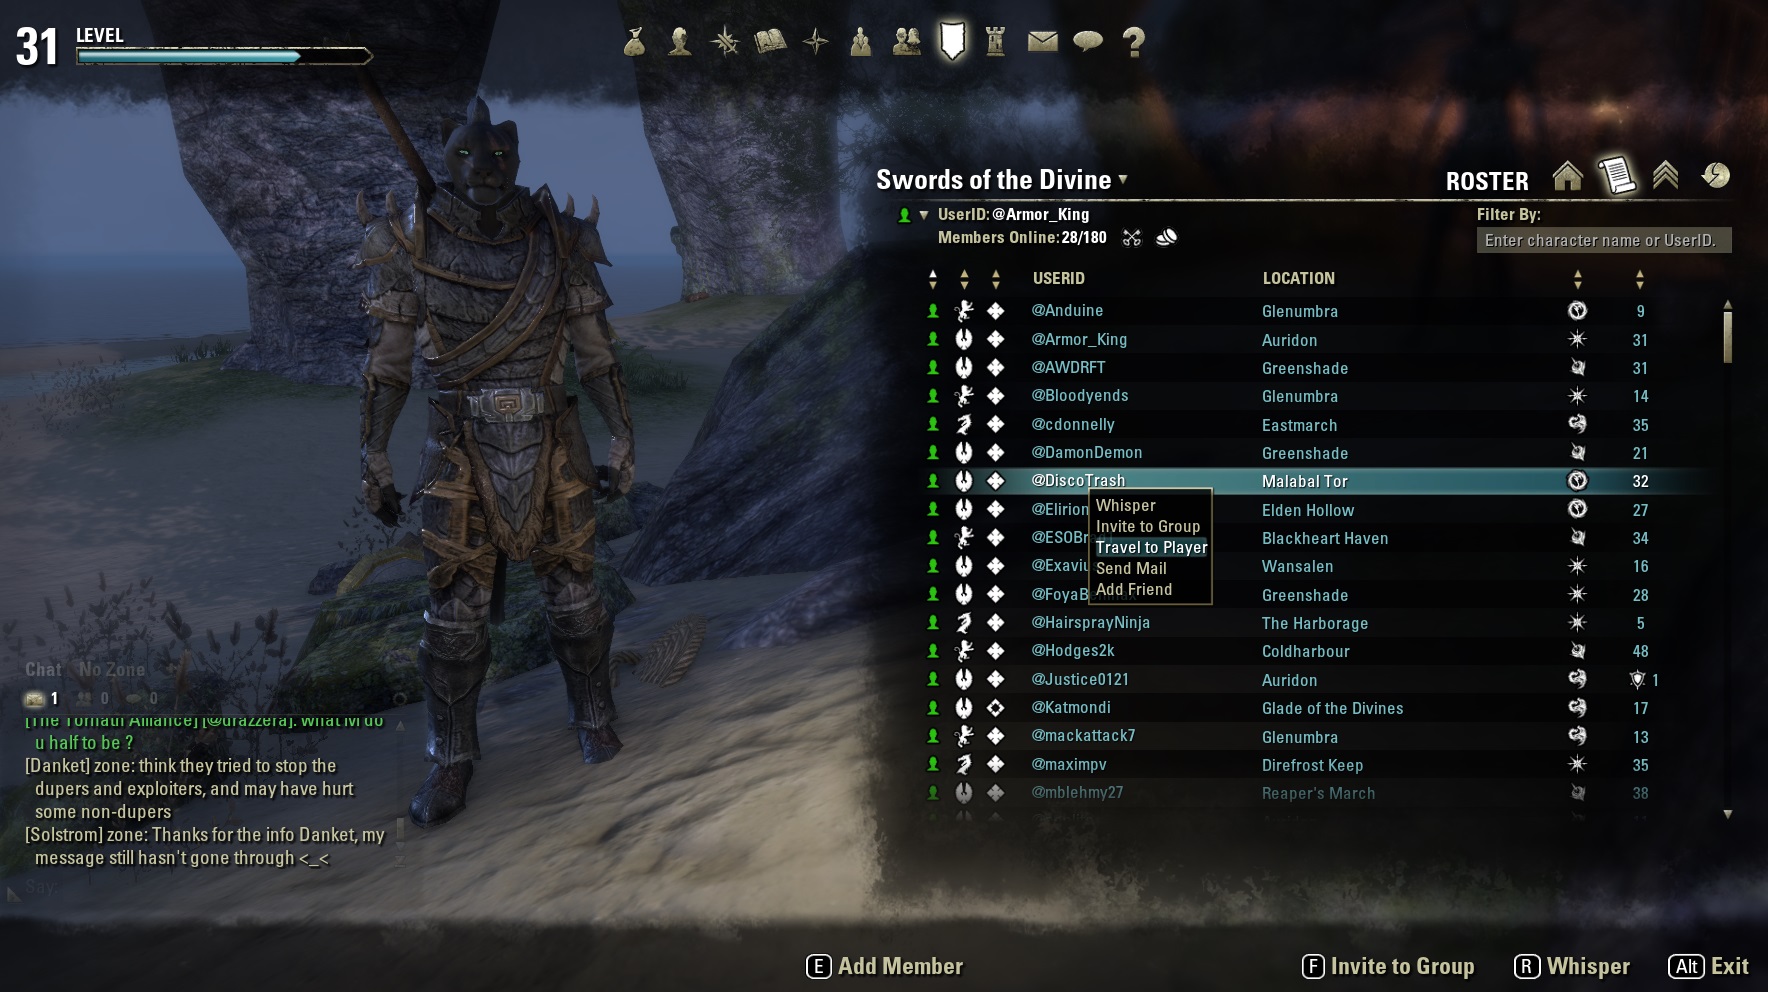
Instead, use the "Travel to Player" function as much as possible. Any friend you have in your contacts list (and some in your guild list) playing at the same time can be used as a point to travel to by right-clicking on the player's name in the contacts list and choosing the option in the drop-down menu that appears. Not only is this absolutely free, but it dumps you next to the closest wayshrine to that player. Even if it's not where you want to go, you can select the wayshrine and teleport where you need to go from your friend. Of course, choosing a player that's already in your general area or at least your sub-world in Tamriel should be your first go-to option.
Since the Travel to Player option is free, you may want to consider befriending as many people as you can and accepting as many friend requests as possible. (Unless it's from a spammer… in which case, report the person.)

4. Grind in public dungeons.
This is actually a problem I have with the game, but so long as Zenimax doesn't have a patch for it, who am I to say not to exploit this right now? If you've wandered into a public dungeon, denoted by a hatchet on the map, you may have found a gaggle of players surrounding the spawn point for a boss.
As long as you deal a small amount of damage to the boss, you should get credit for defeating one (along with everyone else) and earn the experience points as well as the loot drop. Eventually, you'll get at least one copy of the enemy's entire loot table, and probably multiple copies of some items. Every time another person wanders into the boss area, it should send a request to the server to have the boss respawn within another couple of minutes.
So if you're in need for better equipment or just grinding, then have at it, Hoss, and kill away.

5. Read every book and bookshelf even if you don't actually read them.
We know you don't have the time to read every lorebook and scroll that comes your way. However, please take the time at the very least to pick them all up. Merely perusing a book can level up your skills without any extra effort on your part. How convenient.
Lorebooks, which usually glow blue, are scattered throughout Tamriel on benches and in small encampments. Reading one will add it to the lore library in your journal's main menu so you can peruse them later if you wish, but their primary benefit is increasing your rank with the Mages Guild. So long as you take a few minutes to explore the map, you'll earn enough experience and good-will (I suppose?) to level the Mages Guild skill line just about as frequently as the Fighter's Guild (which levels due to how many Daedra and undead you vanquish).
6. Use banks to store materials for easier crafting.
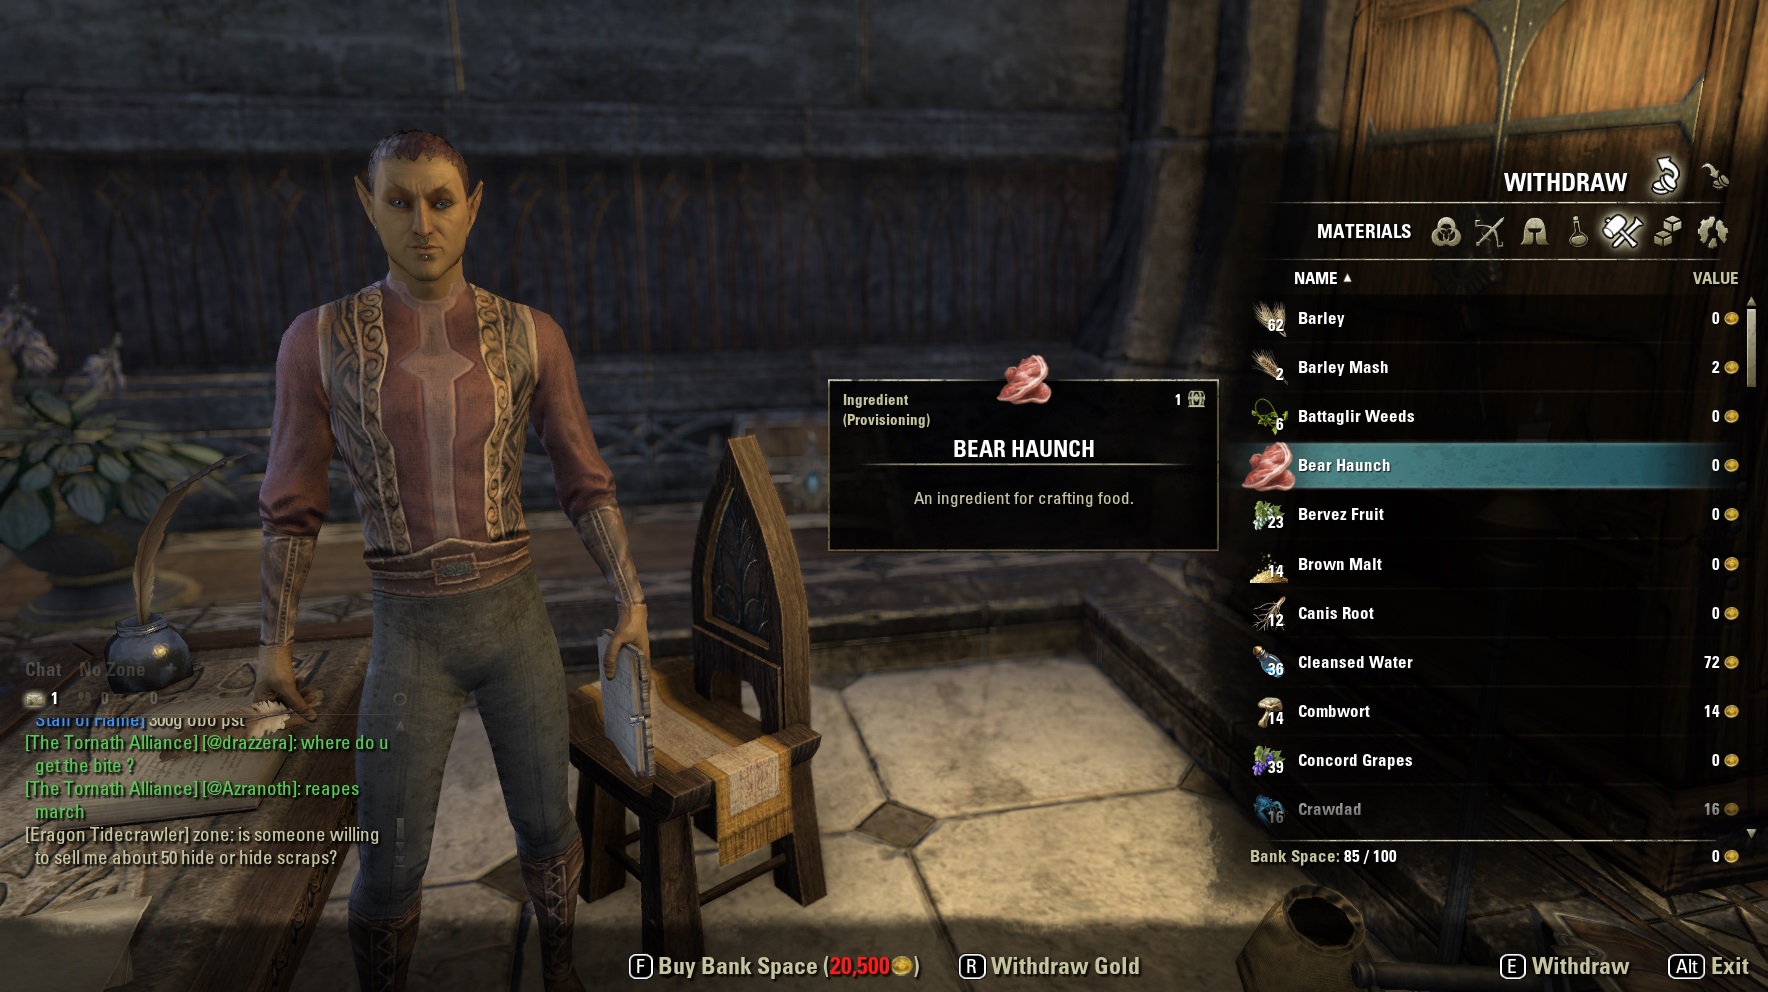
This isn't stated anywhere, and I know several players at Level 30 who were surprised that they didn't know this, but any materials stored at the bank can actually be used for crafting. This way, you can free up your precious inventory space for more loot. However, bank space is limited so stick with one crafting profession at first, especially if you're into provisioning as much as I am (there's way too many ingredients out there).
Also, don't bother with storing blacksmithing and clothing materials that allow you to craft armor and weapons in different styles. Just pick one style and sell the rest. The cost for buying one of these items from the weaponsmith is low anyway.
Read on for deconstruction, Stendarr, and Skyshards tips>>
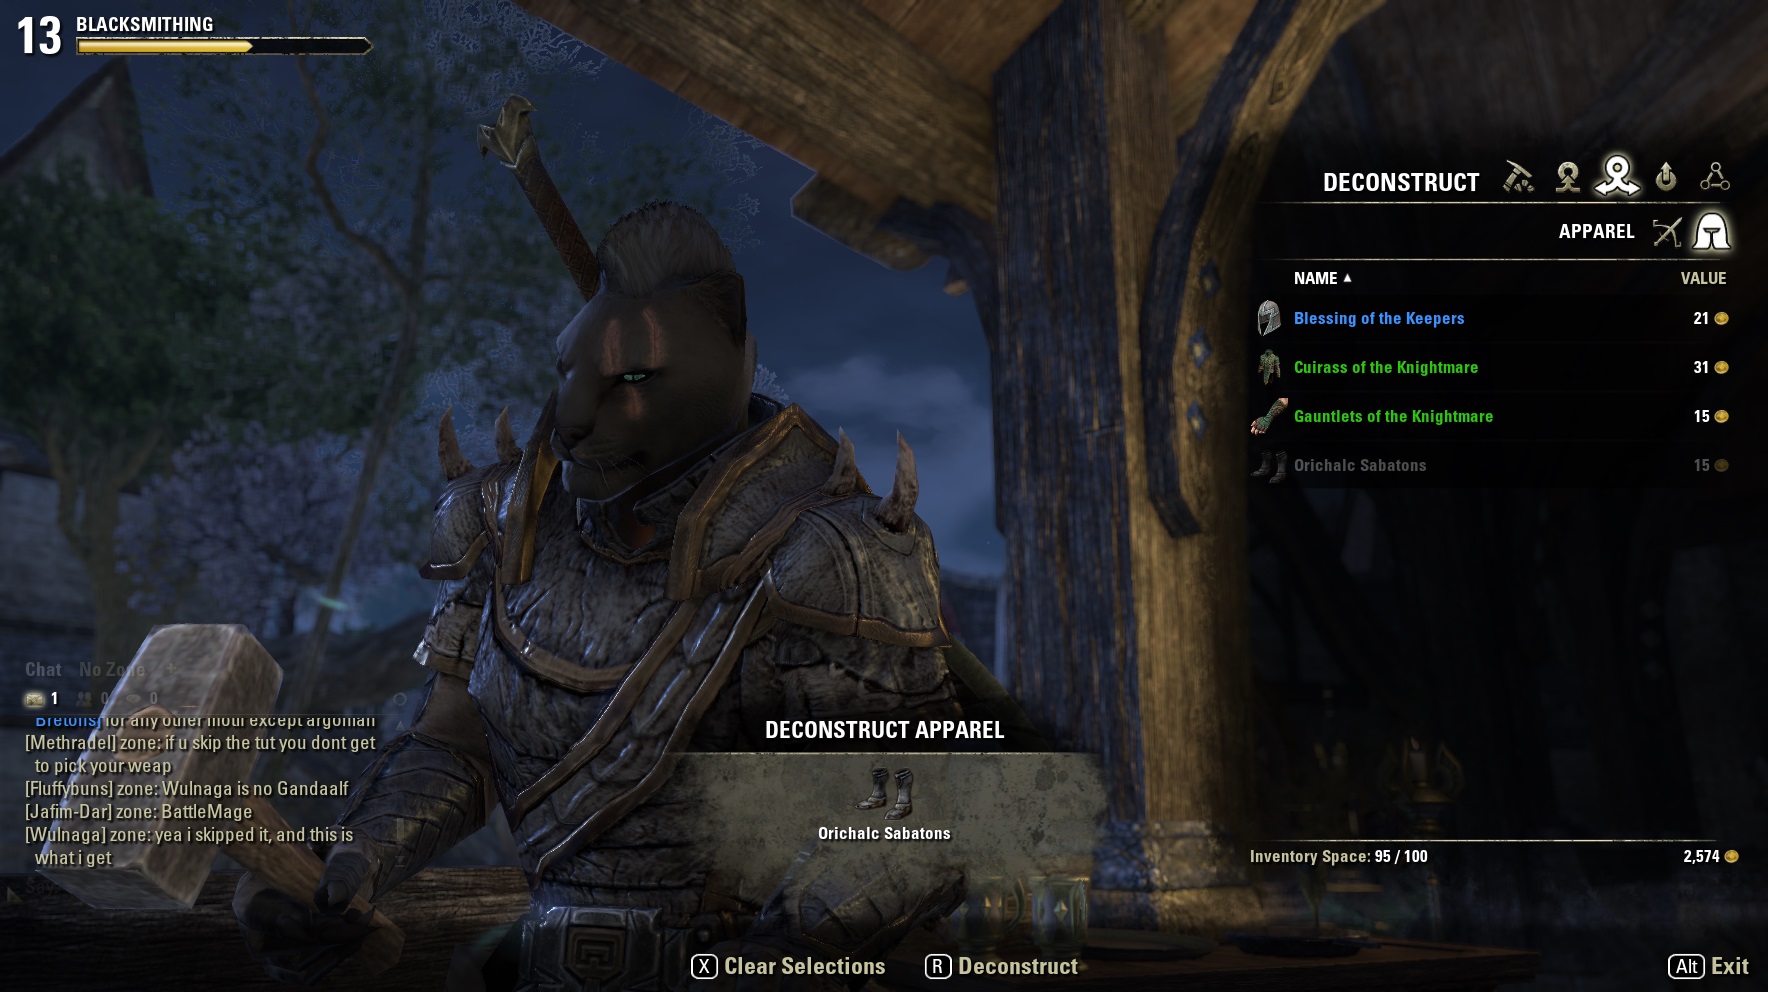
7. Deconstruct for inspiration.
Whether you choose to delve into blacksmithing, clothing, or woodworking, your best bet to increase your level of proficiency in any of them is to deconstruct items belonging to their respective class. The quality of the item doesn't matter much, so picking up white-quality loot off enemies should be considered. Of course, you could sell each item as well.
Better yet, for deconstructing magical items you'll earn refining items like Hemming, Pitch, and Honing Stones that can be used to temper weapons and armor to the next quality tier. And you'll get a certain amount of standard crafting materials to create the items you want anyway.
However, don't deconstruct the items you make, as the amount of inspiration you'll receive is extremely low. It's much better to deconstruct items you didn't make or that others have made, which is one reason why it's great to join a guild or have a friend who's willing to share equipment simply for deconstruction. You can create daggers for your friend to deconstruct, and he or she in turn can create daggers for you to deconstruct.
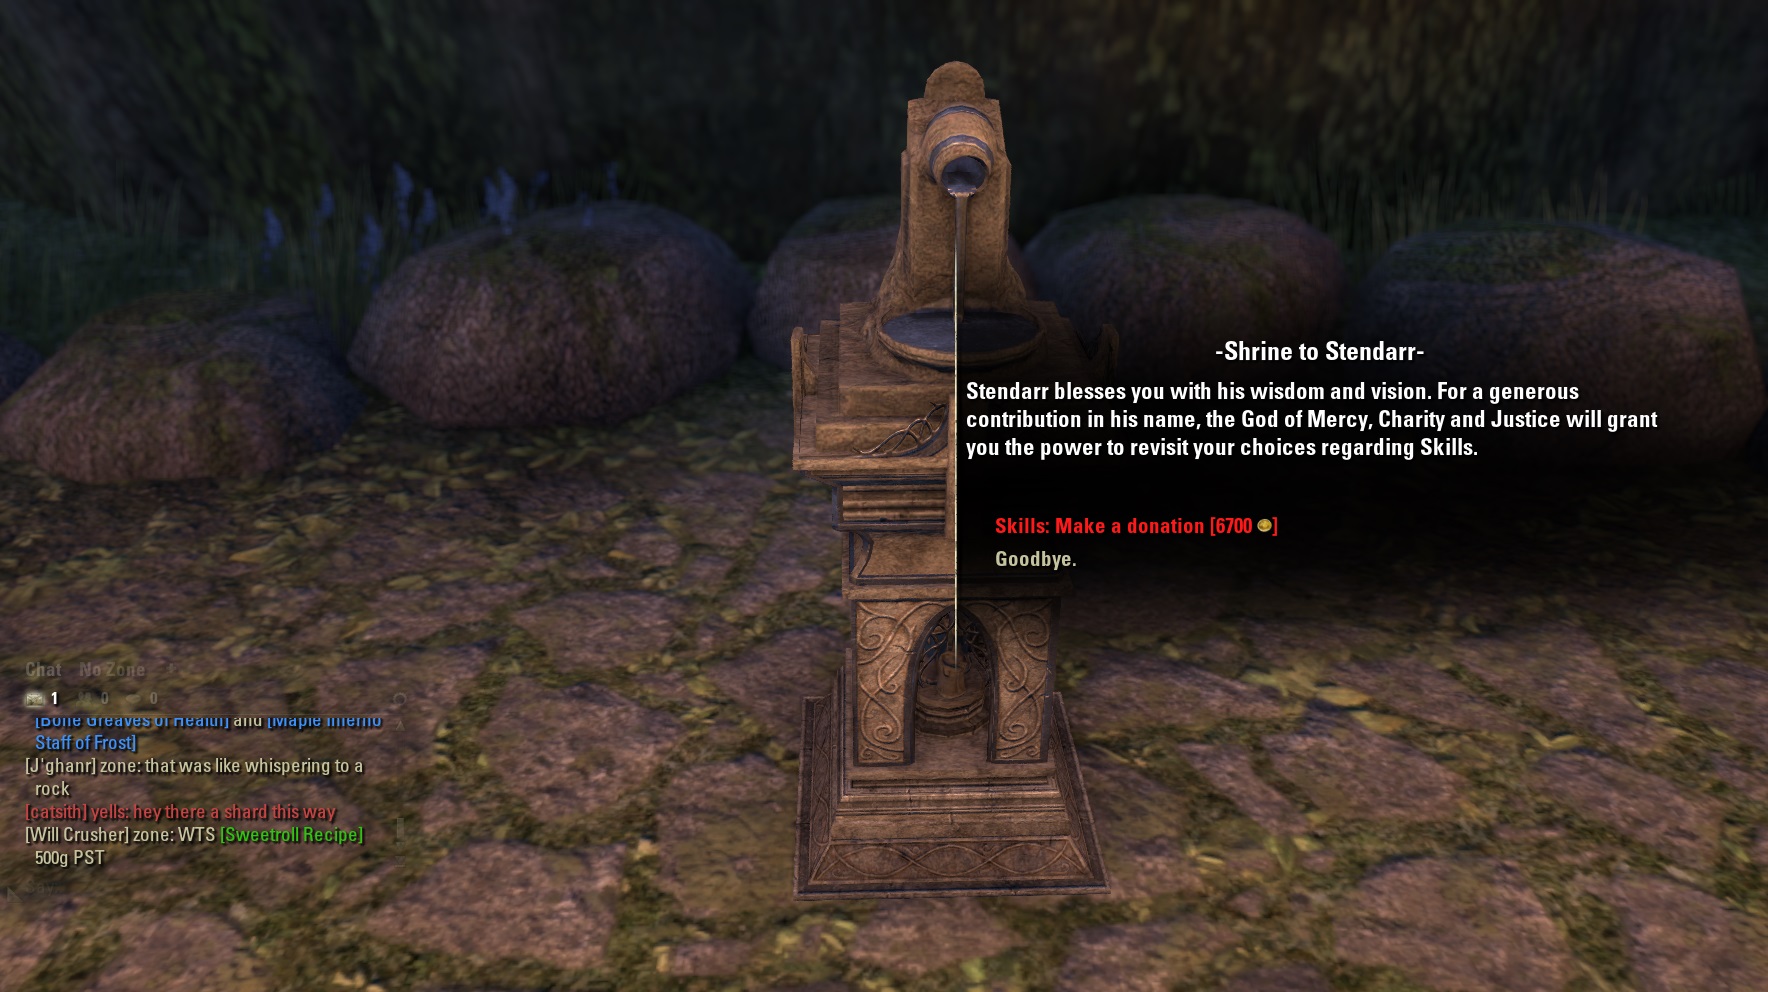
8. Consider Shrine of Stendarr sooner than later.
Ever since the beta, I wanted a respec shrine. You can't have every ability under the sun assigned to the twelve slots between the two different hotbars, so having every ability plus its morphed version isn't necessary. Of course, you'll want to try everything out at least once so that you can see if it fits in your build, so you'll eventually want to change how you've spent all your skills.
Once you reach the local area in your faction with the Shrine of Stendarr – in Elden Root, Grahtwood for the Dominion, in Mourhold, Deshaan for the Pact, and in Wayrest, Stormhaven for the Covenant – make a decision on whether you think a respec is in your best interest. It costs quite a bit of gold, 100 pieces for every skill points you've earned. But it will cost even more later when you've leveled even more.
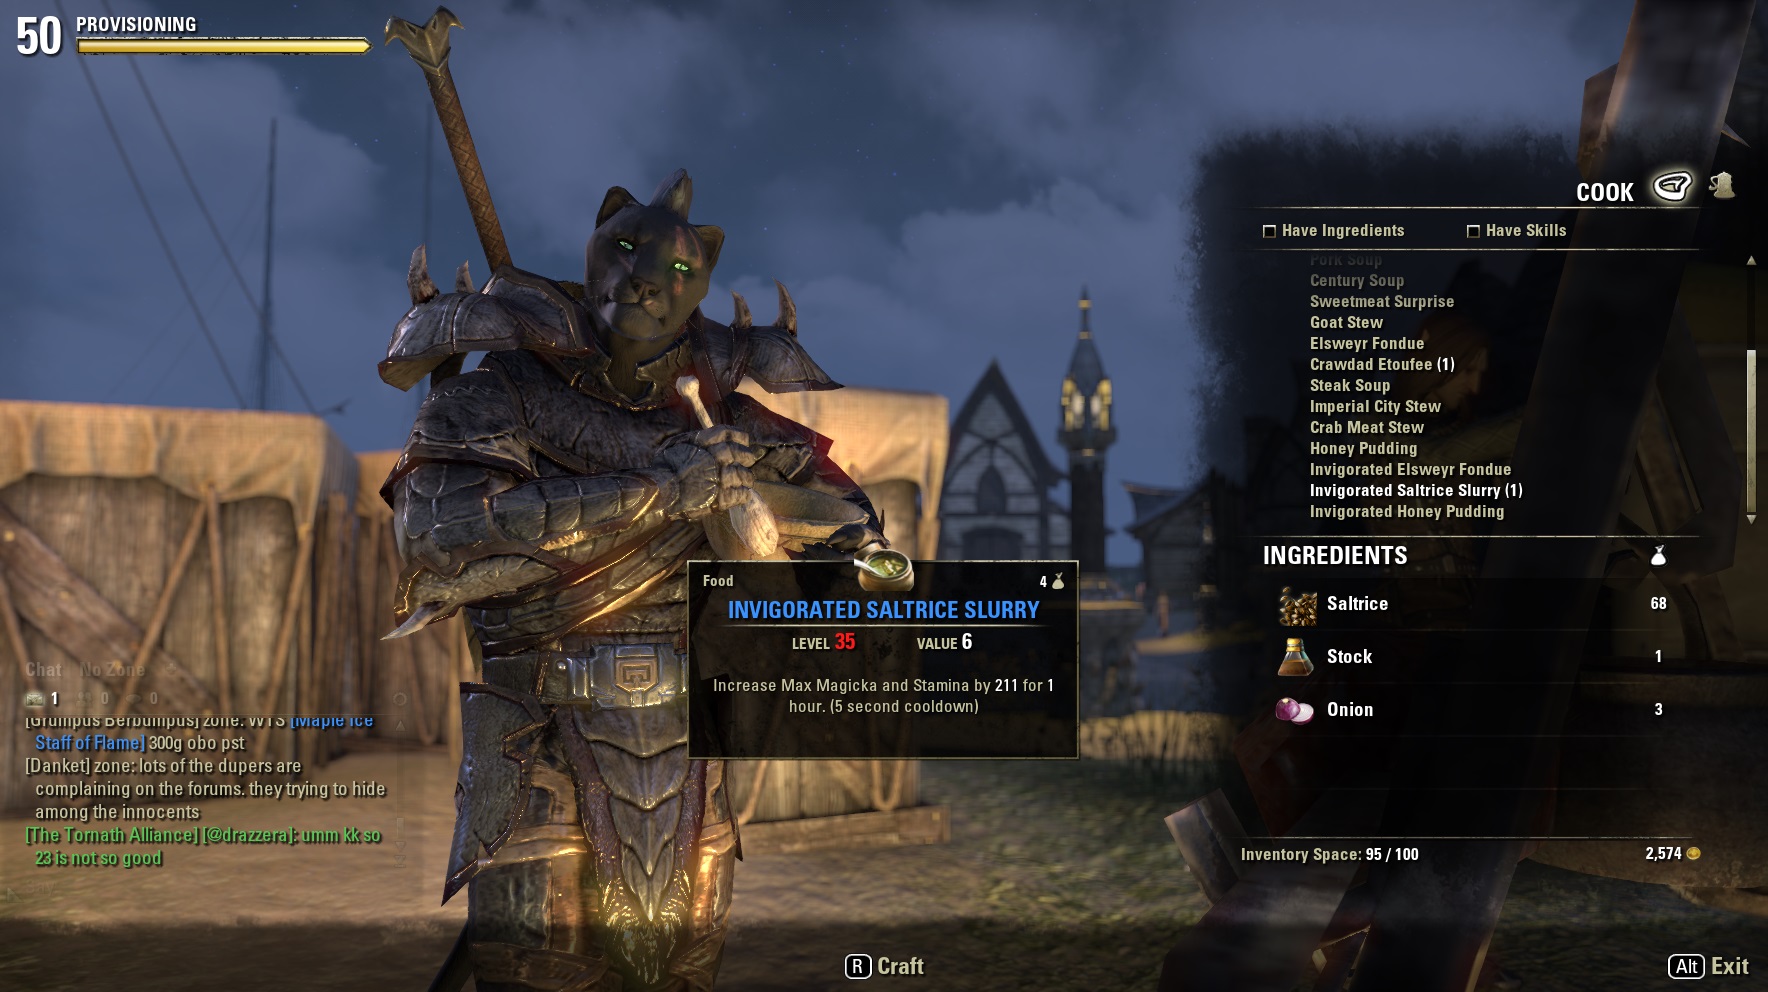
9. Upgrade provisioning for gold and awesome recovery items.
The easiest way I've found to earn heaps of gold is not by grinding but actually creating loads of food. Since provisioning ingredients are littered throughout the world in crates, barrels, and whatnot, it's not difficult to obtain ridiculous amounts of extra fodder for recipes, which are usually found in cabinets and trunks within castles. You can create important items that will improve your max stats or recovery rate for health, magic, and stamina.
Creating one portion of anything isn't that substantial, but once you earn three ranks in either Brewer or Chef, you'll create four portions for every crafted recipe you make. Later in the mid-game, most recipes will cost five gold. Multiply that by four and then by however many portions you have ingredients for, and the bounty adds up quickly. If you have the ingredients for forty portions of a recipe worth five gold, it can become 160 portions through Chef, which then becomes 800 gold. Then with multiple recipes… you get my point.
And well, why not be nice to your guild members by gifting them awesome portions of food for others? You'll have enough for yourself… trust me.

10. Find all of the Skyshards.
If you go through the Achievements tab within the Journal menu, you'll find a list of all the Skyshards in a particular area. All of them have a hint next to them for you to find each one. Typically, every public dungeon offers a Skyshard and acquiring three will earn an extra skill point. Most of the other Skyshards will be in areas that aren't too difficult to reach given their screen-blaring glares and divine blue beams into the sky.
However, we aren't afraid to admit that if you want to know where each Skyshard is, just go to the Tamriel Journal website and find them there. With this in hand, grabbing every last Skyshard will be a walk in the park and something you should do before heading to the next map. Might as well sweep up an area and make sure you didn't miss anything, right?
11. Bonus Tips! From The Community!
JunkyArd: A tip from me is to go look at the add-ons that are out. There is a skyshard add-on that will place all of the location on your in-game map and compass, and a chat filter that will auto block most gold spammers, and a decent HUD add-on that gives you numerical values for your health, stamina, magicka, etc.
