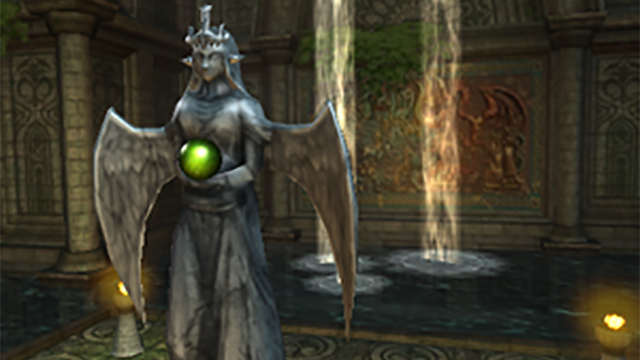
Any time you reach an area or dungeon with a Mila statue, there are very likely Sacred Springs nearby or in the next room. These springs provide boosts to specific stats, commonly two separate ones, and you’ll need to decide how to assign these boosts to your existing army.
For an explanation on how Sacred Springs work in Shadows of Valentia, see How to Use Sacred Springs. Below is a list of all Sacred Springs in the game, and their effect.
Sacred Springs
| Dungeon (Area) | Left Spring | Right Spring | Uses |
| Thieves’ Shrine (Sacred Springs) | Speed | HP | 3 |
| Deliverance HQ (Sacred Springs) | Defense | Attack | 3 |
| Priory (Passageway) | Speed | Attack | 3 |
| Seabound Shrine (Area 2) | Resistance | – | 2 |
| – | Experience | 2 | |
| Seabound Shrine (Sacred Springs) | Skill | HP | 3 |
| Dragon Shrine (Sacred Springs) | Resurrection | 3 | |
| Sylvan Shrine (Area 1) | Resistance | – | 2 |
| Sylvan Shrine (Sacred Springs) | HP | Experience | 3 |
| Temple of Mila (Passageway) | Experience | – | 2 |
| – | Attack | 2 | |
| Fear Mountain Shrine (Area 4) | Resurrection | 3 | |
| Fear Mountain Shrine (Sacred Springs) | Speed | Luck | 3 |
| Secret Shrine (Area 1) | Defense | 3 | |
| Secret Shrine (Sacred Springs) | Resurrection | 3 | |
| The Lost Treescape | – | Defense | 3 |
| Duma Tower (Area 1) | Speed | – | 2 |
| – | Luck | 2 | |
| Duma Tower (Area 2) | Fatigue | – | Infinite |
| – | Skill | 2 | |
| Duma Tower (Area 3) | HP | – | 2 |
| Duma Tower (Area 4) | Attack | – | 2 |
| – | Defense | 2 | |
| Duma Temple (Area 6) | Fatigue | – | Infinite |
| – | Experience | 2 | |
| Thabes Labyrinth (B3) | Skill | Luck | 3 |
| Thabes Labyrinth (B4) | Attack | Speed | 3 |
| Thabes Labyrinth (B6) | HP | Defense | 3 |
| Thabes Labyrinth (B9) | Speed | Resistance | 2 |


