So you’ve completed the normal version of Omega: Deltascape in Final Fantasy XIV: Stormblood. First off, congratulations on your accomplishment. At this point you’re likely starting to accumulate a few pieces of item level 320 gear and feeling powerful, which will come in handy for the challenge that awaits in 4.05.
Omega: Deltascape v1.0 is much more challenging on Savage difficulty, to a point where attempting it with a random group isn’t recommended. This time around simple mistakes have dire consequences, requiring every player to fully understand the strategy in order to survive.
Alte Roite on Savage drops tokens that can be traded in for item level 340 gear. In addition, completion of all four bosses on Savage difficulty will reward you with a Genji Coffer, which can be opened to obtain the most powerful weapon in the game for your job.
Below is the full strategy for Alte Roite on Savage.
Omega: Deltascape v1.0 Savage
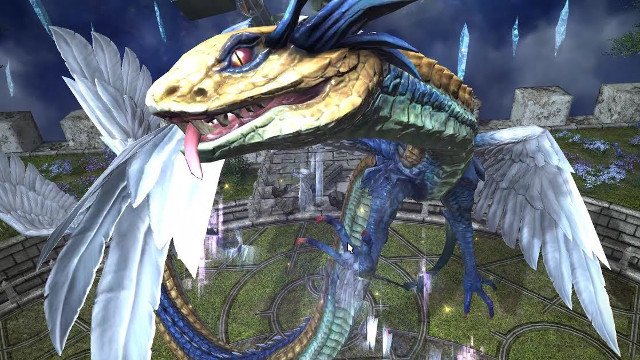
- The platform no longer has barriers. Due to this, players need to be careful to position correctly during knockbacks and when ice appears on the platform.
- Both tanks should stand on top of one another during Twin Bolt. This ability hits much harder than in normal mode.
- The main tank needs to move away from the front of the boss when he casts Clamp. This ability is not telegraphed in Savage and is a conal AoE with a cast time.
- Roar is cast often to deal AoE damage. Healers should be proactive with AoE healing to avoid this from taking down the group.
- All players should group on any player who is targeted by the group arrow.
- Healers need to be ready to burst heal after Charybdis is cast. This ability reduces the health of all players to 1% making them vulnerable to death. The healers should respond accordingly depending on which of the three following skills is cast afterward:
- Clamp: AoE heal to bring everyone back up to safe levels.
- Roar: AoE heal to bring everyone back up to safe levels.
- Twin Bolt: Heal the two tanks quickly to bring them back up to safe levels.
- At 30 seconds a group of fireballs will spawn at the center of the platform. All players should gather in the center area, as a pushback will occur shortly after. Afterward, players should slide to the center of the platform to avoid the explosive damage of the fireballs. Then, they should slide in-between the fireballs on the perimeter as they explode to avoid spreading Levinbolt damage between players.
- At 90 seconds fireballs will be spawned on the outer perimeter of the platform, and then in the center. Players should gather in the center and wait for the outer fireballs to explode before moving to where they were located. Shortly after the fireballs at the center will explode. When moving to the outer perimeter be sure to spread out to avoid spreading Levinbolt damage.
- At 190 seconds fireballs will be spawned on the outer perimeter of the platform, this time with one missing. The group needs to quickly identify which fireball is missing, and then group up at the center with their back to the open location. Shortly after players should be knocked back into the safe spot. They should then slide back toward the center, then spread out as Levinbolt is cast.
- At 225 seconds the boss will summon flames and then jump to a location on the edge of the platform. Both tanks should then stand on one side of the boss with their side to the edge of the platform, and the rest of the group on the other side. Players should then avoid standing in front of the boss once he casts Clamp.
- At 300 seconds fireballs will be spawned toward the center of the platform, and then at the edge. Players should gather on the edge and wait for the interior fireballs to explode before moving to where they were located. Shortly after the fireballs at the edge will explode. When moving to the interior be sure to spread out to avoid sharing Levinbolt damage.
- At 340 seconds a random combination of fireballs will spawn around the platform. Players need to stand between the interior fireballs before being knocked back to the edge. Then, they need to stack in the center.
Put simply, avoid standing near fireballs when they have grown to a large size, avoid sharing Levinbolt damage, don’t get knocked off the platform, and prioritize watching what’s happening on the platform. It’s okay to mess up your rotation, but you definitely don’t want to die on this fight.
The Most Popular FFXIV: Stormblood Jobs
-
The Most Popular FFXIV: Stormblood Jobs

-
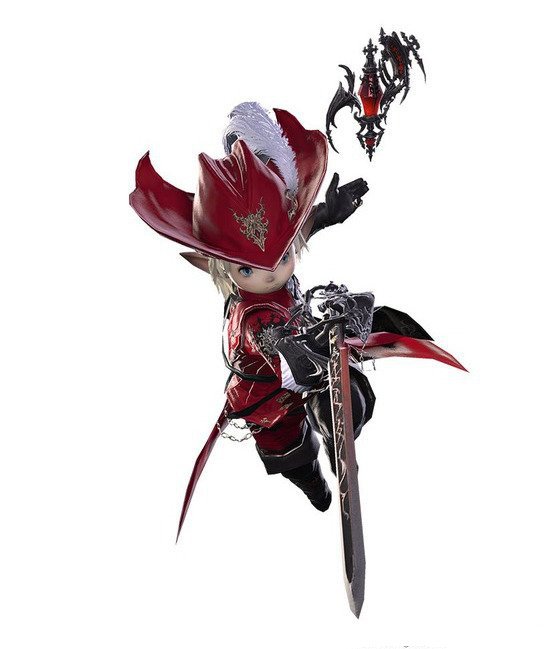
1. Red Mage (15%)
-
2. Samurai (15%)

-
3. Astrologian (8%)

-
4. Paladin (8%)

-
5. Bard (7%)

-
6. White Mage (6%)

-
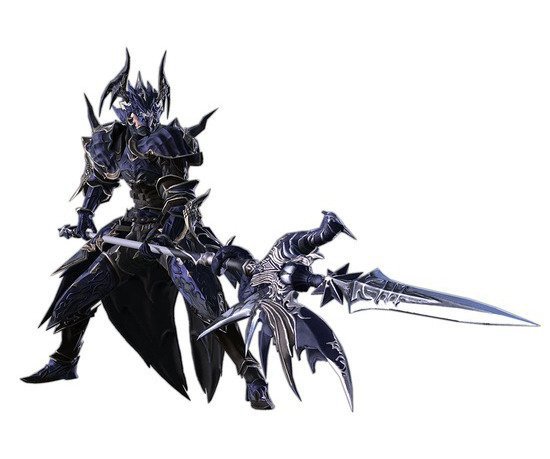
7. Dragoon (5%)
-
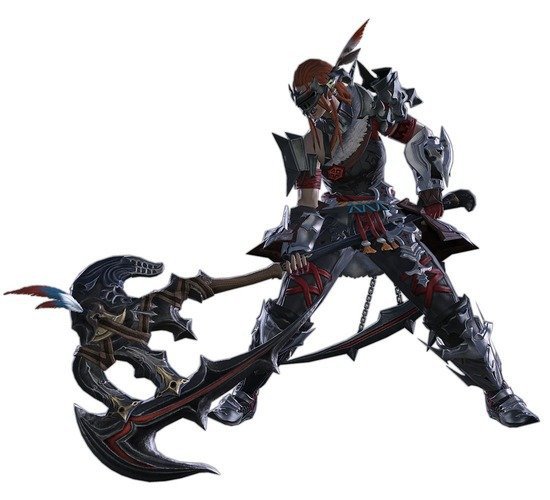
8. Warrior (5%)
-
9. Scholar (5%)

-
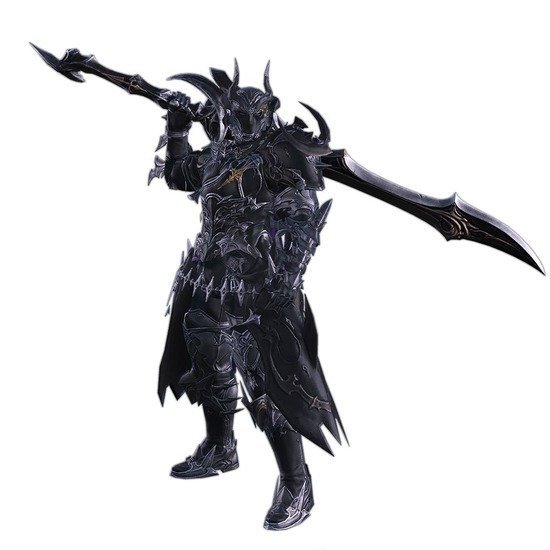
10. Dark Knight (5%)
-
11. Black Mage (5%)

-
12. Summoner (5%)

-
13. Monk (4%)

-
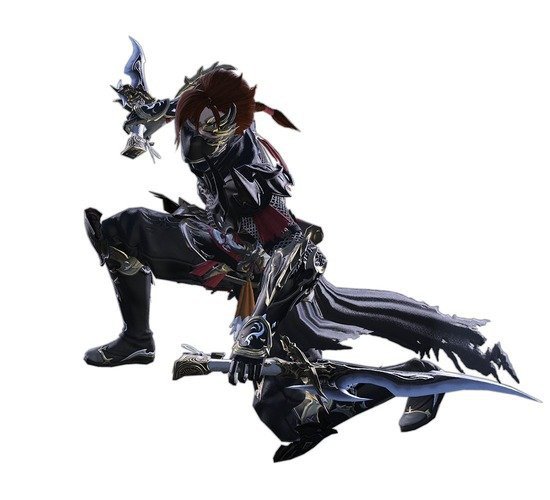
14. Ninja (4%)
-
15. Machinist (3%)

