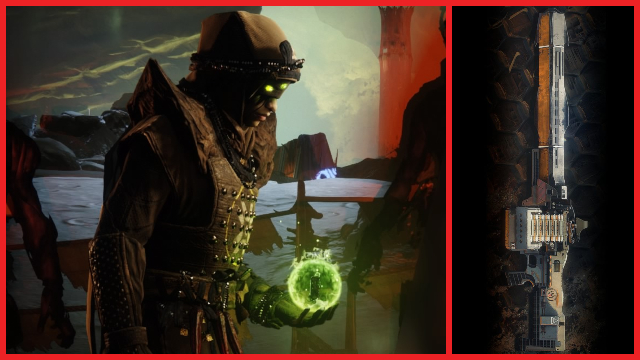
The quest for Destiny 2’s “bug gun” exotic machine gun is finally here, and it’s a bit of a doozy. The Destiny 2 Xenophage quest has a hidden first step and will take you all around the Moon, so prepare for a few hours of work — especially if you’re playing solo. This guide will walk you through every step of how to get Xenophage in Destiny 2, including how to start the Xenophage quest, the “emerged from the dark” plate order, all Xenophage path fragment solutions, and more.
How to start the Xenophage quest in Destiny 2: Shadowkeep
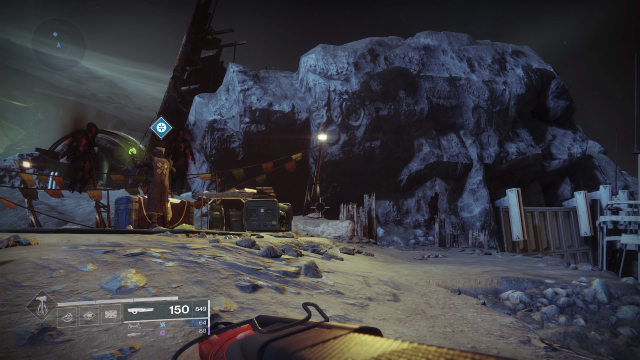
You’ll first need to get to the area where you normally meet Eris Morn after completing her weekly “Memory of ____” quests (the same place you went for the Ikora visited on the Moon objective). You can do this by either completing this week’s quest and taking the portal to see her, or by following these steps:
ALSO: Bungie selling a $160 Destiny 2 foam sword for players who complete new dungeon
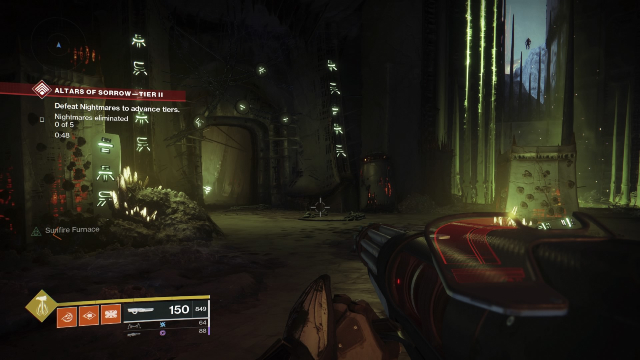
- Head to the Scarlet Keep in Sorrow’s Harbor. Once you’re in the main entrance hall, go through the left door on top of the raised area.
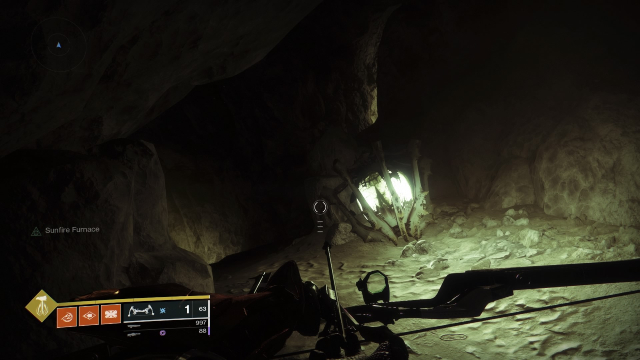
- When you get to the Enduring Abyss area, stop at this large lantern on the floor and look up and to the right.
- Jump through the opening there, turn left and then right, and you’ll be in the right place.
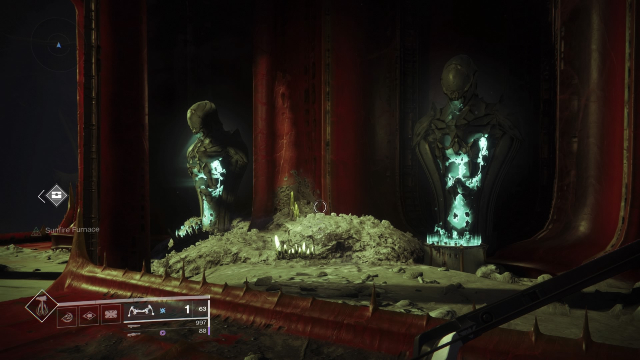
There are four statues with pedestals in front of them on either side of the room. Interacting with one of them lights some of the statues’ pedestals with blue flames. This is one of those classic puzzles where the best solution is just messing with all of them until you happen to get all four statues lit. There’s only four of them, so it shouldn’t take long.
Once they’re all lit, a chest will spawn. Open it to receive a quest called “The Journey: Emergence.”
Destiny 2 Emergence | The Journey Xenophage exotic quest
This step of the quest tells you only that you have to complete the “Emerged from the dark” objective. Your clue as to how to do this is in the description, which says “you must anchor yourself to the light.” Where better to do that than in the Anchor of Light area on the Moon?
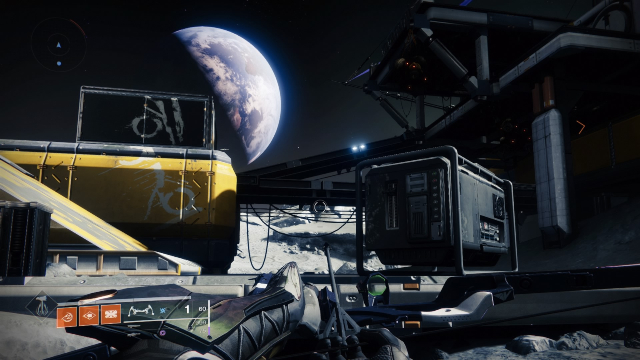
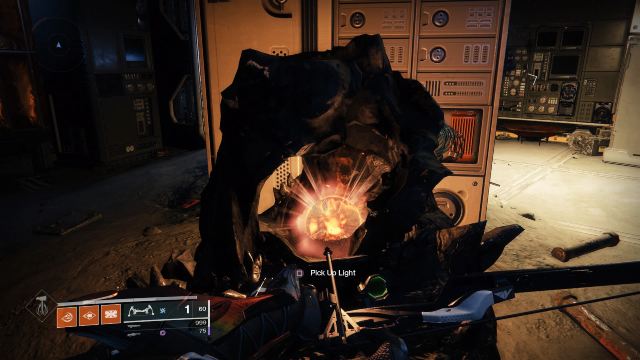
Once you head there from the Moon’s Sanctuary Spawn, turn left into the area with lots of small yellow buildings. Enter the yellow building on the left and find the “Pick Up Light” prompt at the small, crusty structure in the corner. This will give you a flaming orb (we’ll call it a “torch orb” from here on out, since it grants you the “Torchbearer” effect). You’ll have 60 seconds to bring this torch to red plates scattered throughout the Anchor of Light. You’ll have to do this in a particular order to get the next quest step, so follow along.
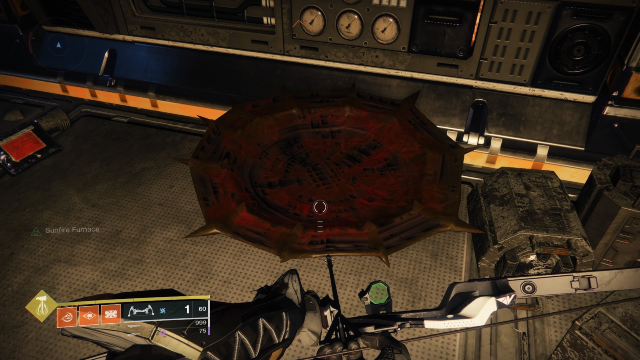
- The first plate is located in the same room as the torch orb, in the other corner past the right side of the crusty structure.
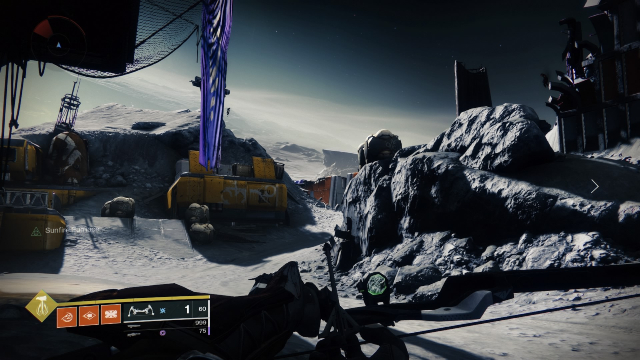
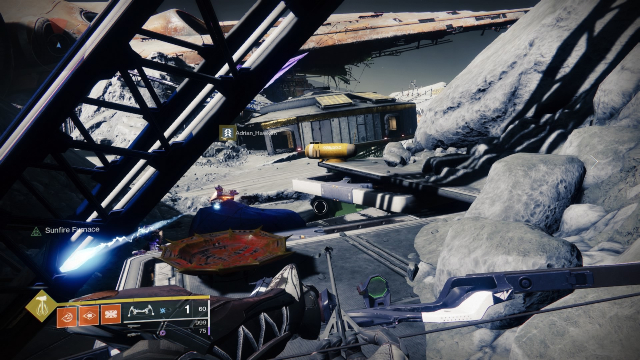
- Head out the door you came in, passing the large tower to your left. Follow the road out into the more open area, then turn left and head toward the dark area by the fissure with the fallen radio tower-thing. The second plate is on top of the platform embedded in the side of the mountain/hill here.
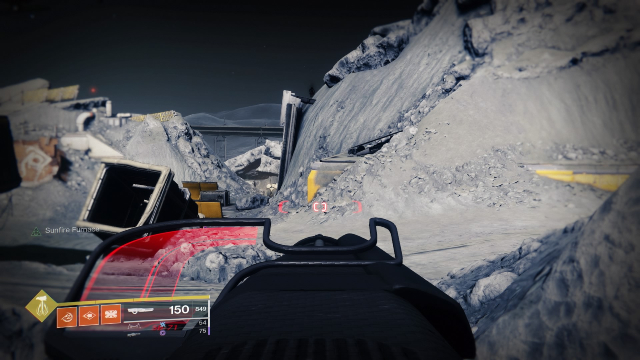
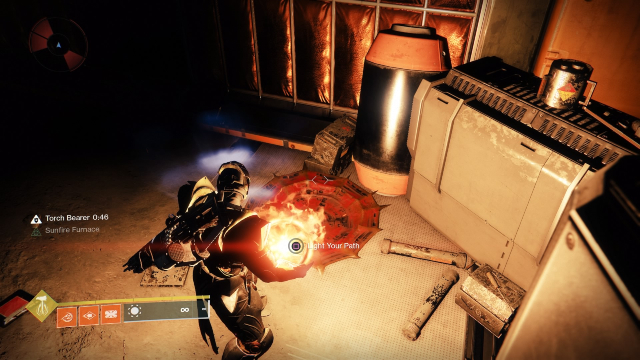
- From the second plate, walk back out into the open area and turn right, heading toward the small yellow building buried in the side of the mountain across from the one you were just at. There’s a plate in the dark corner to the right of where you enter the building.
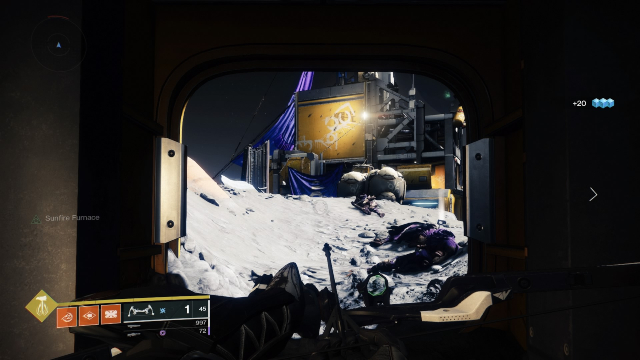
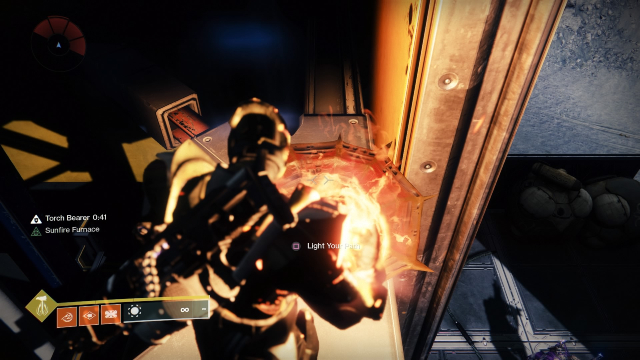
- Exit through the door opposite the one you just came in through, back towards the area where you first found the torch orb. Jump across the gap onto the second floor of the large tower ahead. Turn left and walk to the part of the tower under the big purple tarp. Look up at the tower, and you’ll see the next plate on one of the bars on the tower’s side.
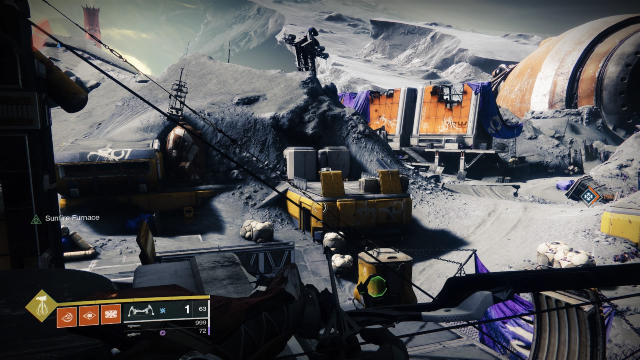
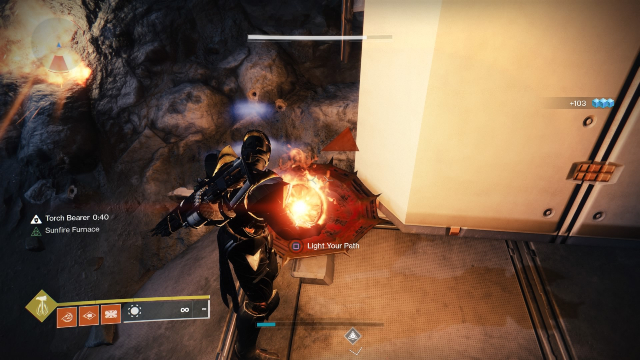
- Jump back down onto the road and take it in the direction you took to find the second plate, but stop before you exit into the open area. Instead, go to the yellow building to the left of the road. On the roof here, you’ll see a plate in the back left corner.
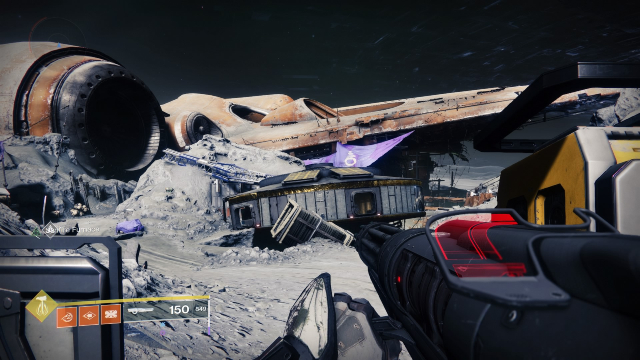
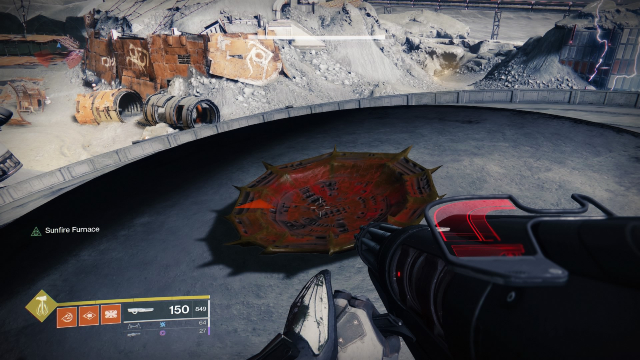
- Turn right, and head to the sunken round building out in the open area. The next plate is on top.
Once you’ve interacted with the sixth plate, you’ll see a message in the bottom left of your HUD that says “You are ready to emerge from the dark.” The timer on the torch orb is gone, so all you have to do is head towards the new objective marker and deposit the orb. This will give you the next step, The Journey: Pathfinder.
Destiny 2 Pathfinder | The Journey Xenophage exotic quest
You’ll be told to retrieve four Path Fragments — one in Archer’s Line, one in Sorrow’s Harbor, one in the Hellmouth, and one in the Anchor of Light. To find these, head into each area’s Lost Sector and defeat the boss. Once the boss is down, a puzzle will appear on the path out of the Lost Sector.
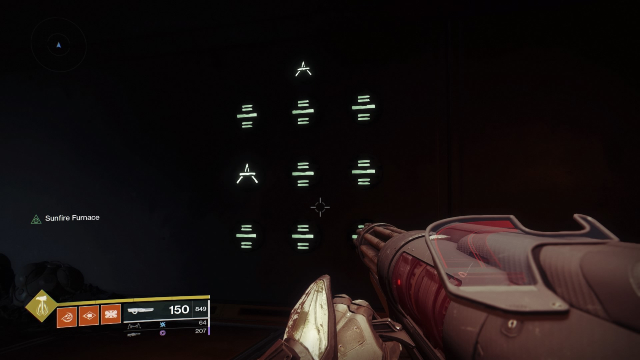
Each puzzle consists of nine Hive runes in a three-by-three grid, with a tenth rune above them. Your goal is to make the nine runes match the tenth. Shooting one rune changes the runes in its row and column, and there are four runes to cycle through. Either use your noggin to figure out the solutions, or use the following ones the community figured out shortly after the quest launched. These solutions only work if you haven’t changed any of the runes yet. If you mess up, exiting the Lost Sector will reset the puzzle so you can try again. For most of the Lost Sectors, you can reach the puzzle the second time by retracing the exit shortcut so that you won’t have to fight all the enemies and the boss again.
- Archer’s Line (K1 Logistics): Top Left, Bottom Left, Center, Middle Right
- Sorrow’s Harbor (K1 Revelations): Right Middle, Left Middle, Center, Center, Left Middle, Top Middle, Bottom Middle, Center
- Hellmouth (K1 Crew Quarters): Top Right, Middle Left, Center, Bottom Middle, Bottom Right, Bottom Right, Bottom Middle, Bottom Middle
- Anchor of Light (K1 Communication): Bottom Left, Bottom Right, Top Middle, Top Middle
After you complete a puzzle, a chest will spawn underneath it. Opening the chests gives you a Path Fragment, and collecting all four will give you a new quest step called The Journey: Descent.
Destiny 2 Descent | The Journey Xenophage exotic quest
This step tells you to complete the “Path uncovered” objective “beneath a harbor built from sorrow.” You’ll need to enter the Pit of Heresy dungeon for this. If you haven’t yet unlocked the dungeon, check out our Destiny 2 Pit of Heresy start guide to learn how to gain access to the activity.
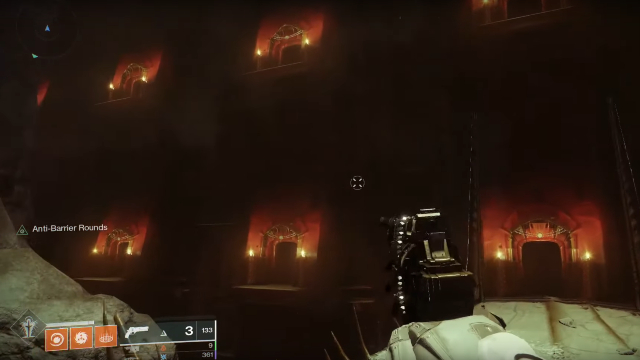
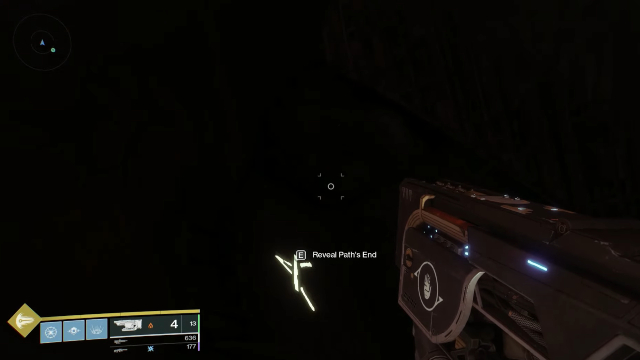
After you’ve completed the first encounter, you’ll come to a large chasm with a huge wall dotted with red doors. Head to the second door from the left in the top row. They’re difficult to see, but there are ledges in the darkness between the doors you can use to find reach it. Once you’re there, enter the doorway and find the A-shaped Hive rune sitting on the ground to your left. Interact with it to get the next quest step, The Journey: Discovery.
Destiny 2 Discovery | The Journey Xenophage exotic quest
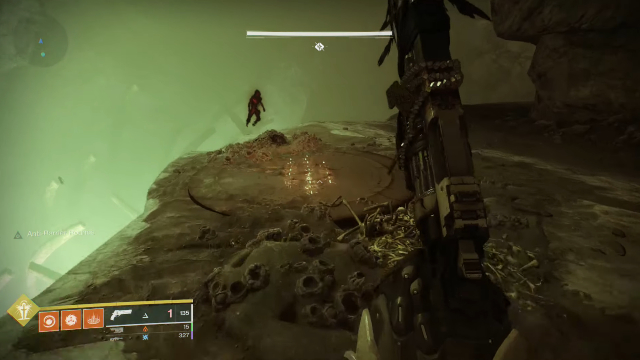
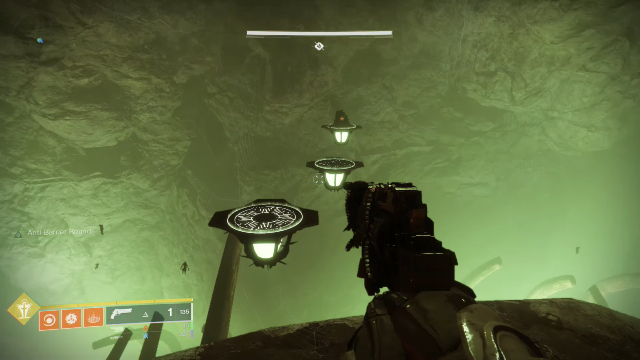
Once you get into cave/tunnels area of next encounter (with the spooky ogre that chases you), turn left toward the cliffs, by the green foggy abyss. Jump down to the ledge along the cliffside and interact with the Hive writing on the floor down the path there. This will raise three floating platforms over the abyss. Jump to the final platform and grab the torch orb there.
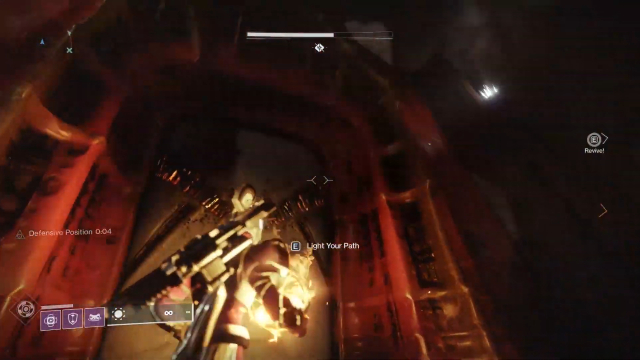
Take the orb back to where you entered the caves and keep going (as if you’d turned right when you entered the area), hugging the right wall until you finally reach a door with two plates (similar to those you lit back in the Anchor of Light) with prompts to “Light the Path.” Do this, and you’ll receive the penultimate quest step, The Journey: Slay Volmar, the Tempted.
How to beat Volmar, the Tempted in Destiny 2: Shadowkeep
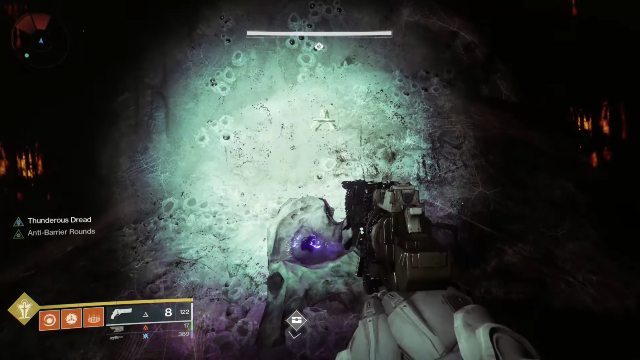
Once you’re through the door, make your way through the maze of corridors to reach the final boss. In the room with a bunch of bowing thrall, you’ll see four glowing elemental pedestals with a Hive rune floating above each. These correspond to debuffs you’ll see applied on your HUD: the Fiery Dread debuff is Solar, Thunderous Dread is Arc, Void Dread is Void, and Neutral Dread is Kinetic. Memorize the symbol associated with your debuff, as this will be vital for the next step.
In the next room, you’ll run into Volmar, an invincible Hive boss. In order to damage Volmar, you’ll need to grab the torch orb in the middle of the room, find the hidden, empty pedestal in the boss room that has the right symbol floating above it (i.e. the one associated with your current elemental debuff in the previous room), and slam the orb into the empty pedestal.
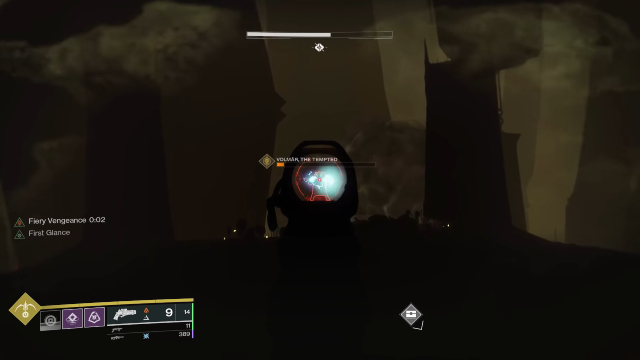
Once you’ve slammed the torch orb into the right symbol, you can now damage Volmar, but only with the element associated with your debuff. Your current debuff will disappear a few seconds after you slam the orb, so get damage in quickly. Once the debuff is gone, a new one will appear, so grab the orb again and put it into that element’s empty pedestal. Repeat this until Volmar is down, and you’ll receive The Journey: Finality. Return to Eris, and she’ll give you Xenophage.
