Installing Steam Deck custom boot and suspend animations is easy, thanks to fans. When it was first released, you had to worry about replacing the original animation and truncating the file to be the same filesize, but now you can forget all that. Just follow the steps below, and you’ll be downloading custom boot and suspend videos in just a 10-15 minutes.
How to install custom boot and suspend videos on your Steam Deck
To install custom Steam Deck animations, follow the instructions below.
Time needed: 15 minutes
How to install custom boot and suspend videos from the Steam Deck Repo:
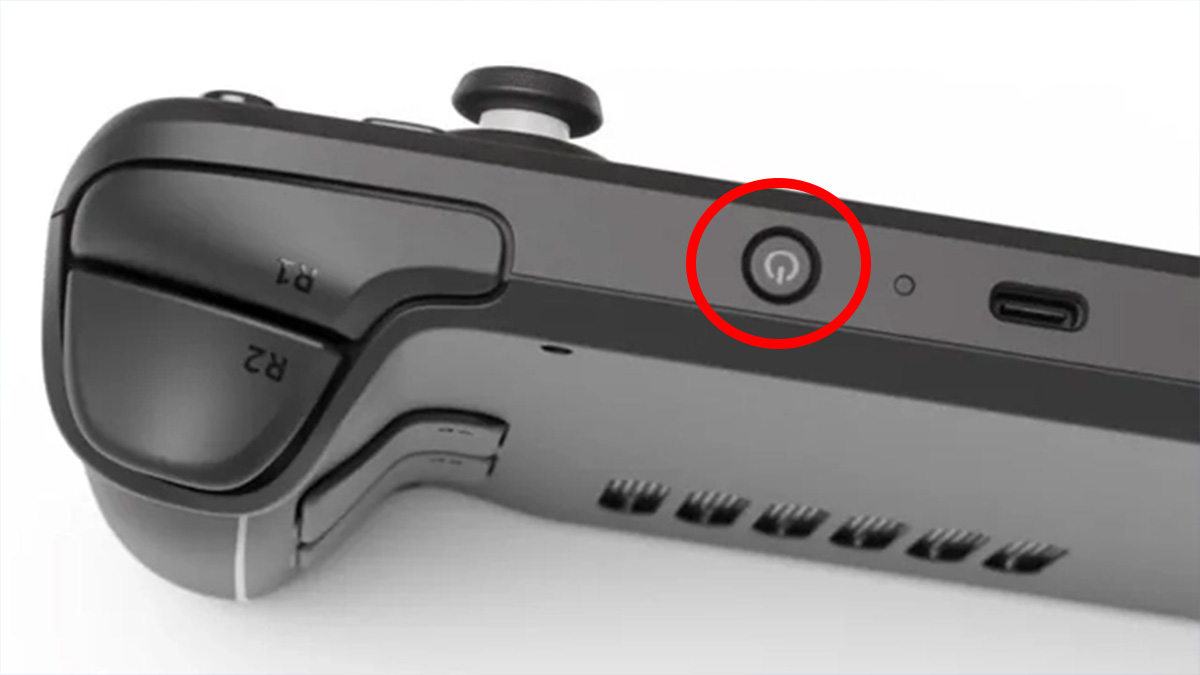
- Turn on the Steam Deck
Hit the power button and let the handheld boot up to the SteamOS menu.
- Enter the Settings Menu
With the Steam Deck on, tap the Steam button to bring up the menu, then go to Settings.

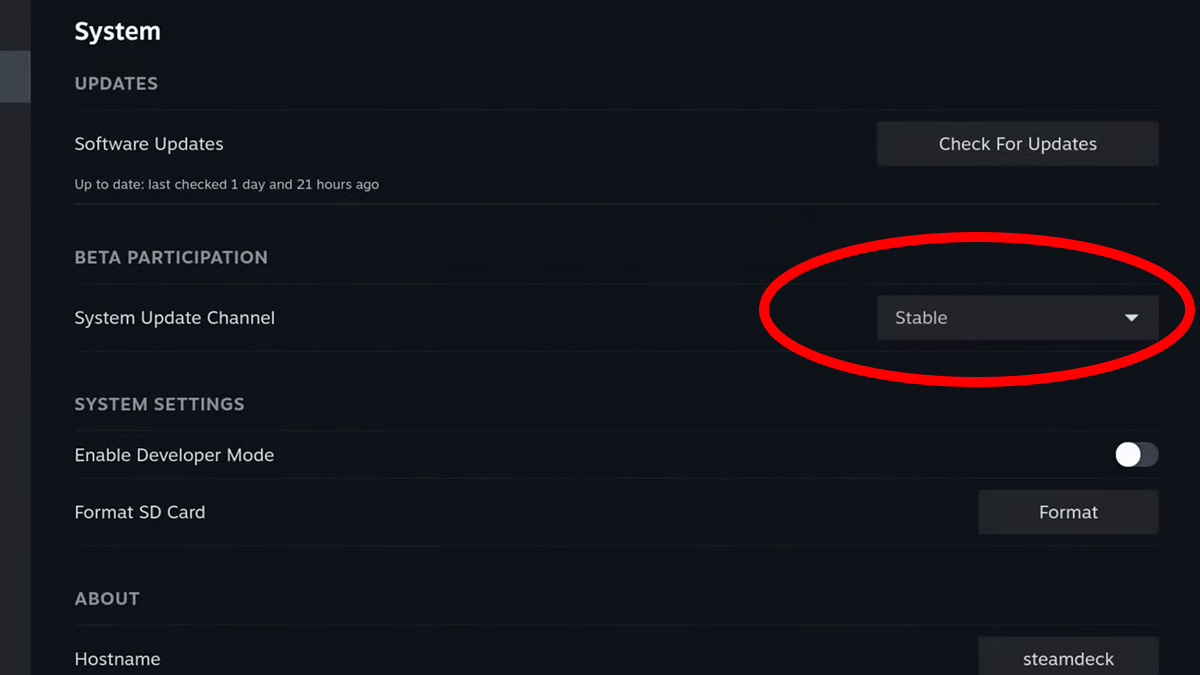
- Return to SteamOS stable branch (If applicable)
If you’re on the beta update branch, return to the stable branch to ensure that the method we’ll use to install custom boot animations is compatible.
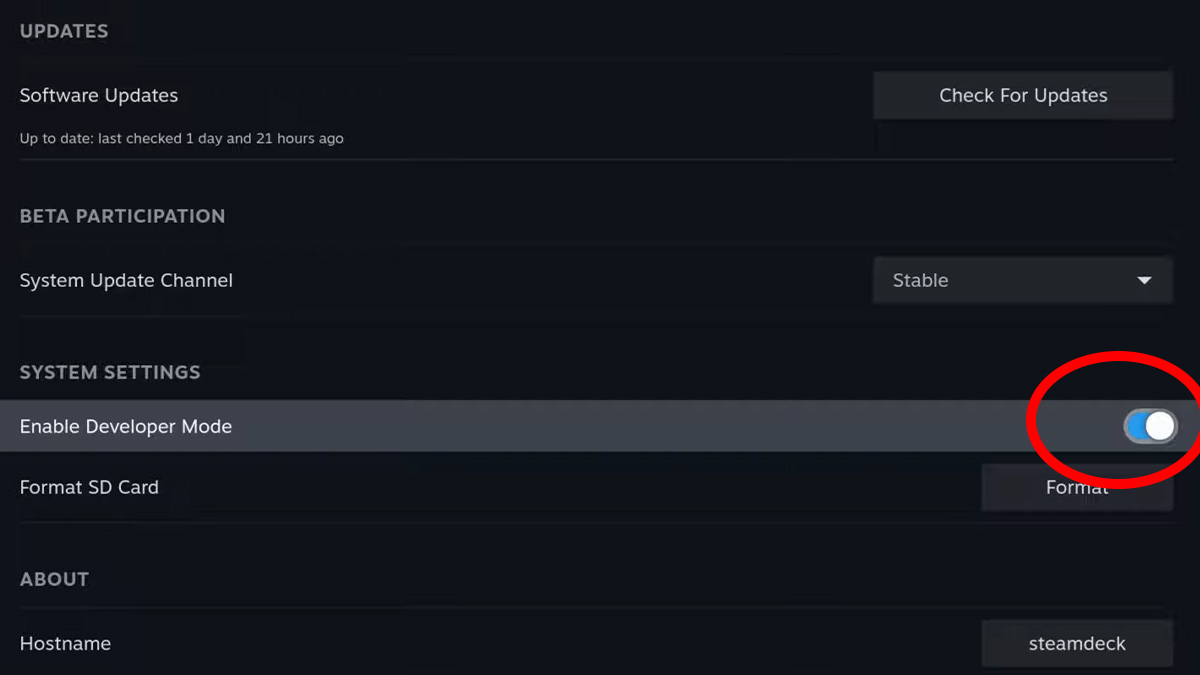
- Enable Developer Mode
Go to System, then scroll down and toggle Enable Developer Mode. On the sidebar, you’ll notice there’s now a developer option. Go there, scroll down to Miscellaneous, enable CEF Remote Debugging, and let the deck restart.
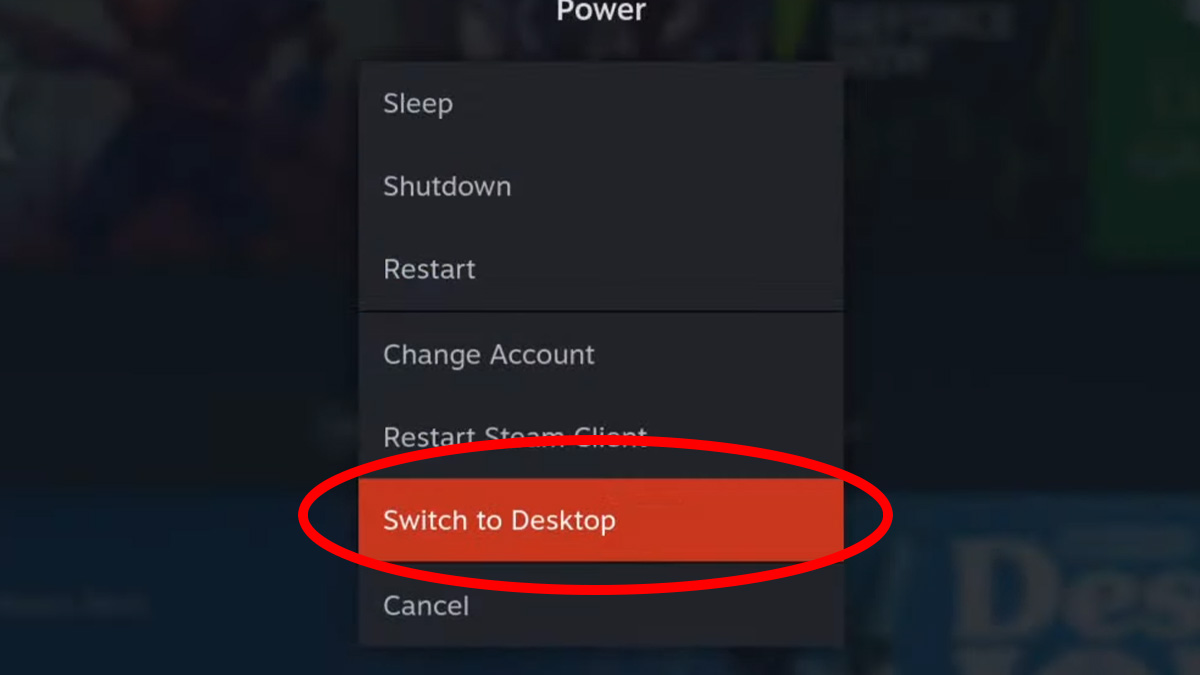
- Switch to Desktop
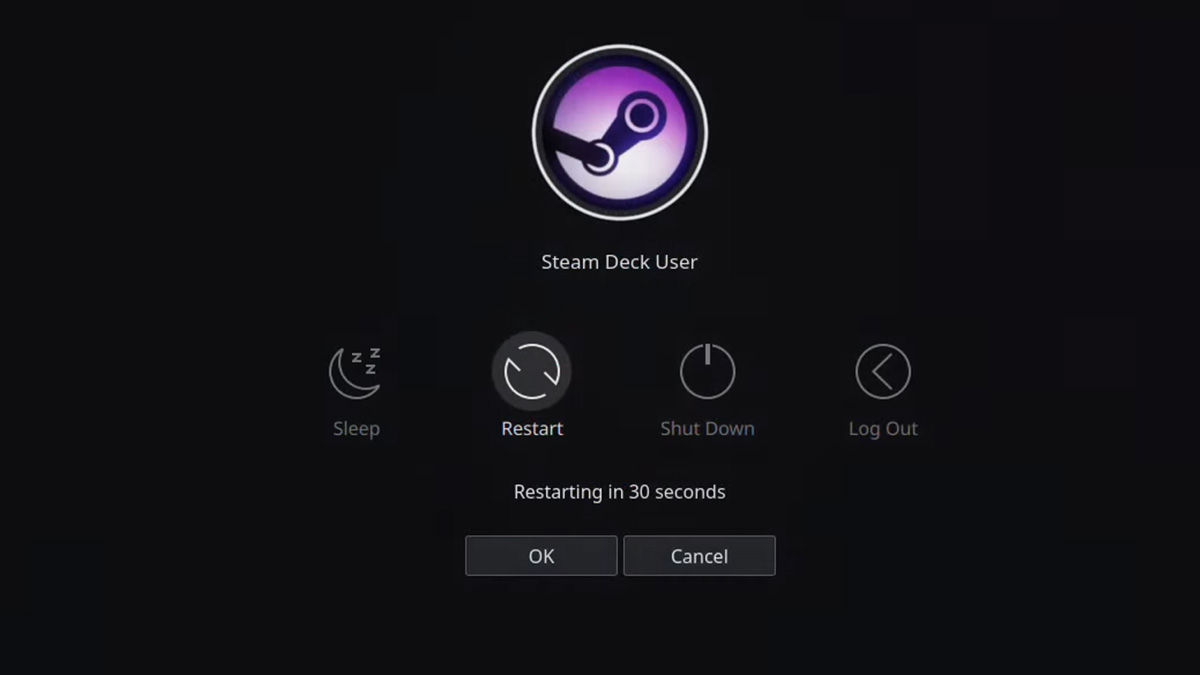
Once the deck has restarted, press the Steam button again, go to the power menu, and choose Switch to Desktop.
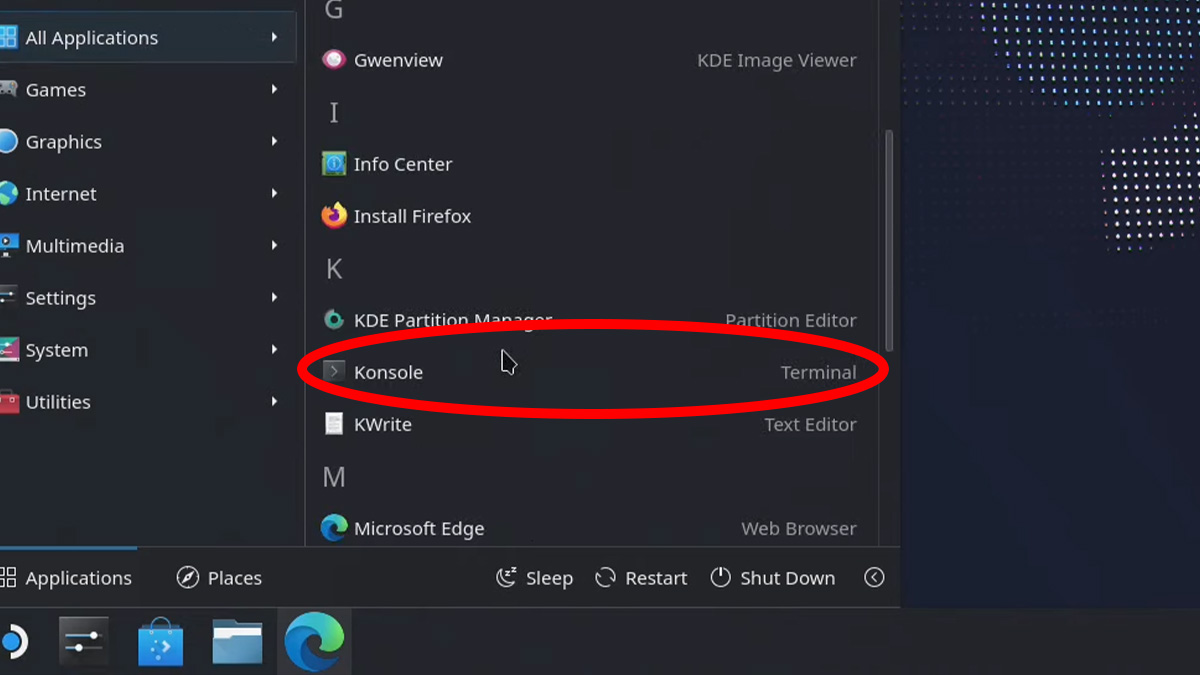
- Open the terminal
When the desktop environment loads, click on the Steam Deck logo in the left-bottom corner to open the Application Launcher, then go to System, and launch Konsole.
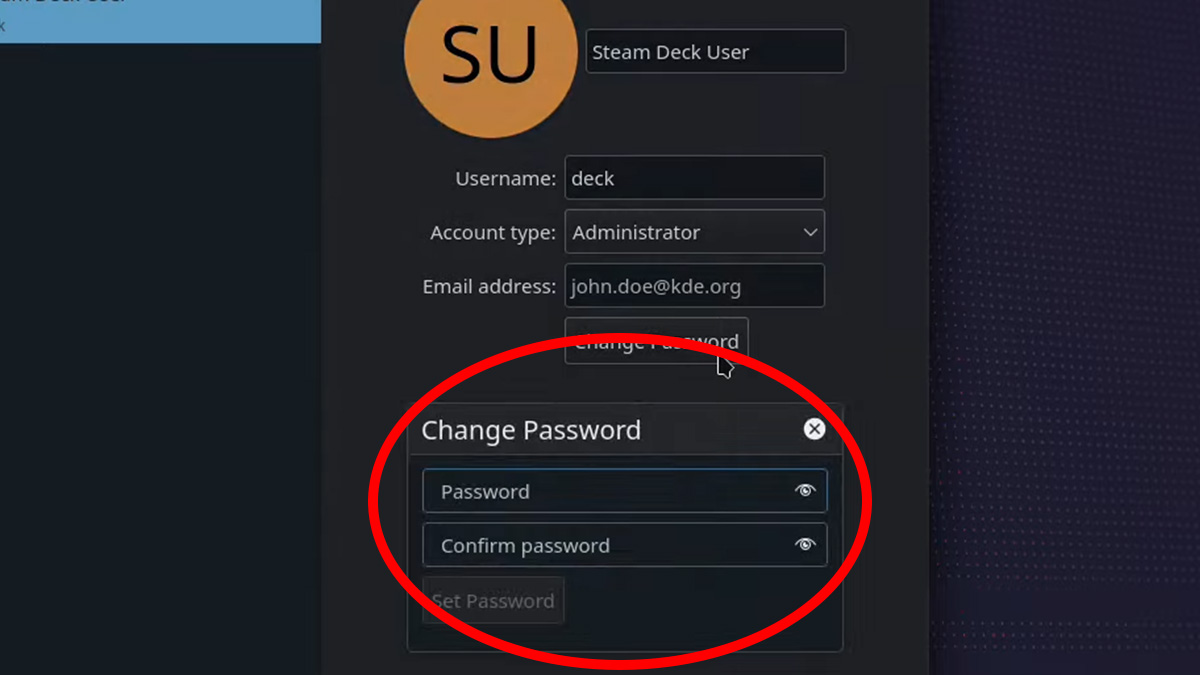
- Set sudo password (if needed)
If you haven’t done so, once in Konsole, type in “passwrd” and follow the prompts to set a sudo password. Alternatively, you can set the default Steam Deck User password in System Settings for the same effect.
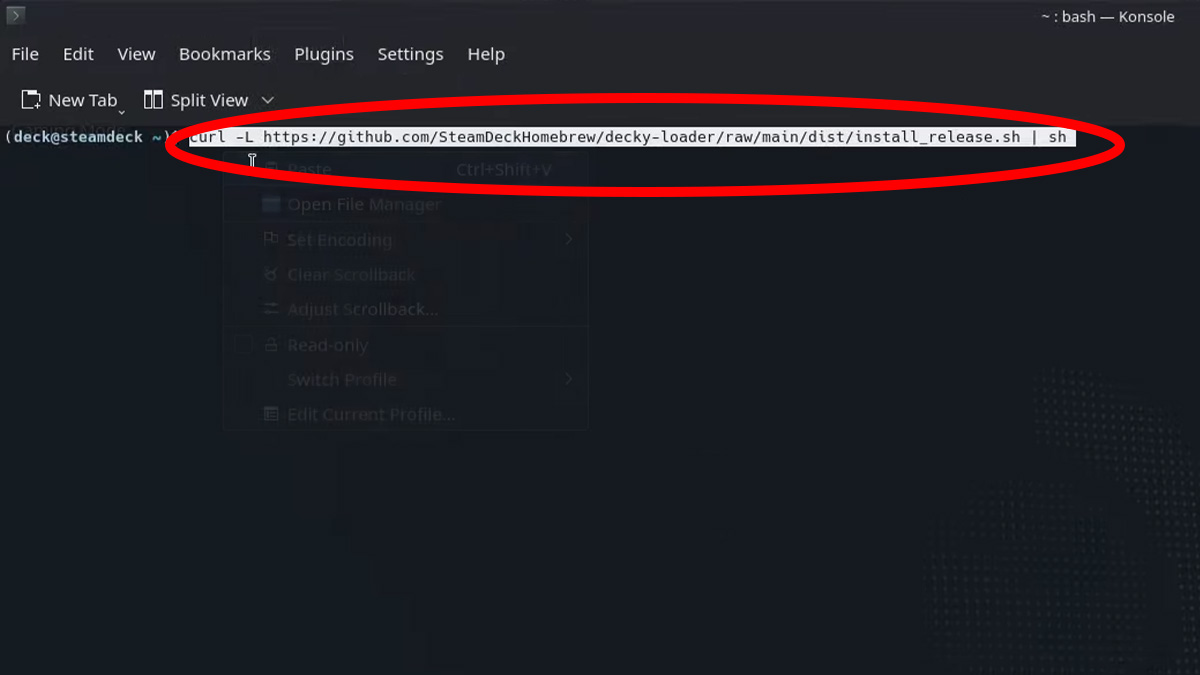
- Add the Decky Loader repository
Type “curl -L https://github.com/SteamDeckHomebrew/decky-loader/raw/main/dist/install_release.sh | sh” into the terminal. Enter your sudo password when prompted.
- Reboot back to gaming mode
Use the shortcut on the Linux desktop to return to SteamOS gaming mode or restart the deck.
- Enter the Decky Loader menu
Tap the Quick Access Menu button (the one with three dots on the right side of the deck) and look for an icon that looks like an electrical plugin. Once you select that, move open the shop by highlighting the icon that looks like a little shop stall in the upper right corner and tapping A.

- Install Animation Changer and enter its settings
Scroll down the shop list until you find Animation Changer and install it. Then, return to the Quick Access Menu and highlight the Decky Loader icon (the electrical plug). You’ll find a new entry in the menu for Animation Changer. Highlight it and hit A, and you’ll be taken to the menu where you can select which animations you want to use.
- Open the Steam Deck Repo and choose a custom boot animation
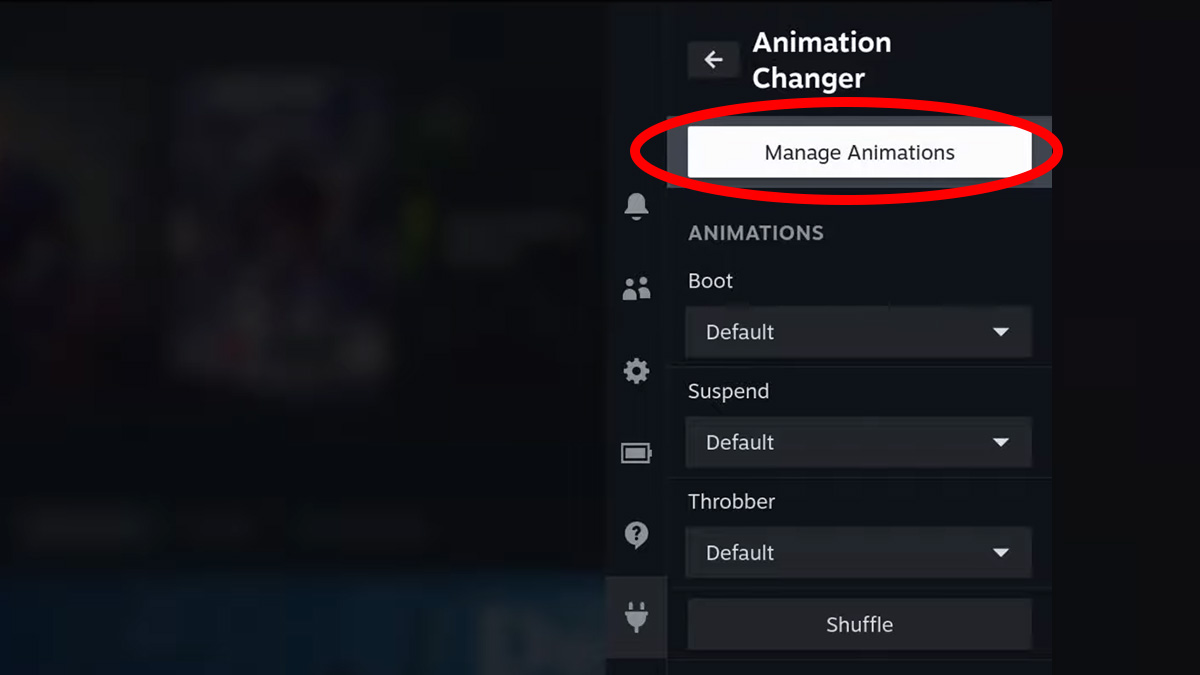
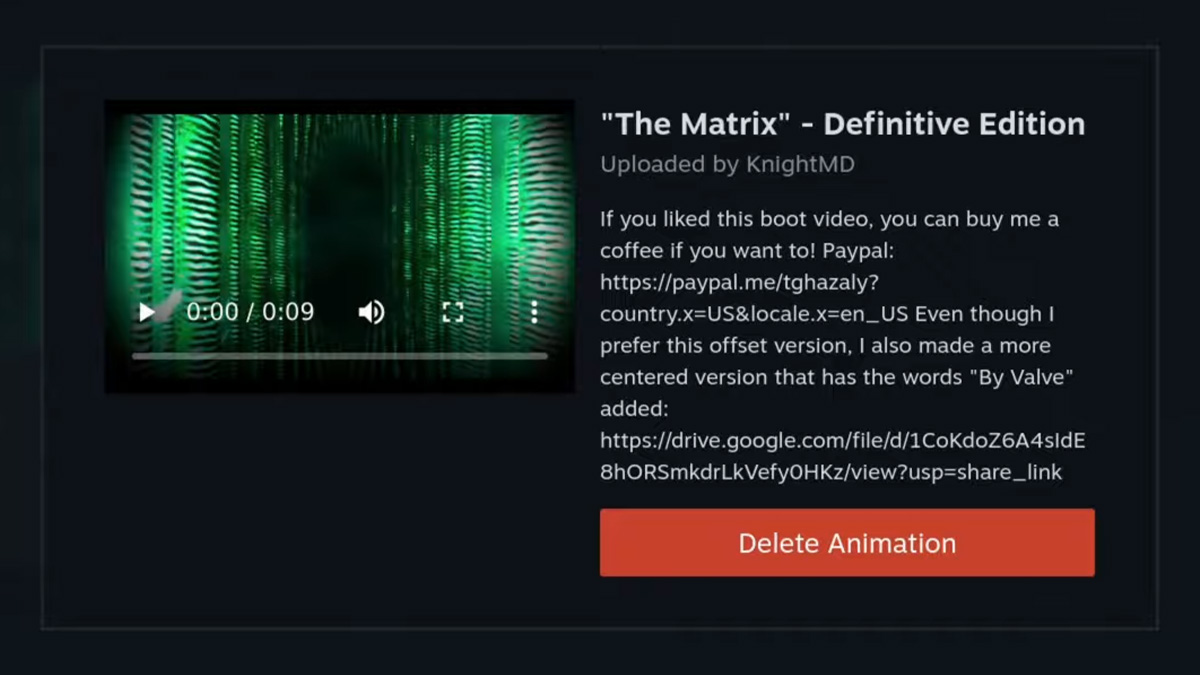
Next, highlight and press A on Manage Animations and you’ll be taken to the Steam Deck Repo, where you can choose from hundreds of animations. Alternatively, you can make your own animation and upload it to the site and use the Animation Changer plugin to download it.
Note, if the Decky Loader icon isn’t appearing in the Quick Access Menu, it’s likely because you didn’t revert to the stable branch of SteamOS. If this happens, return to that part of the instructions (step 3), ensure the current stable SteamOS update has been downloaded and installed, and continue from there.


