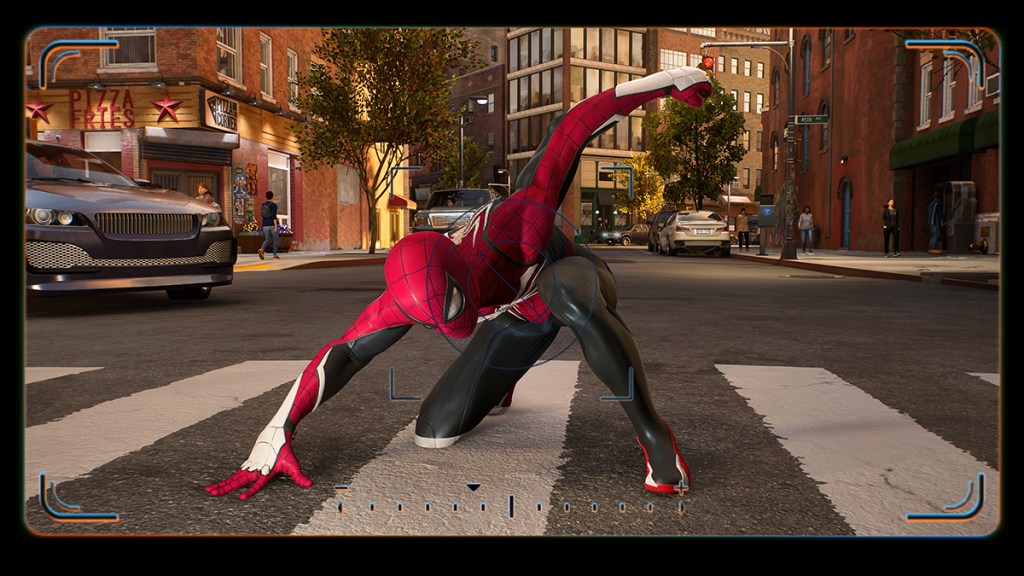
Knowing how to take photos in Spiderman 2 is a crucial part of the lore, as Peter Parker was an avid photojournalist. The game tries to channel that part of his persona by letting players snap photos. Here’s how to take pictures in Spiderman 2.
How to take photos in Spiderman 2
To take pictures in Spiderman 2, you will have to swipe on the touchpad. While swiping left opens the FNSM app, swiping up will open the camera by default. You can also open the camera by pausing the game with the Options button and going to the Open Camera Gadget option in the menu. This is likely there for accessibility reasons or for those with different controllers.
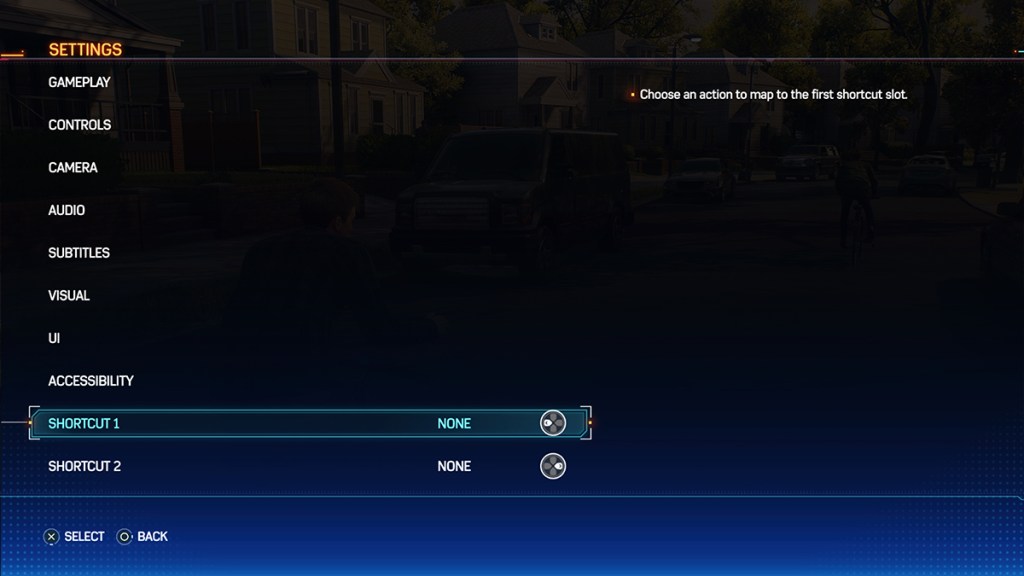
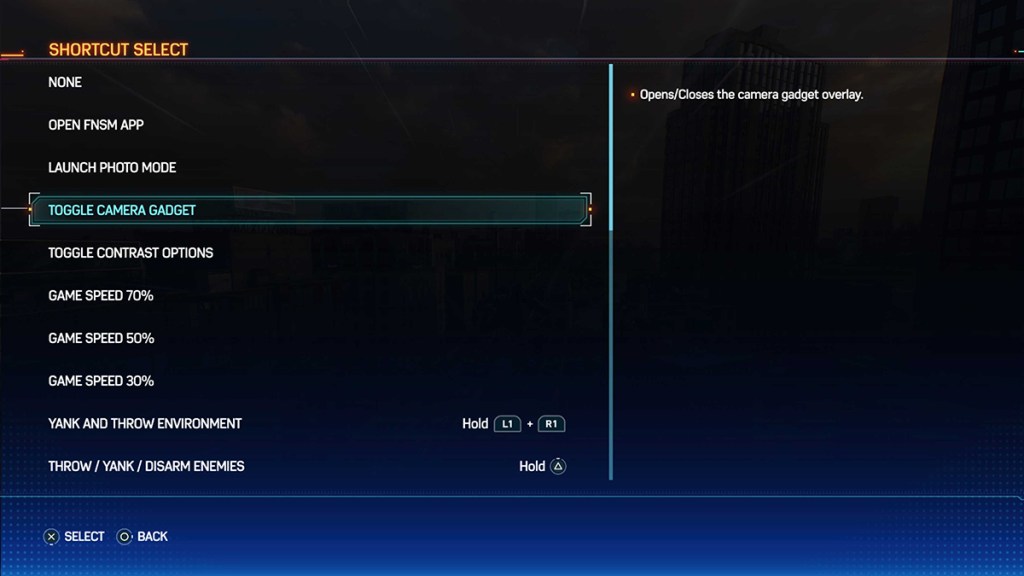
You can also put the camera on a D-pad button. Go to Settings and then Shortcut. From there, you can set the left or right button on the D-pad to a number of different options, one of which includes quick access to the camera gadget. This is a little more reliable than the touchpad.
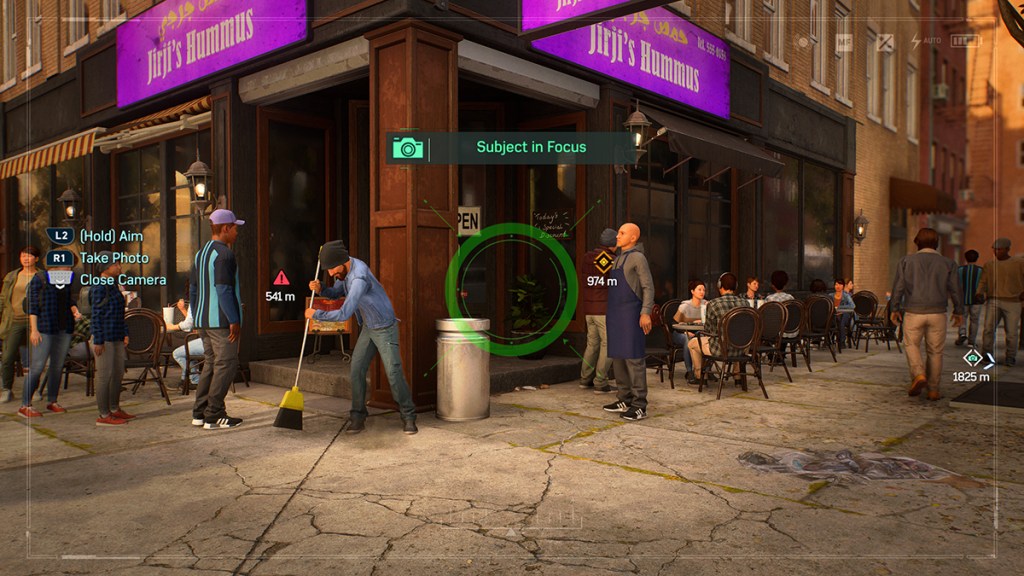
After you’ve opened the camera interface, just aim with the L2 button (this is mandatory) and then press the R1 button when you have your target. For the Photo Op missions, you will have to center the viewfinder on a certain target. These are different for every photo op, but be sure to go to where the giant glowing signal is (which you can see by pressing R3). It will say “Subject in Focus” when you have done it correctly.
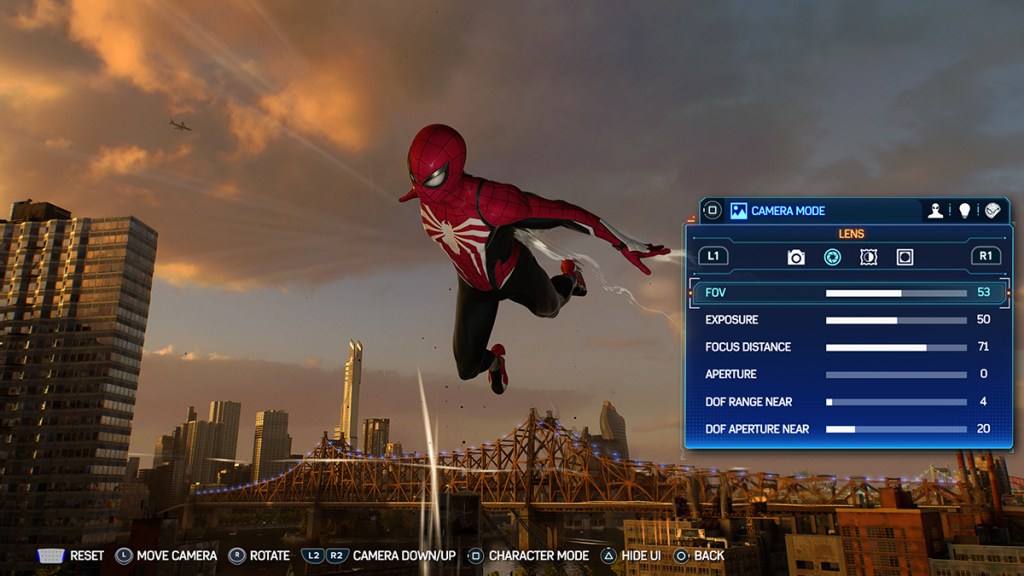
There is also another way to take photos in Spiderman 2, but it is not related to any mission. Spiderman 2 has an extensive Photo Mode that lets players frame their own scenes and take pictures. To activate Photo Mode, pause the game and you will see the Photo Mode section.
You can also set it to a shortcut using the same method in one of the above paragraphs. This is perfect for those who want to take their own custom photos without needing to pause the game first.
