With only a few days left until the Nintendo Switch launches worldwide, now would be a great time to register a unique id for your Switch user account. Nintendo opened up registration a while ago and the majority of popular usernames are being swiftly taken by people all over the internet. The minimum username length is restricted to 6 characters, but we have uncovered a method that will let you register 5 character User ID’s by simply replacing a few lines of code. In this guide, we’ve outlined how you can register a 5 character User ID in just a few simple steps.
For a guide on simply how to register your Nintendo ID, see here.
Let's get started.
Step 1.
Head over to https://accounts.nintendo.com and register an account under your email but don’t set the User ID just yet. Make sure you are using Firefox or Google Chrome for this process.
Step 2.
Enter a random six character User ID that is not taken. In the example below, I chose ‘gamr99’ as the random id.

Next, highlight the User ID text field and right click it. Press the ‘Inspect Element’ button.

Step 3.
By this point, you should have the ‘Inspect Element’ form opened up in your browser.
Find the piece of HTML code that reads "input name=login_id placeholder=Please enter at least 6 characters" (shortened so it will post properly on our website) change the minlength variable from 6 to 5, enabling us to register 5 character User ID’s.
In order to edit this piece of code, right click the highlighted text and press “Edit HTML”. Once you’re done editing, right click anywhere on the ‘Inspect Element’ form to save your changes.

Step 4.
Take some time to think of the 5 character User ID you want. Replace the random User ID we set earlier with the 5 character id. If the User ID is already taken, the page will display an error in red text. If the User ID is not taken, there will be no error message. Found the ID you want? Great, you may now proceed to the next step.

Step 5.
During this final step, you will notice the ‘Save’ button is greyed out. Right click the ‘Save’ button and press ‘Inspect Element’, similarly to what we did in an earlier step.
Expand the code that starts with ”formGroup” and various new lines of code will suddenly appear underneath it.

Find the HTML code that reads "button type=submit class=btn btn-primary btn-medium…" (shortened) and highlight it. Now right click and press “Edit HTML”.

Carefully select all of the code in this box and replace it with the new code below:

Save your changes and exit the ‘Inspect Element’ form. The ‘Save’ button will no longer be greyed out and you’ll be able to normally click it. Once pressed, your new 5 character Nintendo Switch User ID will now be registered.
We hope you found this guide to be useful and easy to navigate. Let us know what kind of magnificent username you were able to obtain in the comments.

Check Out More Nintendo Switch Coverage:
- A Look At Switch Retail Boxes
- Grab Your Nintendo ID Before It's Taken
- Your Nintendo Switch Questions Answered
- The Triumphs and Nuances Of The Nintendo Switch
- What We Want From Nintendo's Hallmark Franchises
- How Nintendo's New Online Infrastructure Can Succeed
- After 20 Hours With Nintendo's New Console I'm In Love
15 Things You Probably Don't Know About The Nintendo Switch
-
6. 3.5mm In Handheld Mode Only

Although the Joy-Con controllers don't have a 3.5mm jack, the Screen does. This means you can only plug in a 3.5mm headset when using the Switch in handheld mode. A Bluetooth headset will be required for personal audio when the Switch is docked. -
3. No Virtual Console At Launch

Virtual Console will not be available at launch. Though, Nintendo has confirmed that it will come at a later date. Hopefully that's sooner rather than later. -
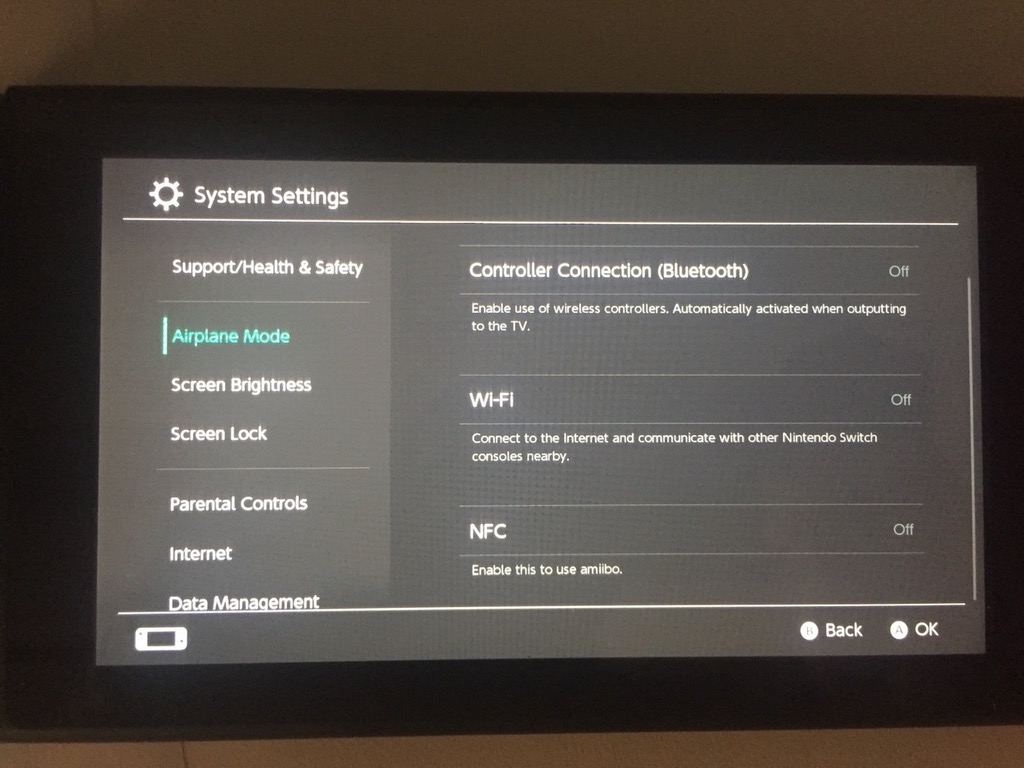
12. Customizable Airplane Mode

Not only is there an Airplane Mode available, but you can choose whether to disable Wi-Fi, NFC, and/or even Bluetooth -
1. Auto-Sleep At Low Battery

You'll never have to worry about your Switch running out of power and losing valuable game progress, because the system will automatically enter Sleep Mode when it reaches critically low levels. In this mode it uses less than 2% battery draw, providing you plenty of time to find a means for charging the device. -
4. Battery Life

You can expect the Joy-Con controllers to last between 10 to 20 hours between charges. Meanwhile, the Screen lasts between 3 to 6 hours depending on what games or apps you're using. -
5. Clock Auto-Update

The clock on the Nintendo Switch will automatically update periodically. Although this might seem silly, it's the first Nintendo console that doesn't require you to manually set the time and date. -
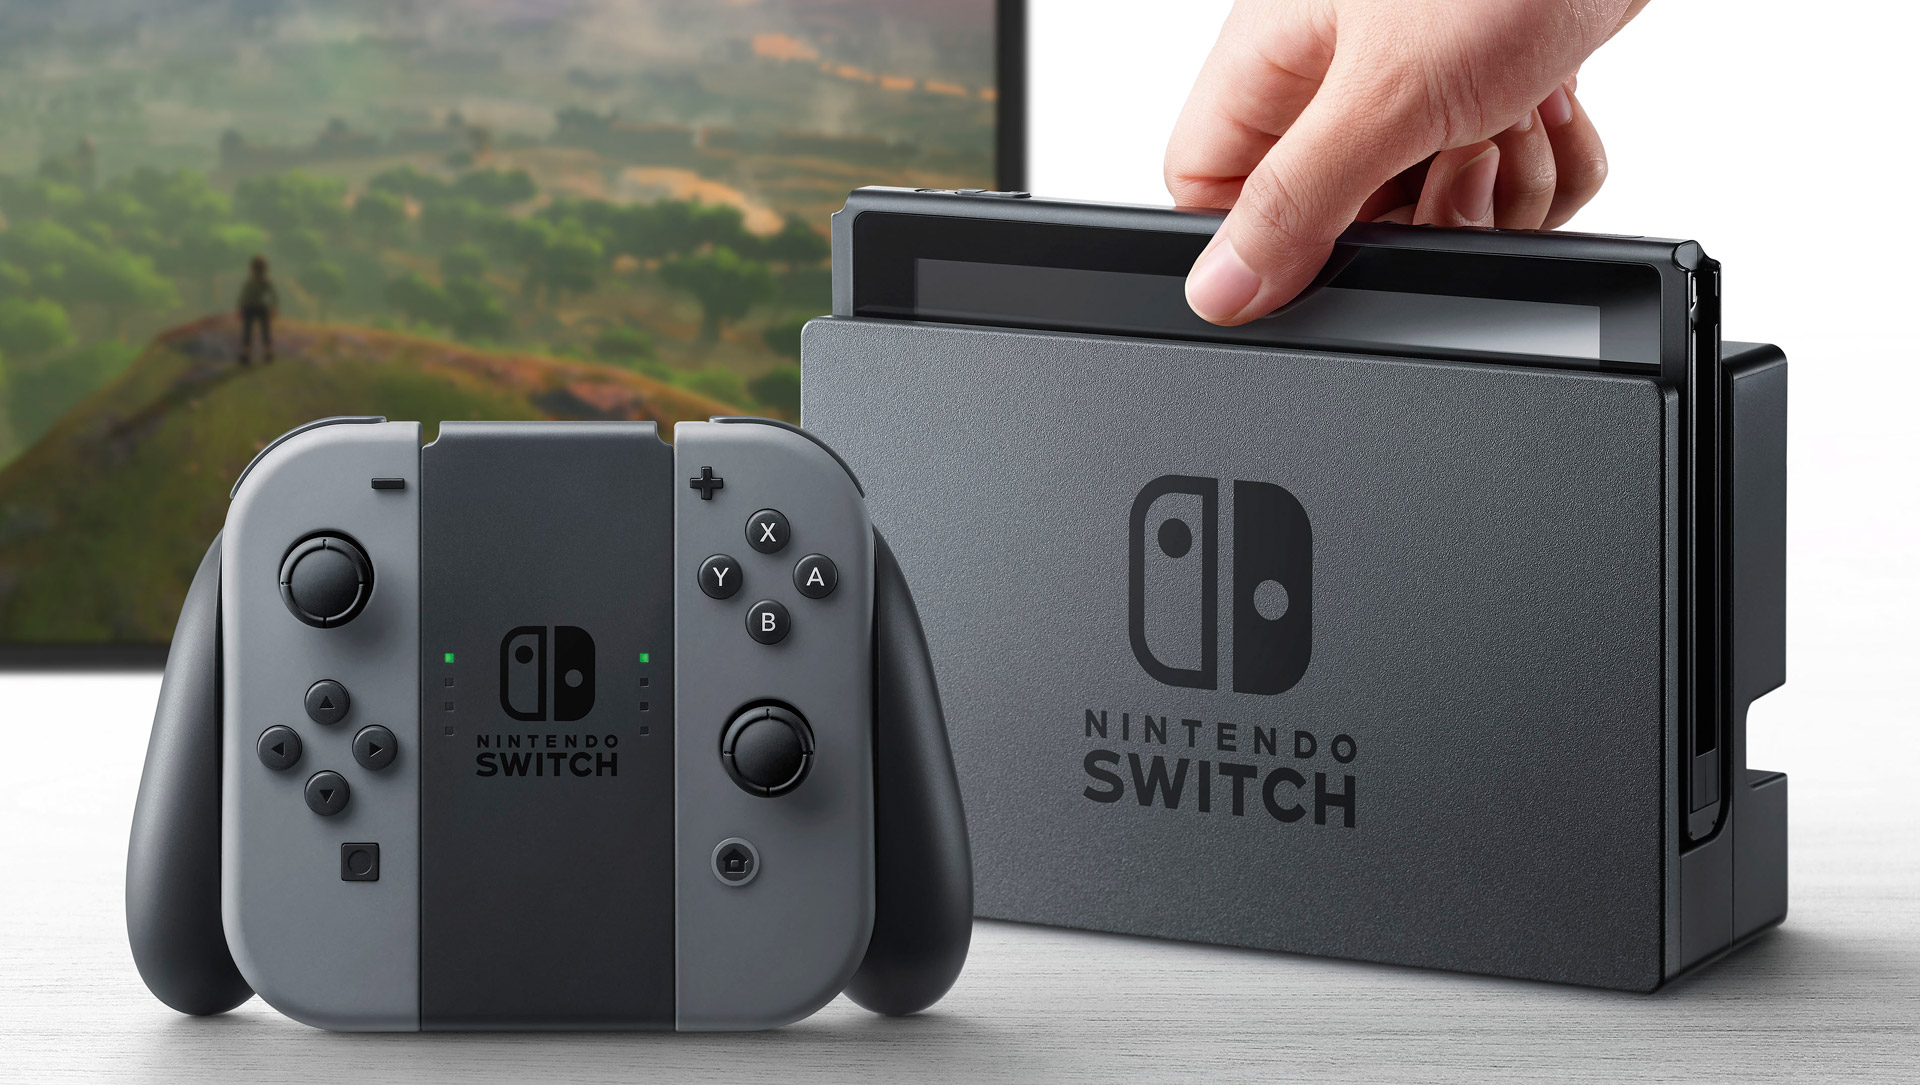
14. Docking Is Effortless

The dock has been designed to easily guide the Screen to alignment. You don't even have to try to get a perfect result every time. -
7. Easter Egg On The Lock Screen

As explained in this video, when exiting Sleep Mode you can choose from three different noises to produce to unlock the screen. The system only tells you about one of them, making the other two an uncommonly known secret. -
9. No Ethernet Port Included

You will not be able to connect an ethernet cable into the Switch out of the box. An add-on peripheral will be required. -
10. Exhaust On Top

The Switch Screen gets hot when playing games, but it does have an exhaust vent on top to blow warm air out of the device. Just be sure not to put your hand over it. -
13. Asymmetric Controllers

The left Joy-Con controller tends to run out of battery faster than the right one, which is unlike anything we've ever seen before. You will also be required to pair both halves of the controller each time you turn the console on. -
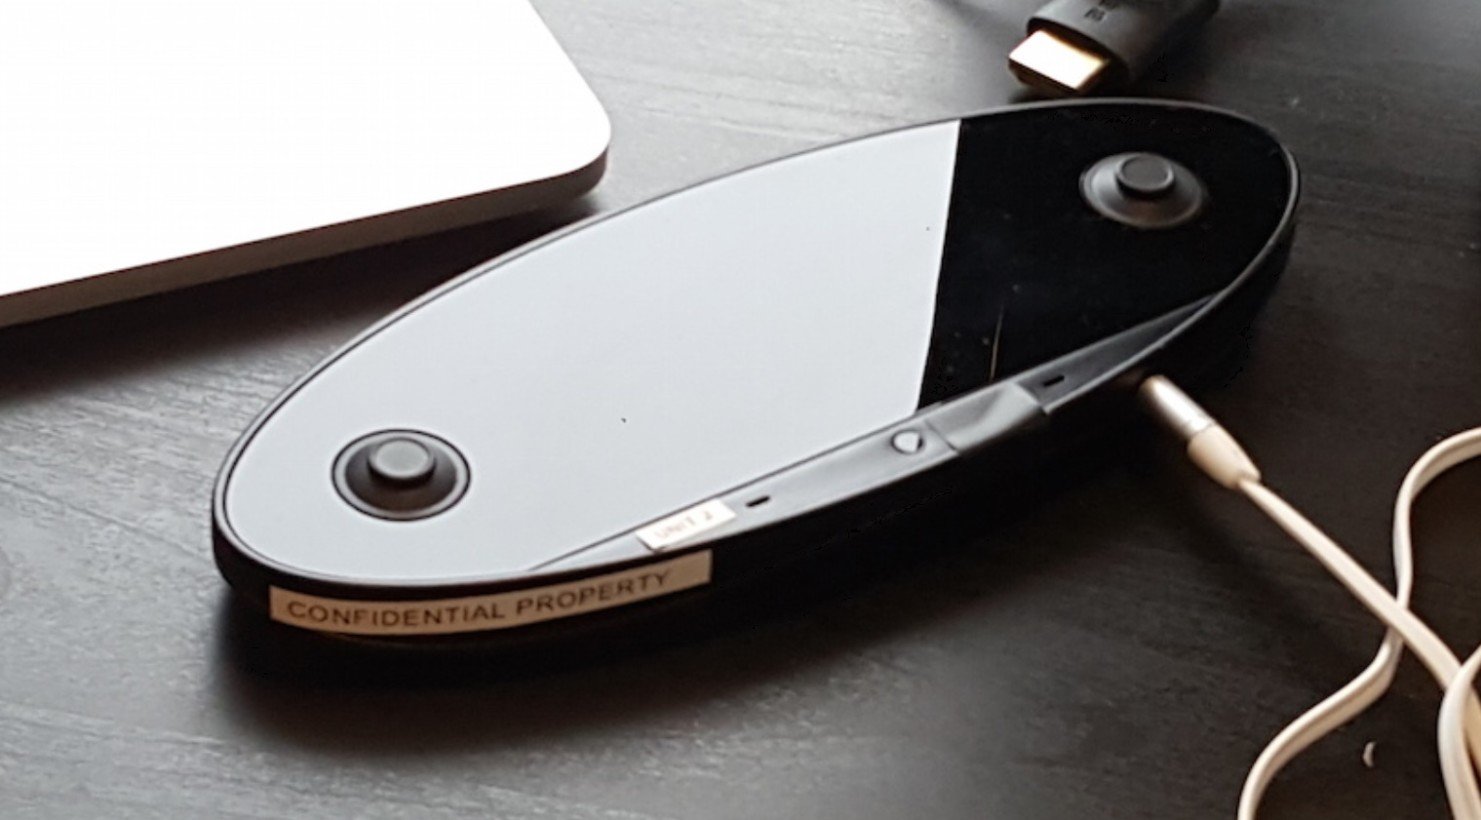
Bonus. It\'s Not This

Remember this dorky thing? Thank goodness this wasn't the real Switch. -
8. One Shared Power Adapter

There is only one power adapter included, and it's used to power the Dock as well as the Screen. This means that if you plan to play in handheld mode you will need to pull the power cable out from your entertainment center. You could always choose to buy a second standalone power adapter, though. -
15. Pro Controller PC Support

If you're planning to purchase the pro controller, you might be glad to hear that it works on PC. -
2. Game Saves Are Stored On the Drive

Unlike most Nintendo products, game saves are written to the hard drive. In other words, game saves are not stored on the game cartridge. -
11. Zelda\'s Physical Version Has No Install

The Legend of Zelda: Breath of the Wild doesn't require an install if you purchase the physical version. This can save you valuable space on your drive. -
15 Things You Probably Don\'t Know About The Nintendo Switch


