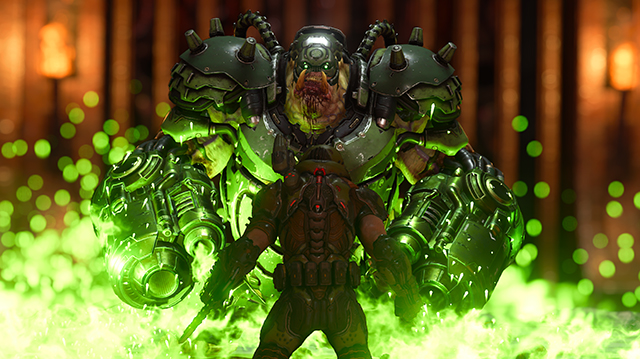
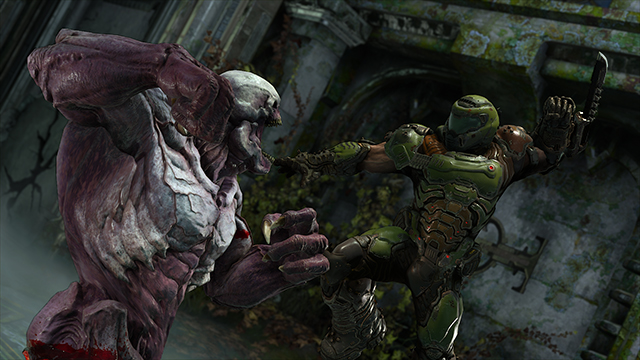
The Doom Eternal photo mode lets you take pictures of Hell’s most dangerous demons, fiery vistas, or anything else your heart desires. It’s pretty open to your creativity. But how do you activate the Doom Eternal photo mode?
Doom Eternal Photo Mode | How to activate

First and foremost, you need to activate it in the menu. Go to the options and under Game, you’ll see a box that says “Photo Mode (Beta).” Make sure it is checked and turned on.
ALSO: Doom Eternal Computer Password | How to unlock Doom 2
But chances are that you have already done that and are still waiting to figure out how to actually use the photo mode. The game doesn’t do a great job of telling you, but you can only use the photo mode in Doom Eternal during mission select. You cannot use it while just playing through a mission for the first time and must either choose a mission from the mission select computer in the Fortress of Doom (near the main console in the front) or on the main menu after you’ve picked your save.
You also can’t take photo mode pics in the Fortress of Doom either. Once you’re in a mission from mission select, press down on the D-pad to be activate photo mode. From there, you can use any of the FOV sliders, poses, and other options to make a great picture.
This is incredibly weird and unlike any other photo mode… except one. The last Doom had a photo mode that was patched in after launch and you also could only activate it in mission select. While odd, it appears to be that way because of the tools you have at your disposal. You can pause the Doom Slayer and continue to play the action around him, which would be incredibly cheap if you were playing the game for the first time.


