If you’re new to Threads, you’re probably wondering how you get verified. There are already tons of accounts on there with the blue check, so it must not be too hard, right? Well, there are two verification processes for Threads. Confusingly, neither of them is specifically for the app. Since it’s effectively an extension of Instagram, you’ll need to follow that service’s protocol to get verified.
The process to get verified on Threads is currently a bit convoluted. In effect, you have to go through verification on what is, in practice, a completely different social network. However, it’ll be extremely easy for some accounts. We’ll look at whether Instagram verification carries over and how the process works on Threads below.
How to get verified on Threads through Instagram

Instagram verification carries over to Threads. So, if you’re already verified on that service, you’ll get a blue check as soon as you sign up. If you’re not, you’ll need to apply, which must be done through the Instagram app.
To do so:
- Open the Instagram app (this cannot be done on the web version).
- Tap on the profile icon on the lower right of the screen.
- Tap on the menu icon in the upper right of the screen.
- Select “Settings and privacy.”
- Tap “Creator tools and controls.”
- Choose “Request Verification”
- Complete the form
- Confirm you’re finished by tapping “Submit.”
Now, you just have to wait. This process is similar to how Twitter verification used to work, except slower. It may take up to a few weeks to get a response. If you’re approved, your account will be verified on both Instagram and Threads.
However, if you’re not a celebrity, influencer, or representing a brand, you likely won’t be approved via this route. Instagram states it only verifies accounts when it’s in the public interest to do so.
How to get verified on Threads through Meta Verified

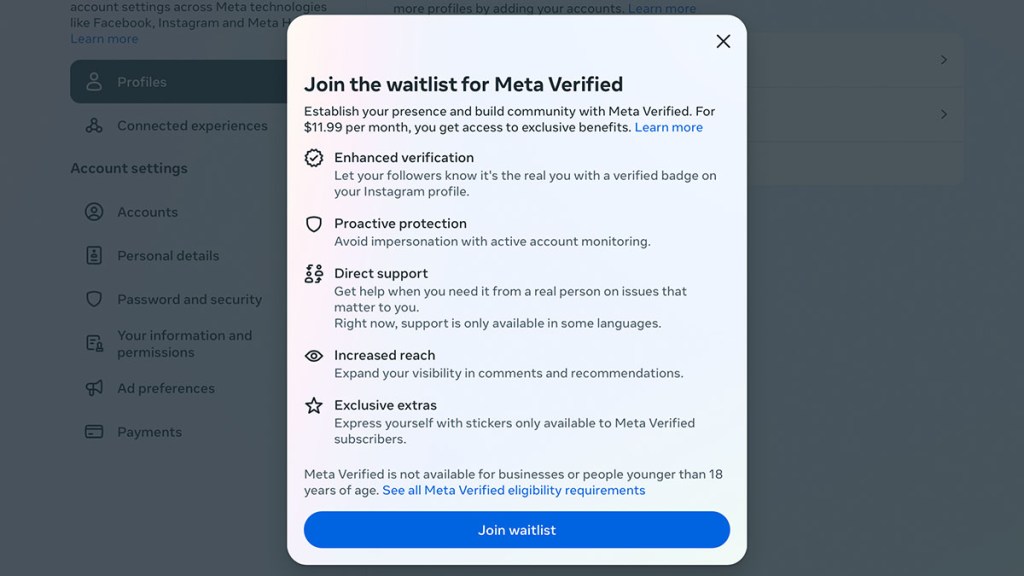
Meta Verified is a copycat of Twitter’s current system. You pay $11.99 ($14.99 on iOS) and get verified on Threads and Instagram. Unlike Twitter, Meta requires you to upload your government-issued ID to complete the process, but it’s essentially the same idea as Twitter Blue.
The upside to Meta Verified is that everyone qualifies. You don’t have to be a celebrity or company to get the blue check. Unfortunately, the service isn’t available worldwide yet.
To check if Meta Verified is available in your country or to join the waitlist, follow these steps:
- Log into Instagram on iOS, Android, or a web browser.
- Check this link.
- If Meta Verified is available, you can start the sign-up process.
- If it is unavailable, you’ll get the option to join the waitlist.
One thing that Meta requires that Twitter doesn’t is that you must have your full name on your profile and a profile picture of your real face. So, begin your journey by ensuring your profile is correctly completed.
The procedure to verify via Meta will require you to fill out some basic personal information along with your ID. The documents accepted for verification include passports and driving licenses. After you upload the document, Meta’s team will review it for authenticity.
Following submission, your application will be under review. You may need to wait for some time before you receive a notification regarding the approval or denial of your application. However, it shouldn’t take as long as the previous process did. If successful, you’ll instantly see the blue checkmark on both your Instagram and Threads profiles.
The beauty of Meta Verified is that it democratizes the verification process. Whether you’re an aspiring influencer, a small business, or just a regular user wanting that symbol of legitimacy, the blue check is now within your reach.
However, as the service rolls out globally, it’s possible that users may experience delays or complications. So, patience is key. If the verification through Meta is still unavailable in your region, join the waitlist to be notified once it becomes available.


