Whether it’s capturing epic moments from your favorite games and putting them together for an epic montage, sharing your epic real-life adventures with the world through a vlog, or taking advantage of streaming platforms with live broadcasts, there are now a ton of different ways to share a video. It doesn’t even have to break the bank either! Whether it’s a budget YouTube setup, a budget Twitch setup, or gear for the multitude of other video platforms, we’re here to offer a helping hand. This is our guide for a creator on a low budget.
Twitch and YouTube Setup: Video

First up is capturing the video itself. Solutions for recording the real world exist in most folks’ pockets, with the latest smartphones boasting 4K video and a form of image stabilization. Grabbing a flagship phone in 2018 not only means getting that 4K support as well as anti-shake features, but also a complete video streaming and editing package. Over the last decade, phones have transformed into devices that can do almost anything, and when it comes to YouTube and Twitch on a budget, grabbing a good cell is a must-have for IRL captures and streams.
However, if it’s gameplay capture and streaming that you’re looking to accomplish, that’s gotten easier, too. If you’re on a console, the trio of current platforms — PS4, Xbox One, and Nintendo Switch — all boast ways of saving those epic gaming moments. Some are admittedly better than others, with the PS4 and Xbox One offering more flexibility when it comes to internal capture. The Switch’s limitations will quickly frustrate those looking to do more than sharing a simple clip to social media.
If you’re looking to take things to the next level, I’d recommend purchasing a 1080p 60 frames per second capture card. Elgato and Avermedia are big names in this field, with both the Elgato HD60 and Avermedia Live Gamer Portable families worth looking into. The latter can even run without a PC by recording straight to an SD card!
Combining your gameplay with a webcam for let’s play content or streams can also be cheap and easy. As your camera will be at a low resolution, taking up only a corner of the screen, you don’t need a high-end 4K device. Grab a webcam that fits your budget. I opted for the Logitech C920 while it was on sale during Amazon Prime, but almost anything will do.
Twitch and YouTube Setup: Editing

Obviously, if you’re streaming your content, you won’t need to be editing it. However, if you want to turn your hours of captured video into something that’s easy to watch, then you’ll need to use editing apps to chop it up and make it look its best. If you’re capturing on a phone, then there are a bunch of free apps available. My favorites include Timbre and Kinemaster for Android and iMovie for iPhone, all of which are free to use.
If you’re capturing gameplay on a console internally, you can edit that gameplay on the console itself, and upload directly to YouTube. It really is that easy!
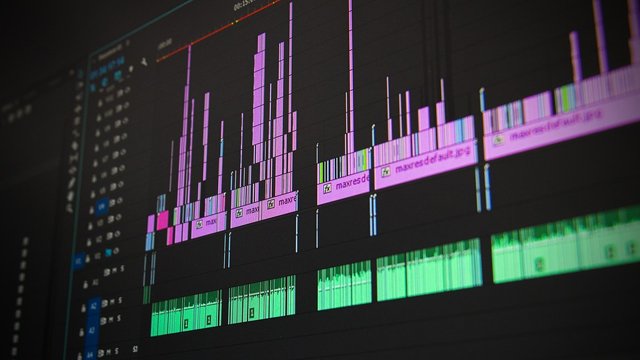
As for the more advanced captures, where you end up with a bunch of video files that need the attention of a dedicated PC program, things become a little trickier. We’ll ignore the more expensive, “professional” tools that will break the bank, and focus on the cheaper, more bare-bones (and therefore less confusing) applications. I’m a big fan of Sony’s editing software, with Movie Studio offering plenty of tools to help novice creators make something fantastic. There’s a free trial available too. DaVinci Resolve 15 is also worth a look, as the free edition has plenty of useful tools. If you’re on a Mac, iMovie is your best bet.
Twitch and YouTube Setup: Audio

Most creators would agree that audio is just as important as video when it comes to making content that viewers will want to watch and listen to. While audio capture from phones has massively improved over recent years, dedicated externals mics like the Rode VideoMic Me and Comica CVM-VS08 can take things further. A lavalier microphone is also an option for recording better audio on phones, plugging right into the headphone jack (where compatible).
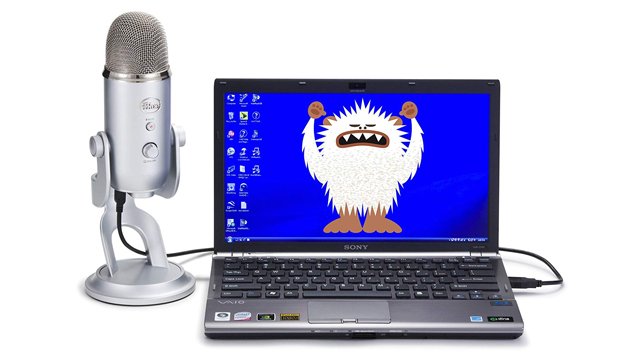
Though headset mics have also greatly improved, the ability for PS4 and Xbox One to accept USB microphones offers the opportunity to really give quality a boost. Plug in a Blue Snowball or Yeti, or a Rode Podcaster if capturing in a noisy environment, and away you go! These can be inserted directly into your console and will just work, which save you a headache.
Even in 2018, the Blue Snowball and Yeti are still holding their own as must-have mics for at-home audio recording. They are often on sale, but are good value even at their full prices. The Rode Podcaster launched more recently, offering a dynamic alternative that helps block out background noise.
Twitch and YouTube Setup: Buying Used

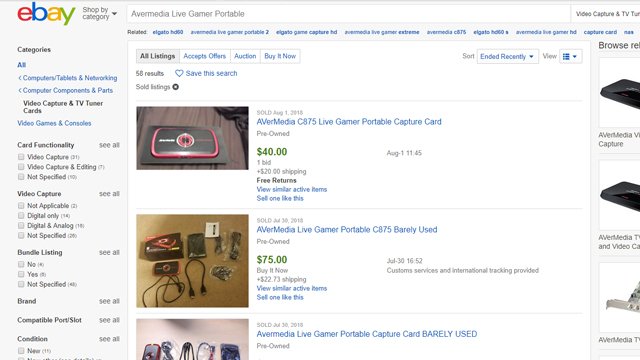
Buying used is always a good idea when it comes to any sort of budget setup. If you find the right buyer on the right website, you can come across some incredible deals. I see cheap webcams and microphones posted every week on sites like eBay, and with PayPal and other services offering protection for buyers, the risks have only gotten lower and lower. However, be wary of warranty past the return period. It’s possible that you’ll only have 30 days to make sure that the product is working. Sometimes these things can backfire, so be wary.
Standing out online can be difficult but, with the right Twitch or YouTube setup, it can be a little easier. The right equipment can give you the edge in the crowded sea of commentators and Let’s Players. It’s just up to you to use those tools wisely.


